Skip to content

A PLAY EXPERIENCE MAKER'S WORK LOG FOR FUTURE SELF©2001 – 2023 Kyle Li 李肅綱 All Rights Reserved.

Category: games

SMALLab: Proteincraft

Posted on November 14, 2013June 7, 2020 by Kyle Li
183_0.276893001358536493_img_5395


National Science Foundation Visualization Challenge Finalist


Download:
[ver.20][Recommend]Mac desktop version: Proteincraft

Old versions:
[ver.17]Mac desktop version: Proteincraft
[ver. 1][old]Win32 desktop version: Proteincraft_win32bit
(see update details at the bottom of the page)

How to play:
Mouse: Drag’n Drop tRNA
Up key: Switch between Shape mode and Text mode
Right arrow key: skip to the next codon set on mRNA
ESC key: exit the game

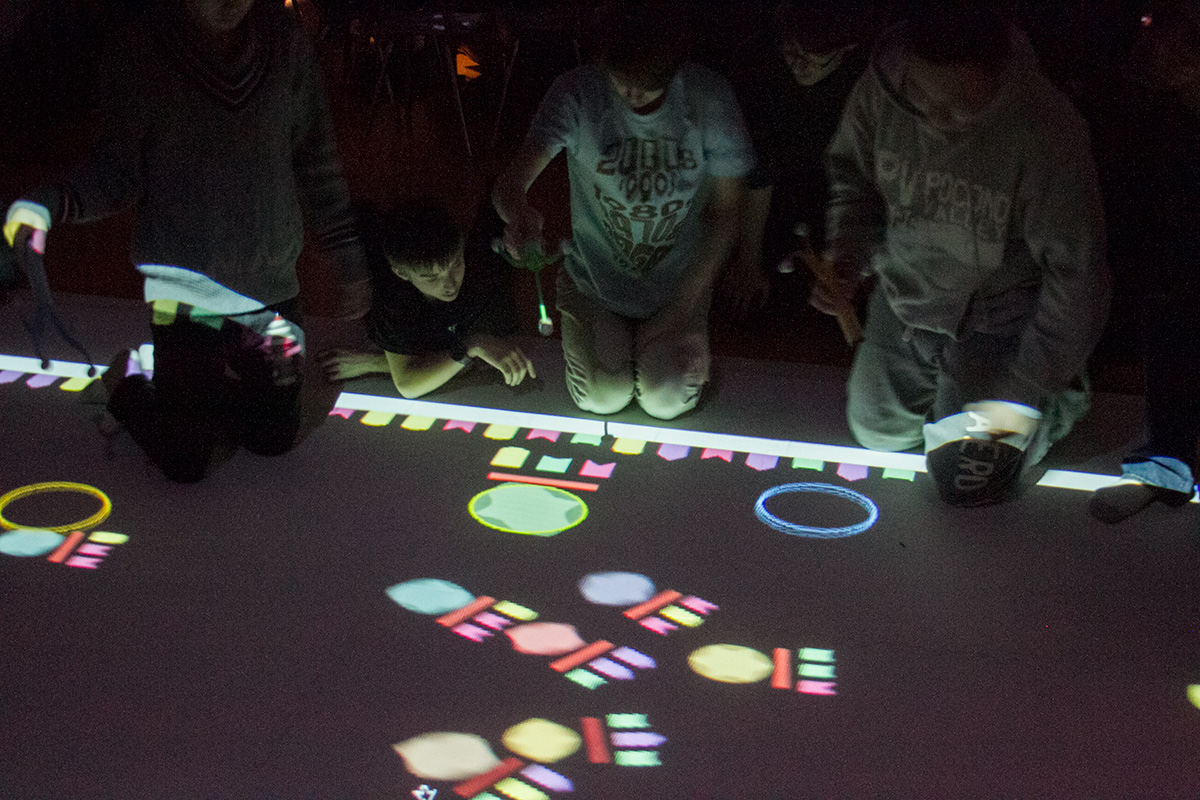
In Spring 2012, SMALLab team at Quest 2 Learn New York worked with our Living Environment teacher, Dan Bloom, to create a game scenario about protein synthesis. After the kick-off meeting with Dan and a few rounds of quick prototyping on the subject, I decided to narrow down the multi-level gameplay idea and focus solely on the translation portion of the synthesis. According to Dan’s experience, students have more difficulties with translation than transcription because it is harder to visualize the relationship between codons and anti-codons in the classroom. Through the use of scale, sound, visual cue, collaboration, this new SMALLab scenario creates an immersive playground for students to practice their knowledge on translation.

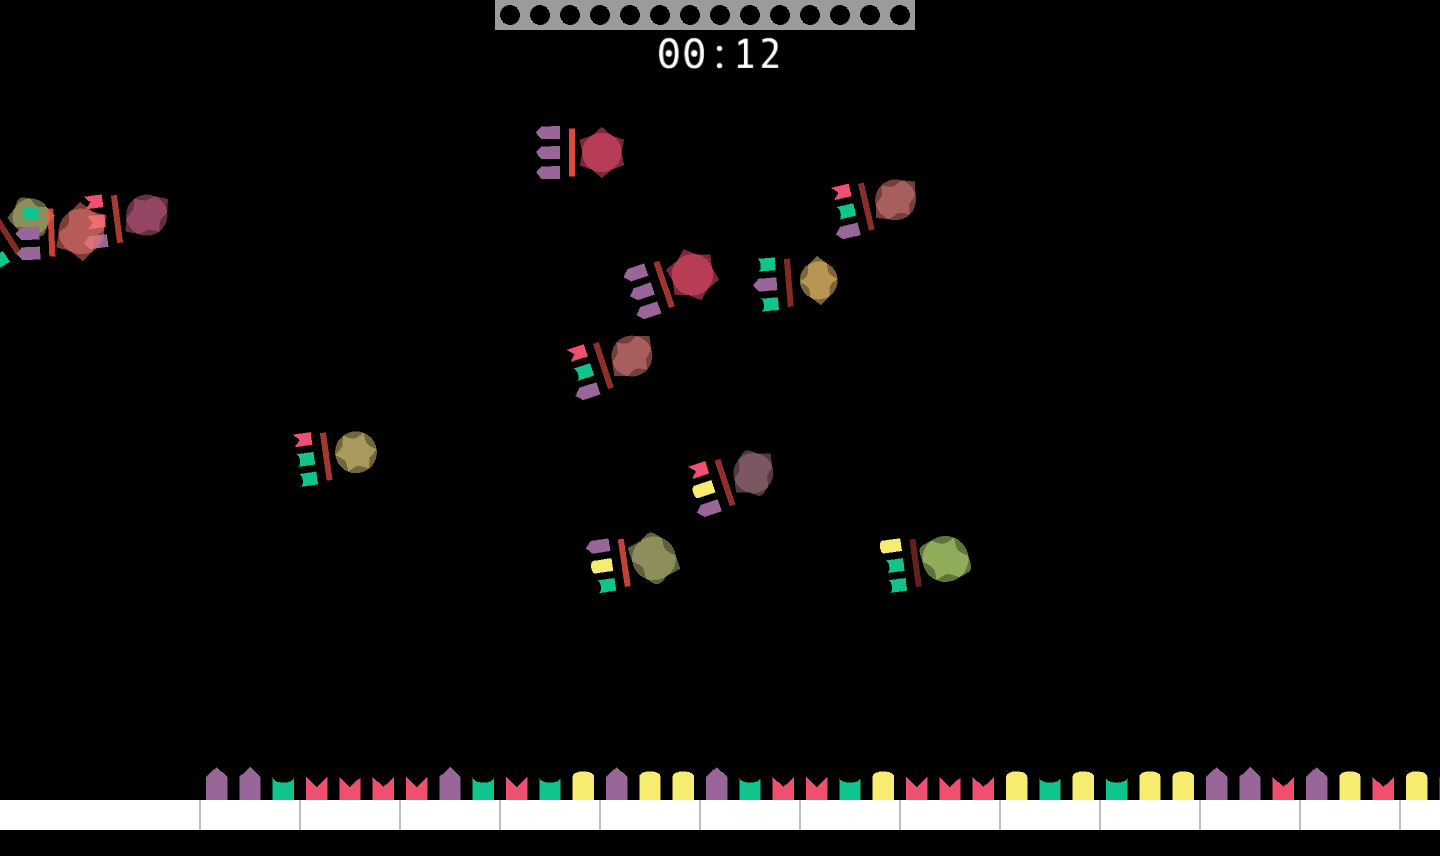
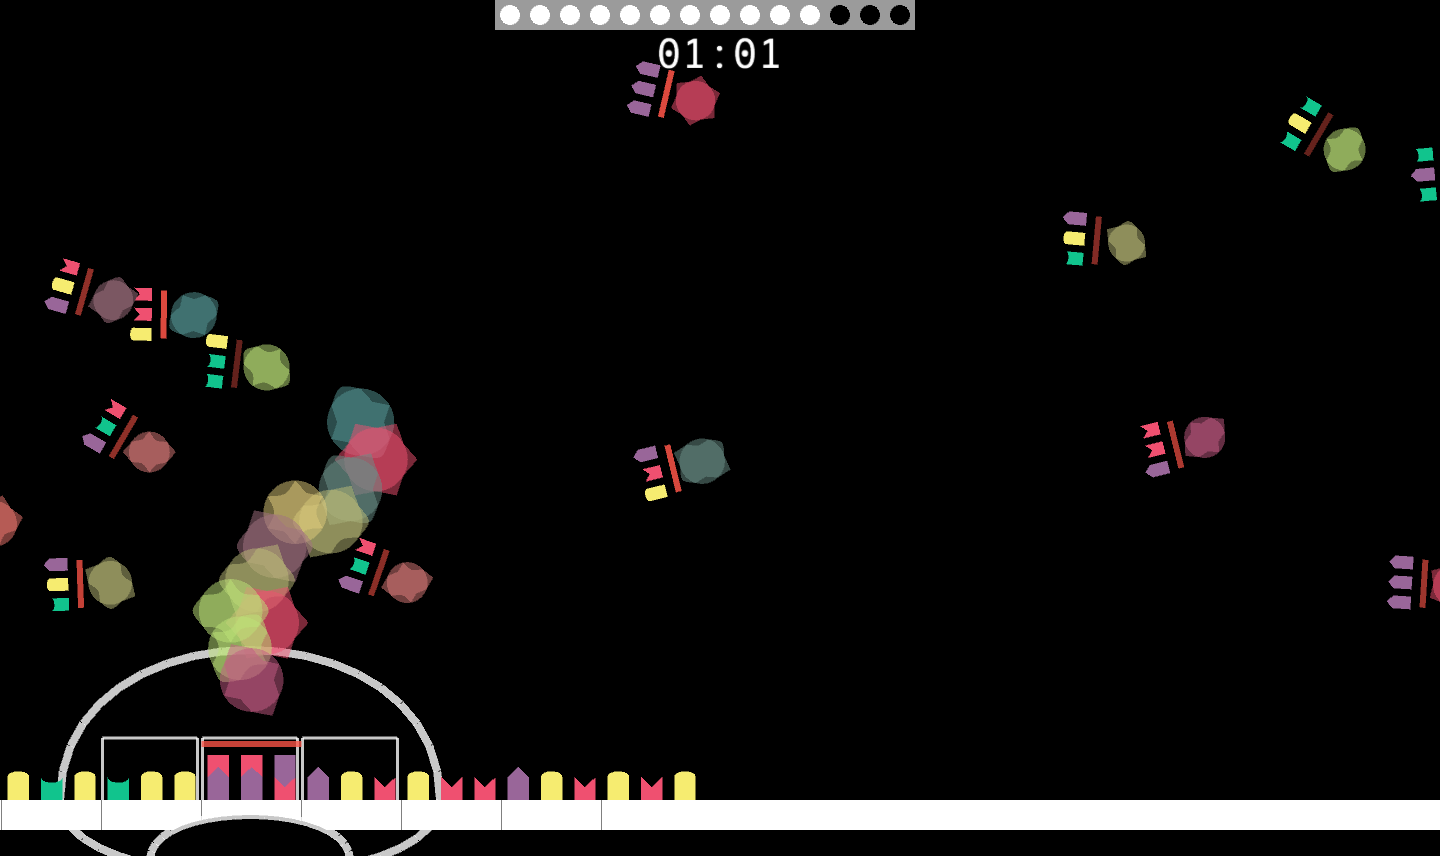
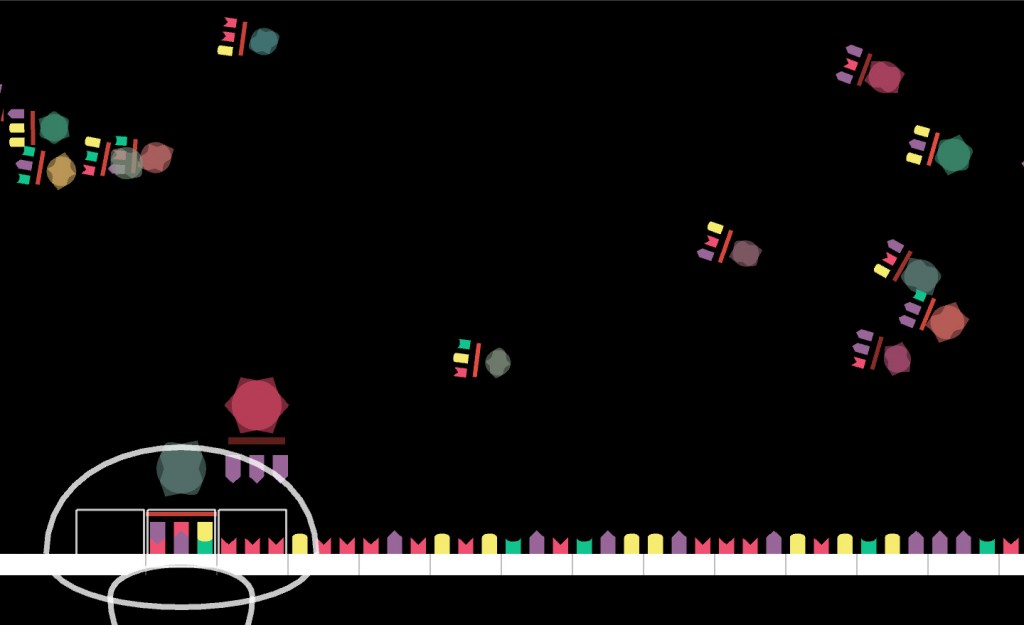
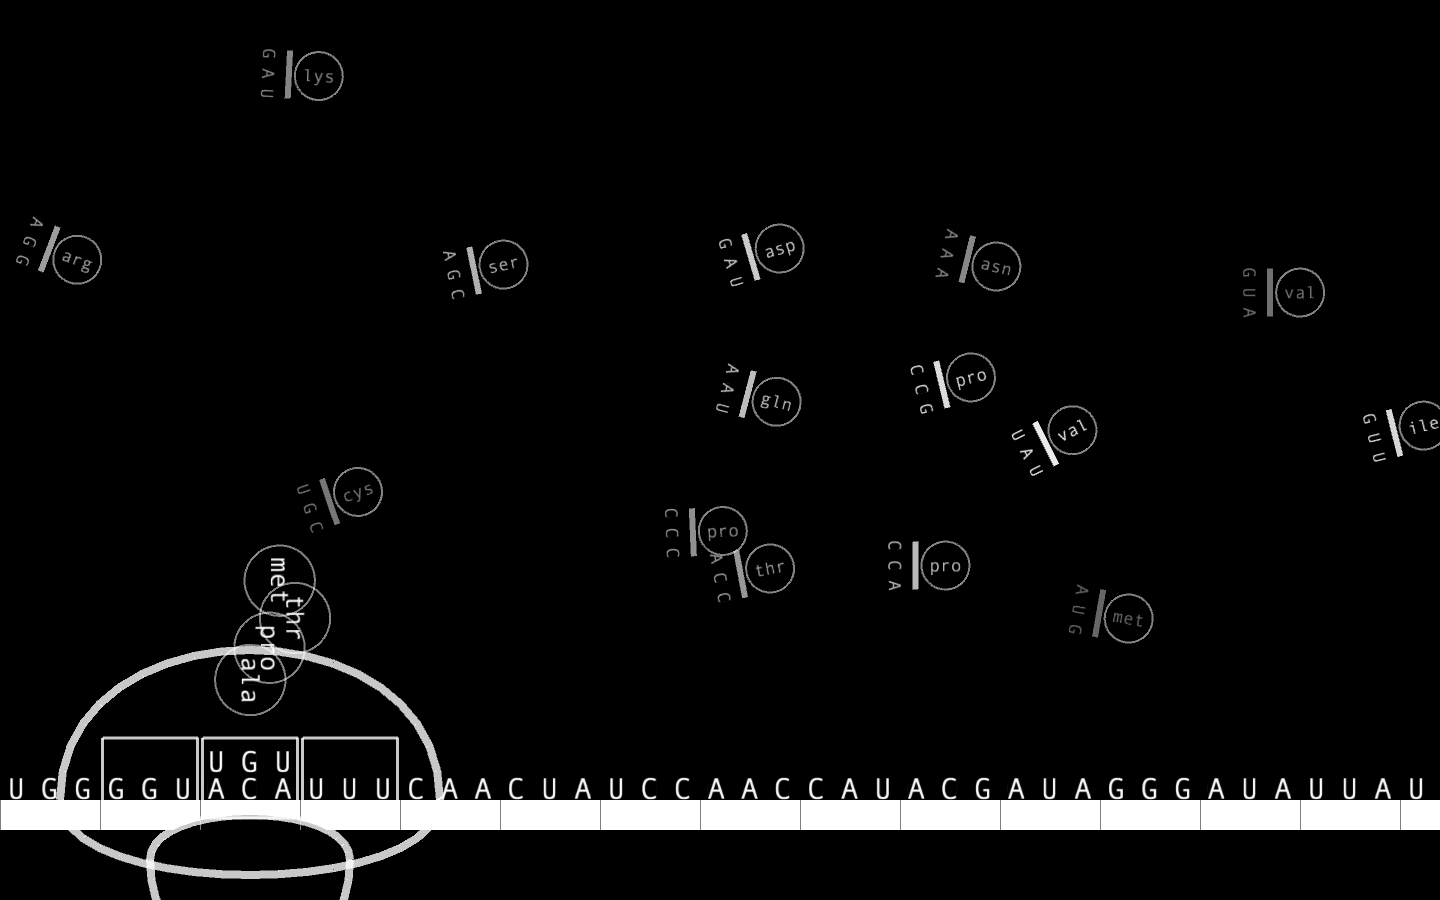
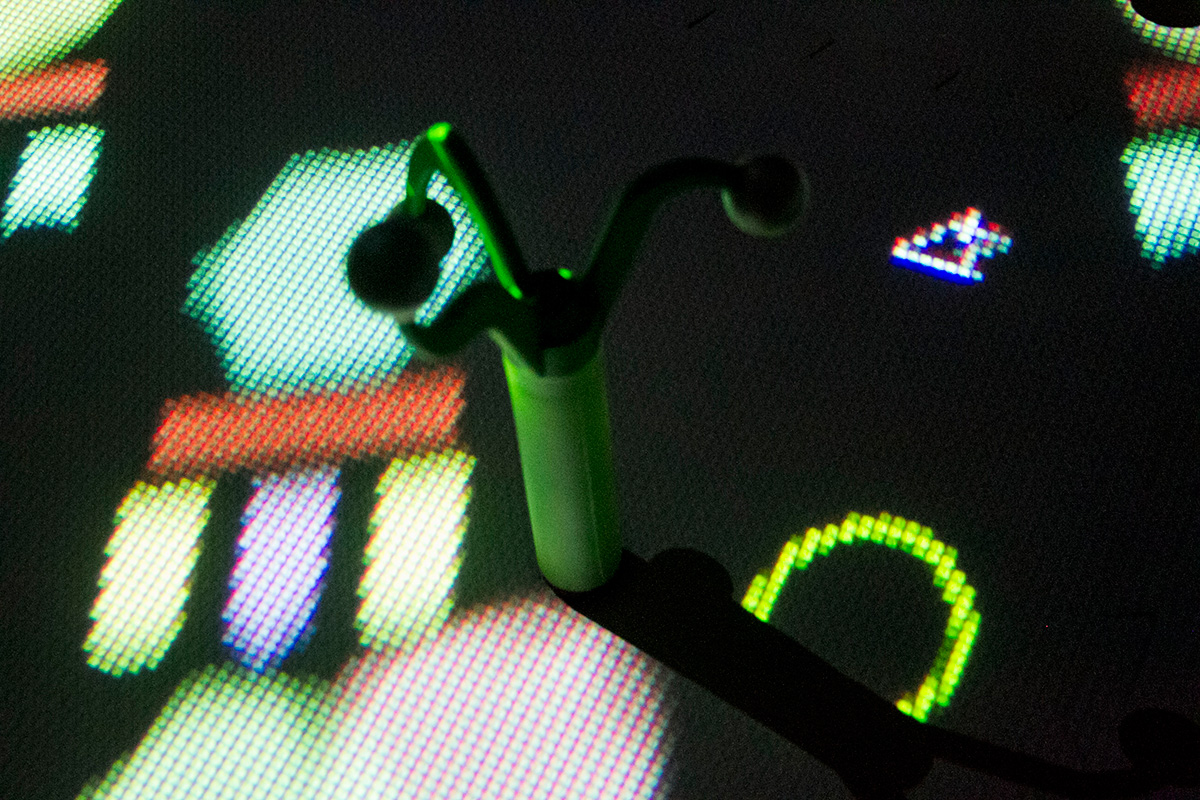
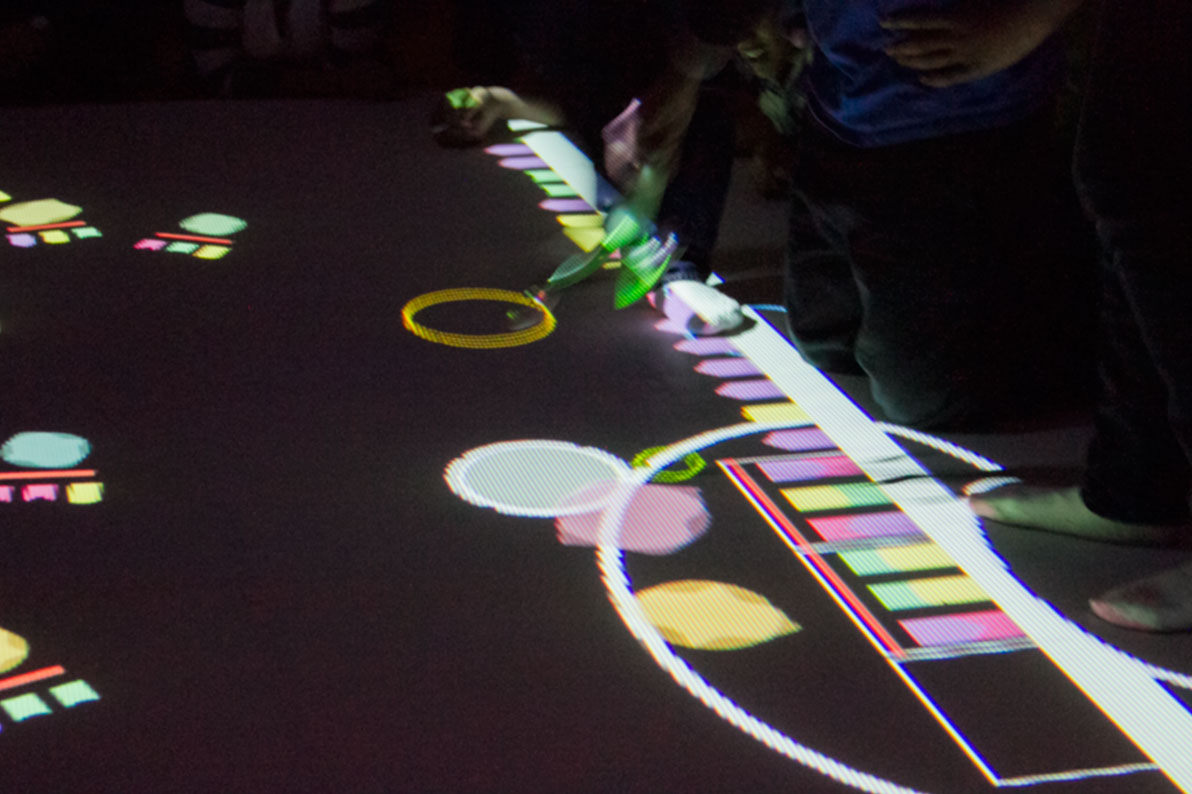
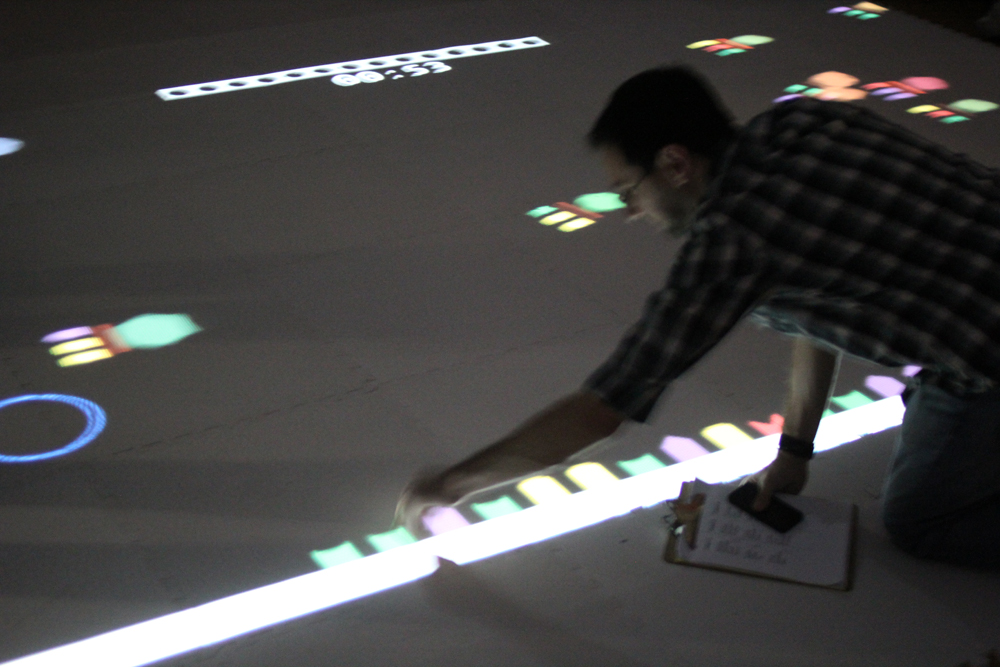
Proteincraft puts students in the moment when DNA translation happens. In order to succeed in the scenario, students must help Messenger RNA(mRNA) find the right Transfer RNA(tRNA) by matching codons with their correspondent anti-codons. Every successful match consists of three steps. The first step is to read the next codon on mRNA and to find the matching tRNA. Secondly, brag the tRNA to ribosomes. Thirdly, crank the white circle on ribosomes to the left side to advance to the next codon. Repeat these steps until all the codons are matched. The teacher moderates the entire experience and interrupts at moments for learning opportunities. In the picture above, Dan is pointing out to players that in order to start the translation, the initial tRNA (met) has to be found first.

In addition, this game can be viewed in the text mode. All the color and shapes are replaced by the black-and-white letters that represent each of the four bases in the textbook. Teachers can switch between modes by pressing the UP arrow key. Here are notes from Dan that becomes the guidelines of the visual system of both modes in Proteincraft:

1) The bases in DNA should be shaped so that they can fit in to each other.
====T (thymine) – blue, be shaped with a pointy triangle on the end
====A (adenine) – red, be shaped with an inverted space for a triangle
====C (cytosine) – yellow, be shaped with a semicircle on the end
====G (guanine) – green, be shaped with an inverted space for a semicircle
2) The bases in mRNA and tRNA should be the same except instead of T, there is…
====U (uricil) – purple, should be shaped to fit into A

The scenario was a success with Dan’s class. Students had no problem warming up to the game because all the colors, shapes, and letters are inspired by diagrams Dan showed in the classroom. During the gameplay, teams of students have to find an efficient way to work together in SMALLab. Some teams assigned their teammates different roles – capturers, crankera, and translators while other teams spread out in the space like football players all waiting for the right tRNA to swim by. Spectators definitely play an important role in the overall play experience, they give verbal suggestions to the player team – “AUU not UUA”, “Green-Yellow-Red”, “tRNA has no T in it”, “tRNA let’s go!”.

Visual and sound design:

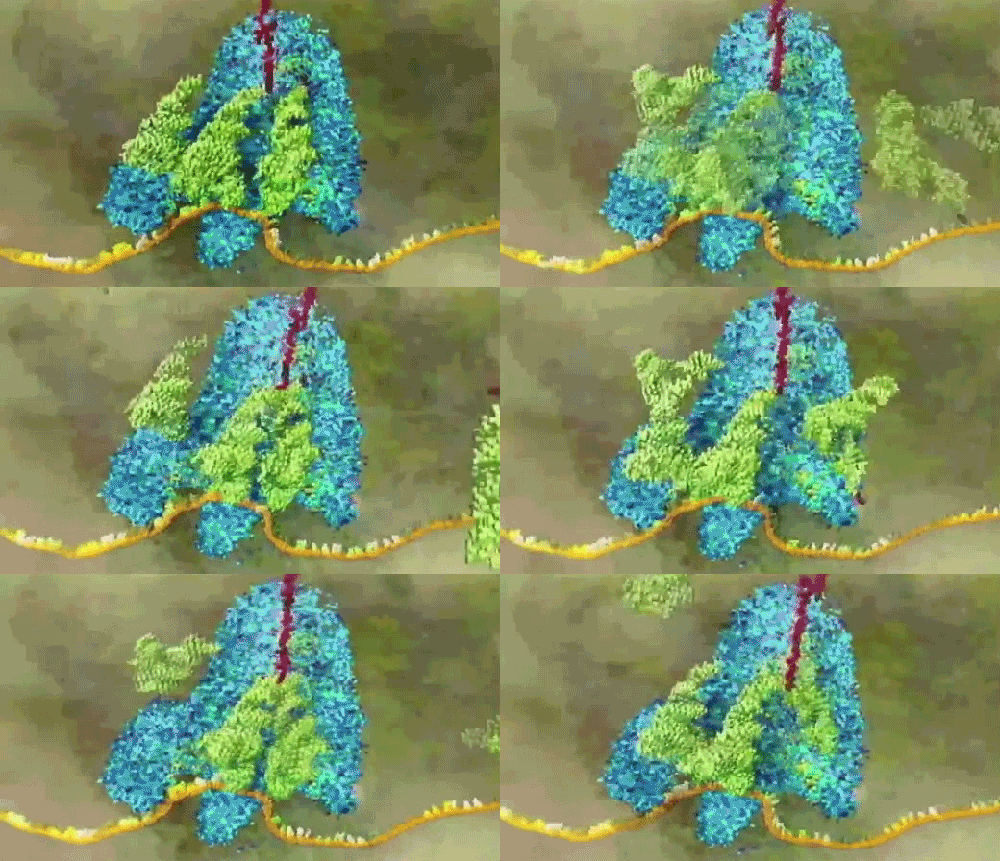
At the beginning of the research, I watched many scientific renderings on protein synthesis. Surprisingly, none of them look the same graphically even though they all look “realistic”. All of them are subjective and technology-dependent. It is more like a strategy to attract longer attention span with realistic-looking visuals than anything else which is understandable. I made an animated gif of my favorite rendering so far:
gif


Dan showed me diagrams and illustrations that he used in the classroom. They are mostly represented in geometric shapes and are carefully color-coded. That set me free, I am going for color-coded geometric shapes! – to connect the scientific facts to design elements. Even though they are geometric shapes, they still follow the principles of translation dearly. Instead of coming up with a fictional realistic form, I draw a connection between Dan’s diagrams and the design elements of Proteincraft’s visual system, e.g., each of the four bases is represented visually by a unique shape and a unique color. The shape of an amino acid is dynamically determined by the shape combination of its three bases.
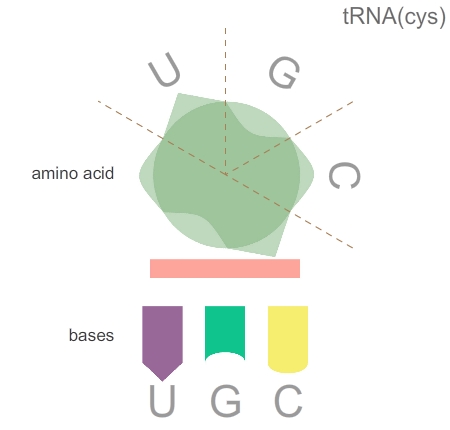
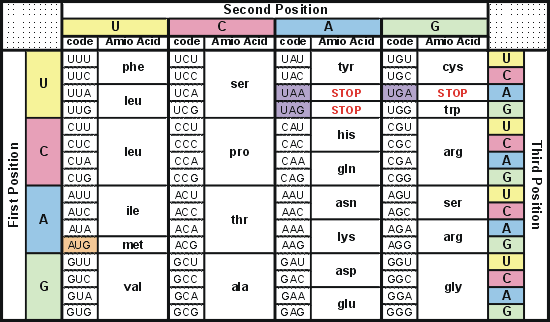
tRNA

printImage

The tRNA and mRNA in this game synthesize sounds too. Usually, SMALLab game scenarios are designed and produced in less than five weeks, so we usually don’t have time to do serious sound design. However, during a check-in meeting, we decided to bring the connection to sound elements too. Claudio’s sound design took the relation between codons and amino acids to the next level! When the player successfully brings back a correct tRNA, the game will play three tones that match the codon combination. Claudio designed the tones and a matching ambient music that really gives the play experience an awesome upgrade.

SMALLab Version:
screenshot_titlescreen
screenshot_gameplay1
screenshot_gameplay3


Desktop Version:

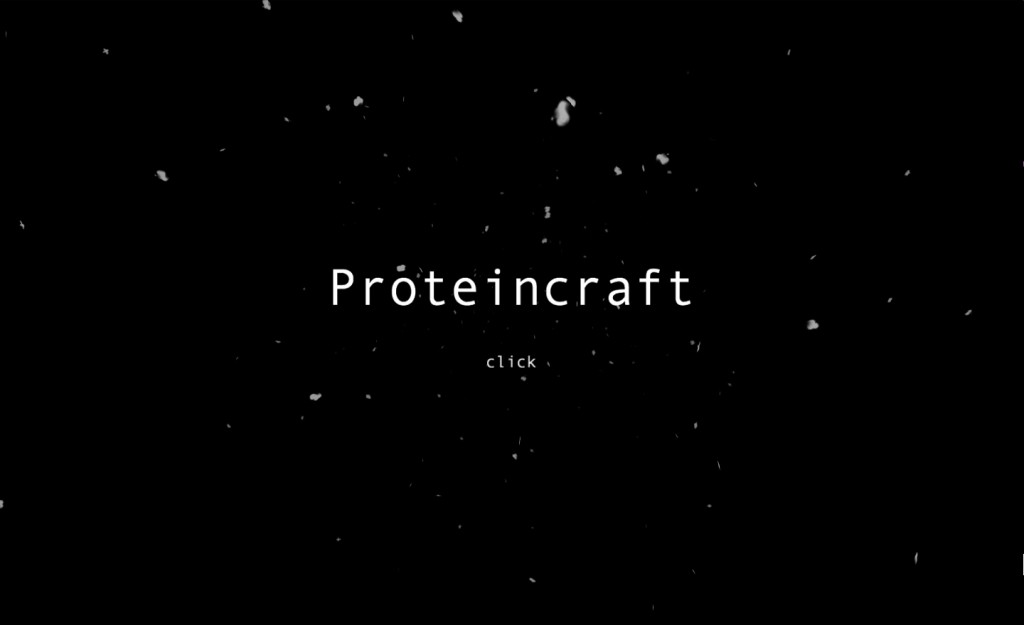
title screen
gameplay 1
gameplay 2
IMG_9063
IMG_9140
IMG_9077

10/18/12 proteincraft playtest with 9th graders, suggested moving mRNA to the top of the screen to avoid shadow cast by the projector in SMALLab
11/20/12 project release postponed due to a scheduling conflict
01/18/13 SMALLab Proteincraft released
06/11/13 plan to convert proteincraft to desktop and android.
06/18/13 [android] curveVertex() slow app overtime. Image memory leak on android still a problem.
09/27/13 desktop demo completed.
09/28/13 Desktop ver.1 released (Mac and Windows)
09/29/13 Desktop ver.15 released (Mac): implemented amino acid names(desktop ver. only feature), text mode visual tweaked
09/31/13 Desktop ver.17 released (Mac): fixed a major data parsing error that caused amino acid name mismatched
11/14/13 Ran SMALLab version for 9th graders made the following changes:
===1. fly speed of tRNAs now starts slow and gradually speeds up
===2. the visual of crank mechanism now flashes when ready to use
===3. games now automatically change to text mode after the 8th tRNA is found
===4. minor visual tweakings

11/19/13 Desktop ver.20 released (Mac): minor visual feedback improvement, added replay function
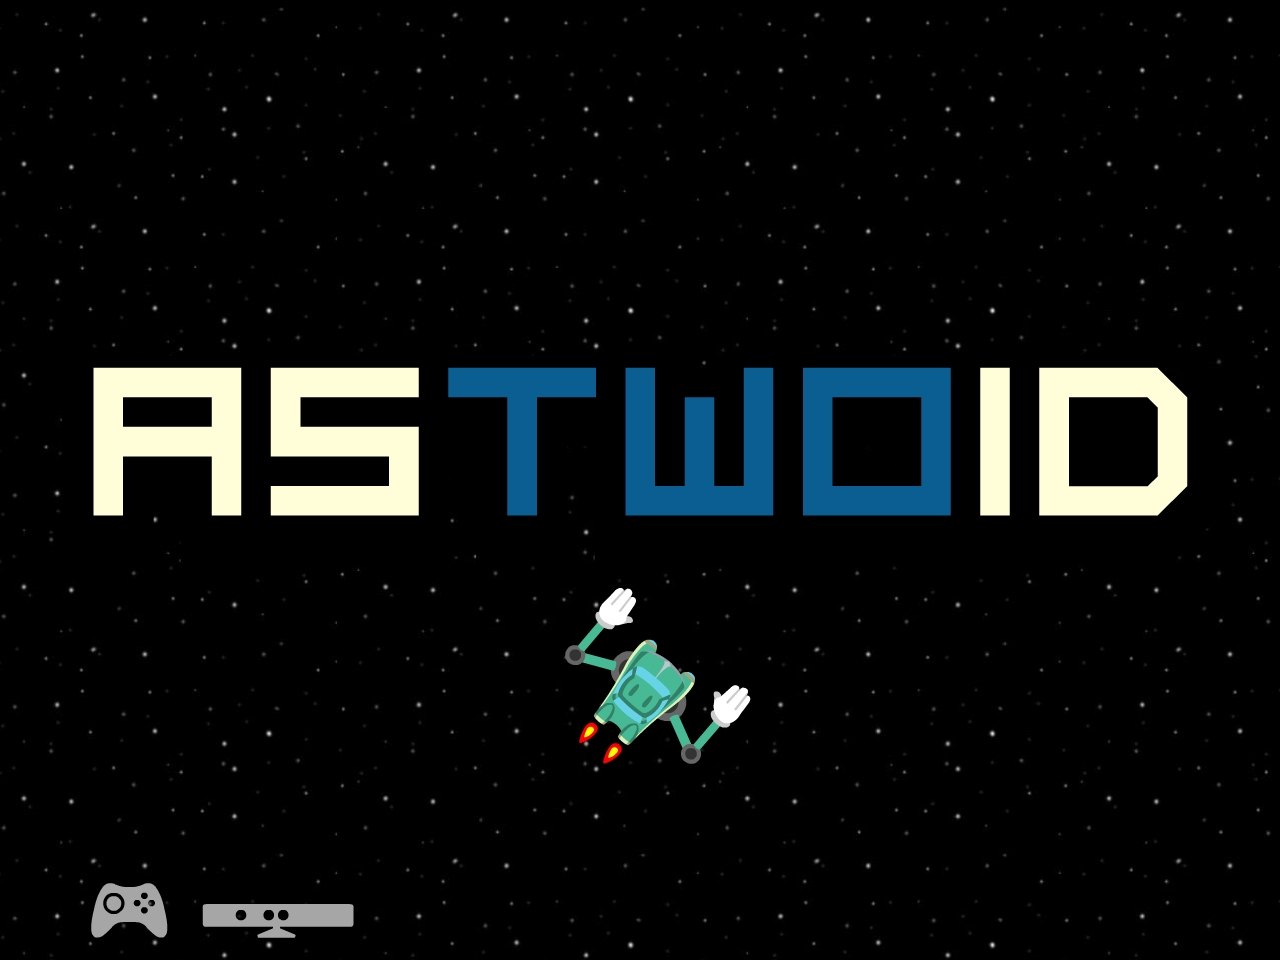
ASTWOID

Posted on November 6, 2013February 28, 2020 by Kyle Li
screenshot-4-1024x576
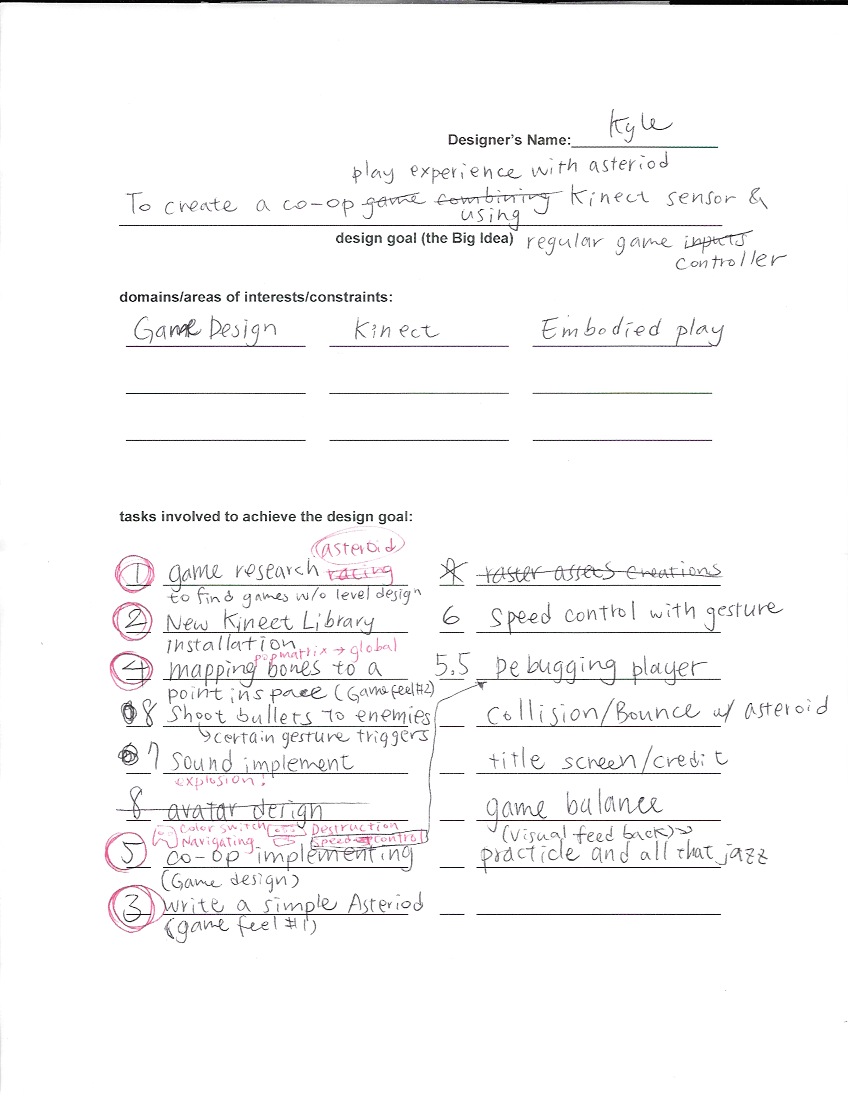
worksheet

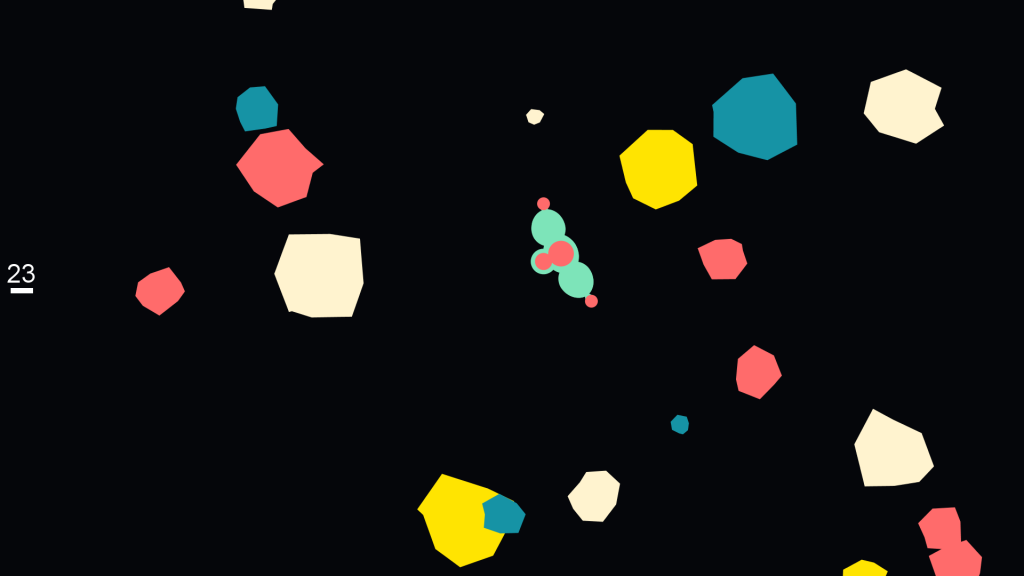
11/05/13 Built a prototype with Processing 2.0. Openprocessing downloads have weird compiler problem solved by duplicating the project and removing the code folder inside the project folder.


11/07/13 Playtest: arms are too powerful – death on touch! and not much to do for the Kinect player.

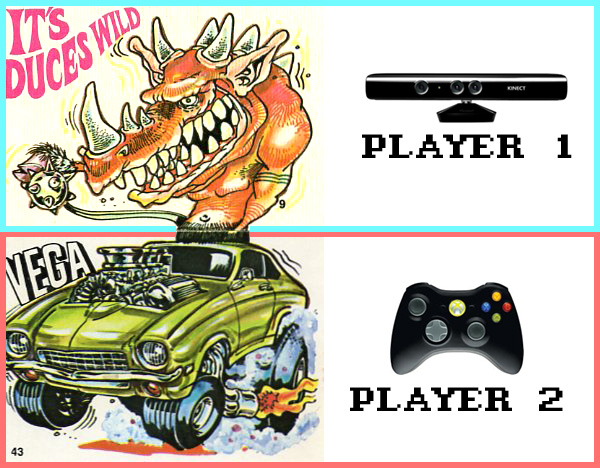
2playgame

Old Notes:
10/30/2011 Been thinking about a 2 player co-op game in which player 1 uses a Kinect sensor and player 2 uses something else e.g. a regular game controller. The cover art of the Monster Rods model kits is a great example of this idea. In the picture below, player 1 controls the monster on top and player 2 drives the car.

With AR markers, we can easily put the Kinect player’s skeleton/avatar on the tabletop. Player 2 can take control of the AR Marker and player 1 can be the summoned hero on the card.

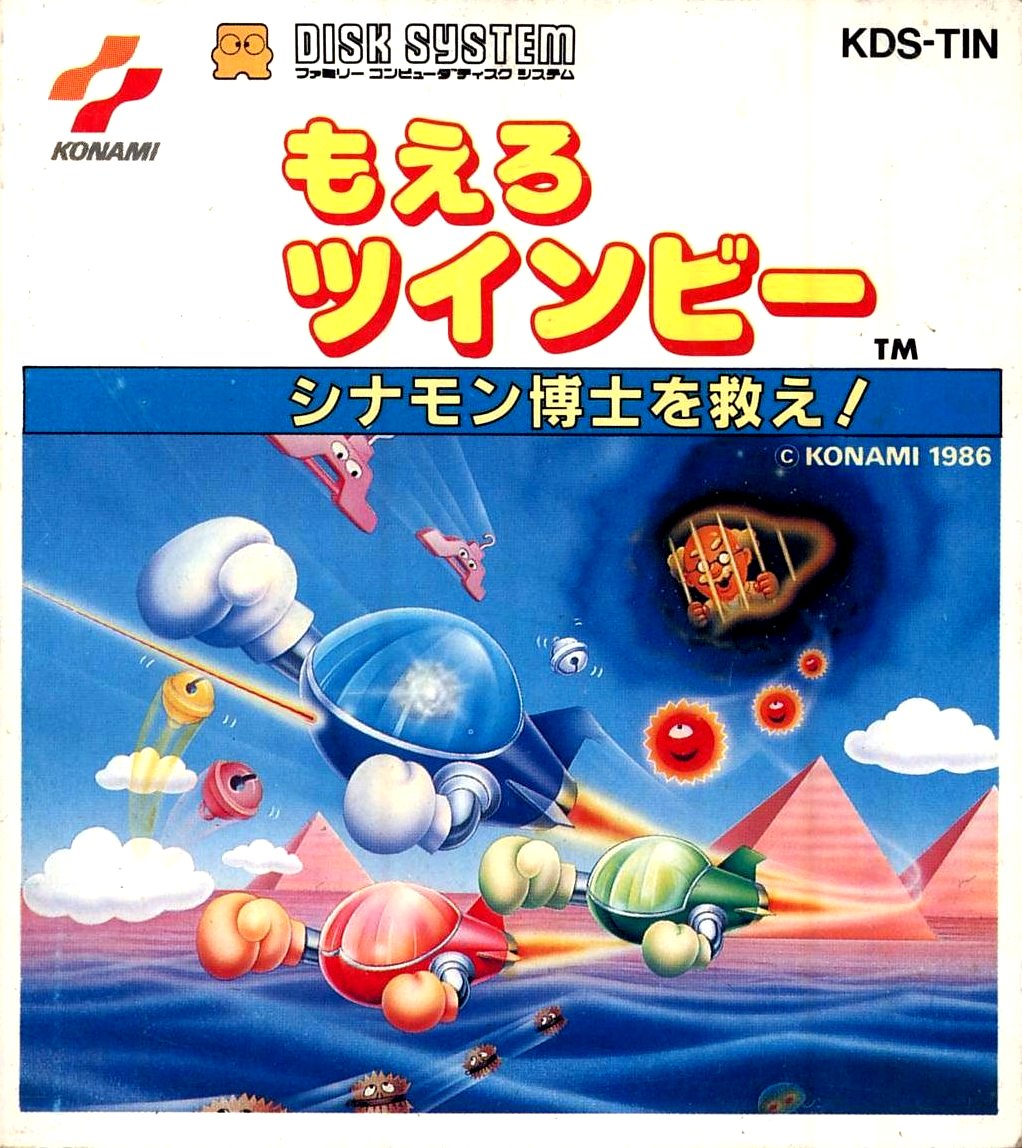
10/18/13 Been looking for ways to create a Monster Rods demo. However, a 3D driving game is out of my lead. Instead, I decided to create a top-down space shooting game for proof of concept, and that reminds me of NES Twinbee.

tumblr_mco7s90gjz1qd4q8ao1_1280
cadillac1

10/23/13 Space muscle car with animal influence in style. 2 player co-op Asteroid-like game.

Chickensaur Doomsday

Posted on September 14, 2013 by Kyle Li

Chickensaur – a new Jurassic creature created from a conversation in Major Studio 1. I drew the first version on the wall, but didn’t like the way it was mutant together. I did a few more sketches after the class. A mini-game of this creature ran for its life in doomsday is inevitable.

How to play:
Right gear shift or key 0-9: change to control different parts/function on Chickensaur
=====0: Energy: Waggle the steering wheel (or alternating ‘z’ and ‘x’ key on keyboard) to generate energy.
=====1: Sonic bolt: Use the steering wheel to tilt the head and honk (‘h’ key) to shoot a sonic bolt. Be mindful that each shot costs certain amount of energy.
=====2: Plasma shield: Press star button (‘s’ key) to shield Chickensaur with plasma, great protection against flaming meteor.
=====3: Show up after evolving to stage 2, Chickensaur gains the ability to fly. Steering wheel controls the heading; honk button flaps the wings; and star button spits fire

Adventure-Explorer

I used this slice-game as a demo to introduce the week long design-under-limitation excerise with the Adventure Explorer game controller a couple weeks later. Students used the game controller as an Universe creator, a virtual reality navigator, a sound only storytelling machine, and a shot gun – yes, a shot gun!

Pictures from the presentation day on Tumblr

Gabriel Gianordoli, Jamie Hong and Lucy Matchett’s Road Rage Controller:

Safety Scenario (Game Slice)

Posted on May 18, 2013December 27, 2020 by Kyle Li

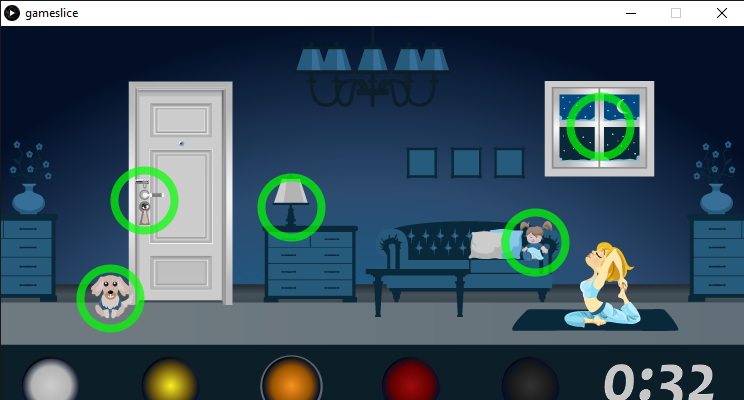
I had a meeting with Hyunjee Koo, a student in Anezka’s Major Studio II, about a game she is making for her final. It is about raising awareness of crimes specifically targeting women who are commuting late at night.

Her second iteration has great potential to be a fun serious game. Her research brought a few interesting elements into the mix. She found a color-coded alarm system used by the military to acknowledge different states of awareness for the soldiers in combat. She put together amazing assets of different sites to stage the potential crime scenes. She has information about the crime and how to prevent them. Her attempt was simple and straight forward. When the game starts, a potential crime scene is shown. The player has to pick what state of awareness does the potential crime scene implies. However, the moment of meaningful choice is broken here because what the scene implies is really up to the player’s interpretation but there is only 1 correct answer for each scene.

The quickest fix is to define the meaningful choice better by switching a few elements around and maybe bring in a timer. She has information about the possible threats and how to eliminate them in potential crime scenes – underground parking garage, household, shopping mall, and late-night park. We can design each scene with these threats embedded in the graphics. The player has to circle these possible threats out under a timer, the original mechanic but with a kick, to prevent the crime from happening. Here is the next iteration.

05/20/2013 stop the time when player find all threats before time is up.

PORTALCADE

Posted on April 17, 2013March 12, 2023 by Kyle Li

PORTALCADE is a mystic portal and a joystick game controller!

—–In PORTALCADE, after a creature figurine is read and loaded into the game, the figurine itself becomes the joystick of the game! I am a big fan of physical video game pieces and recently I’ve been playing with Skylander and Infinity figurines. However, like many of their Japanese predecessors, once these nicely made game pieces are loaded into the game, they are left aside throughout the remaining gameplay. I want to do more with these cool toys! I decided to make a game and a game controller that keeps player interact with the collectible toys throughout the the entire play experience. PORTALCADE controller is my first working prototype based on this concept.

precedents:

DSC07521


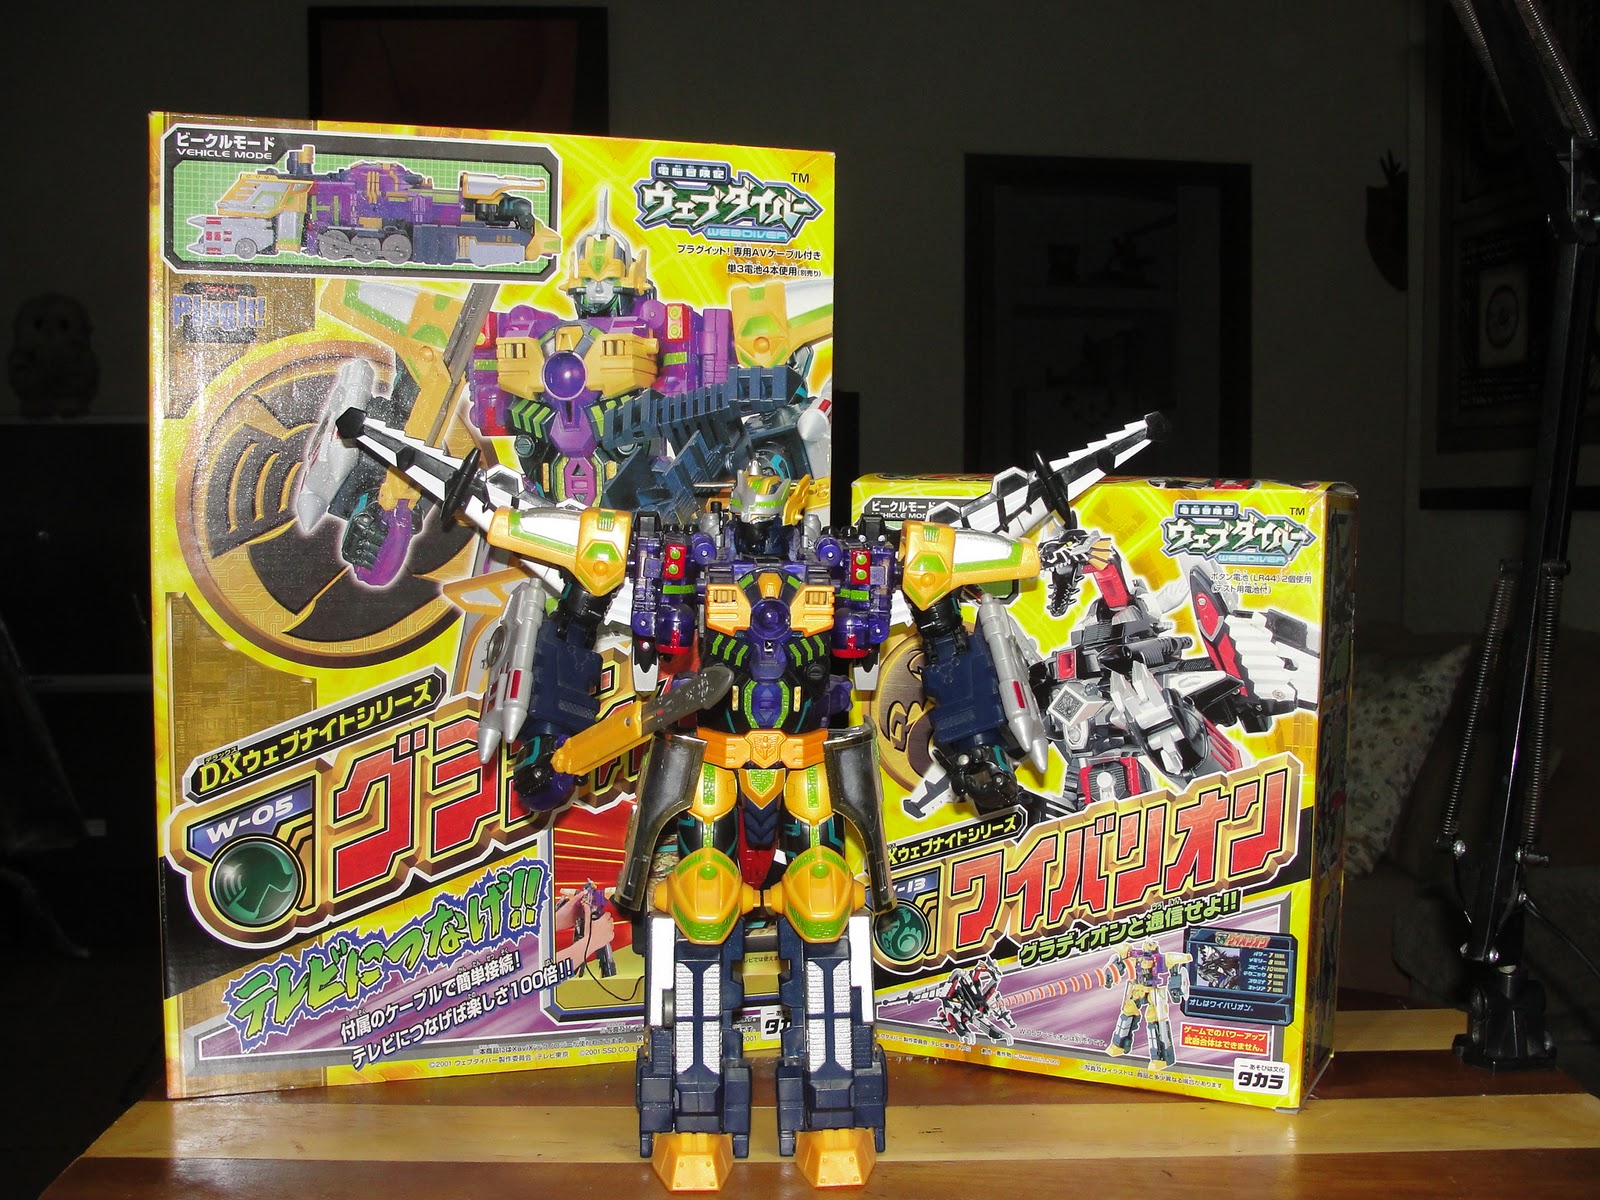
Webdiver Gradion
This is a transformers + plug’n play TV game playset with semi-real time transformation detection. During the gameplay, the player has to hold the Gradion in his/her hands and transforms it to a robot or a locomotive based on the game. There are also transformable weapon accessories sold separately.

Game Inspirations:

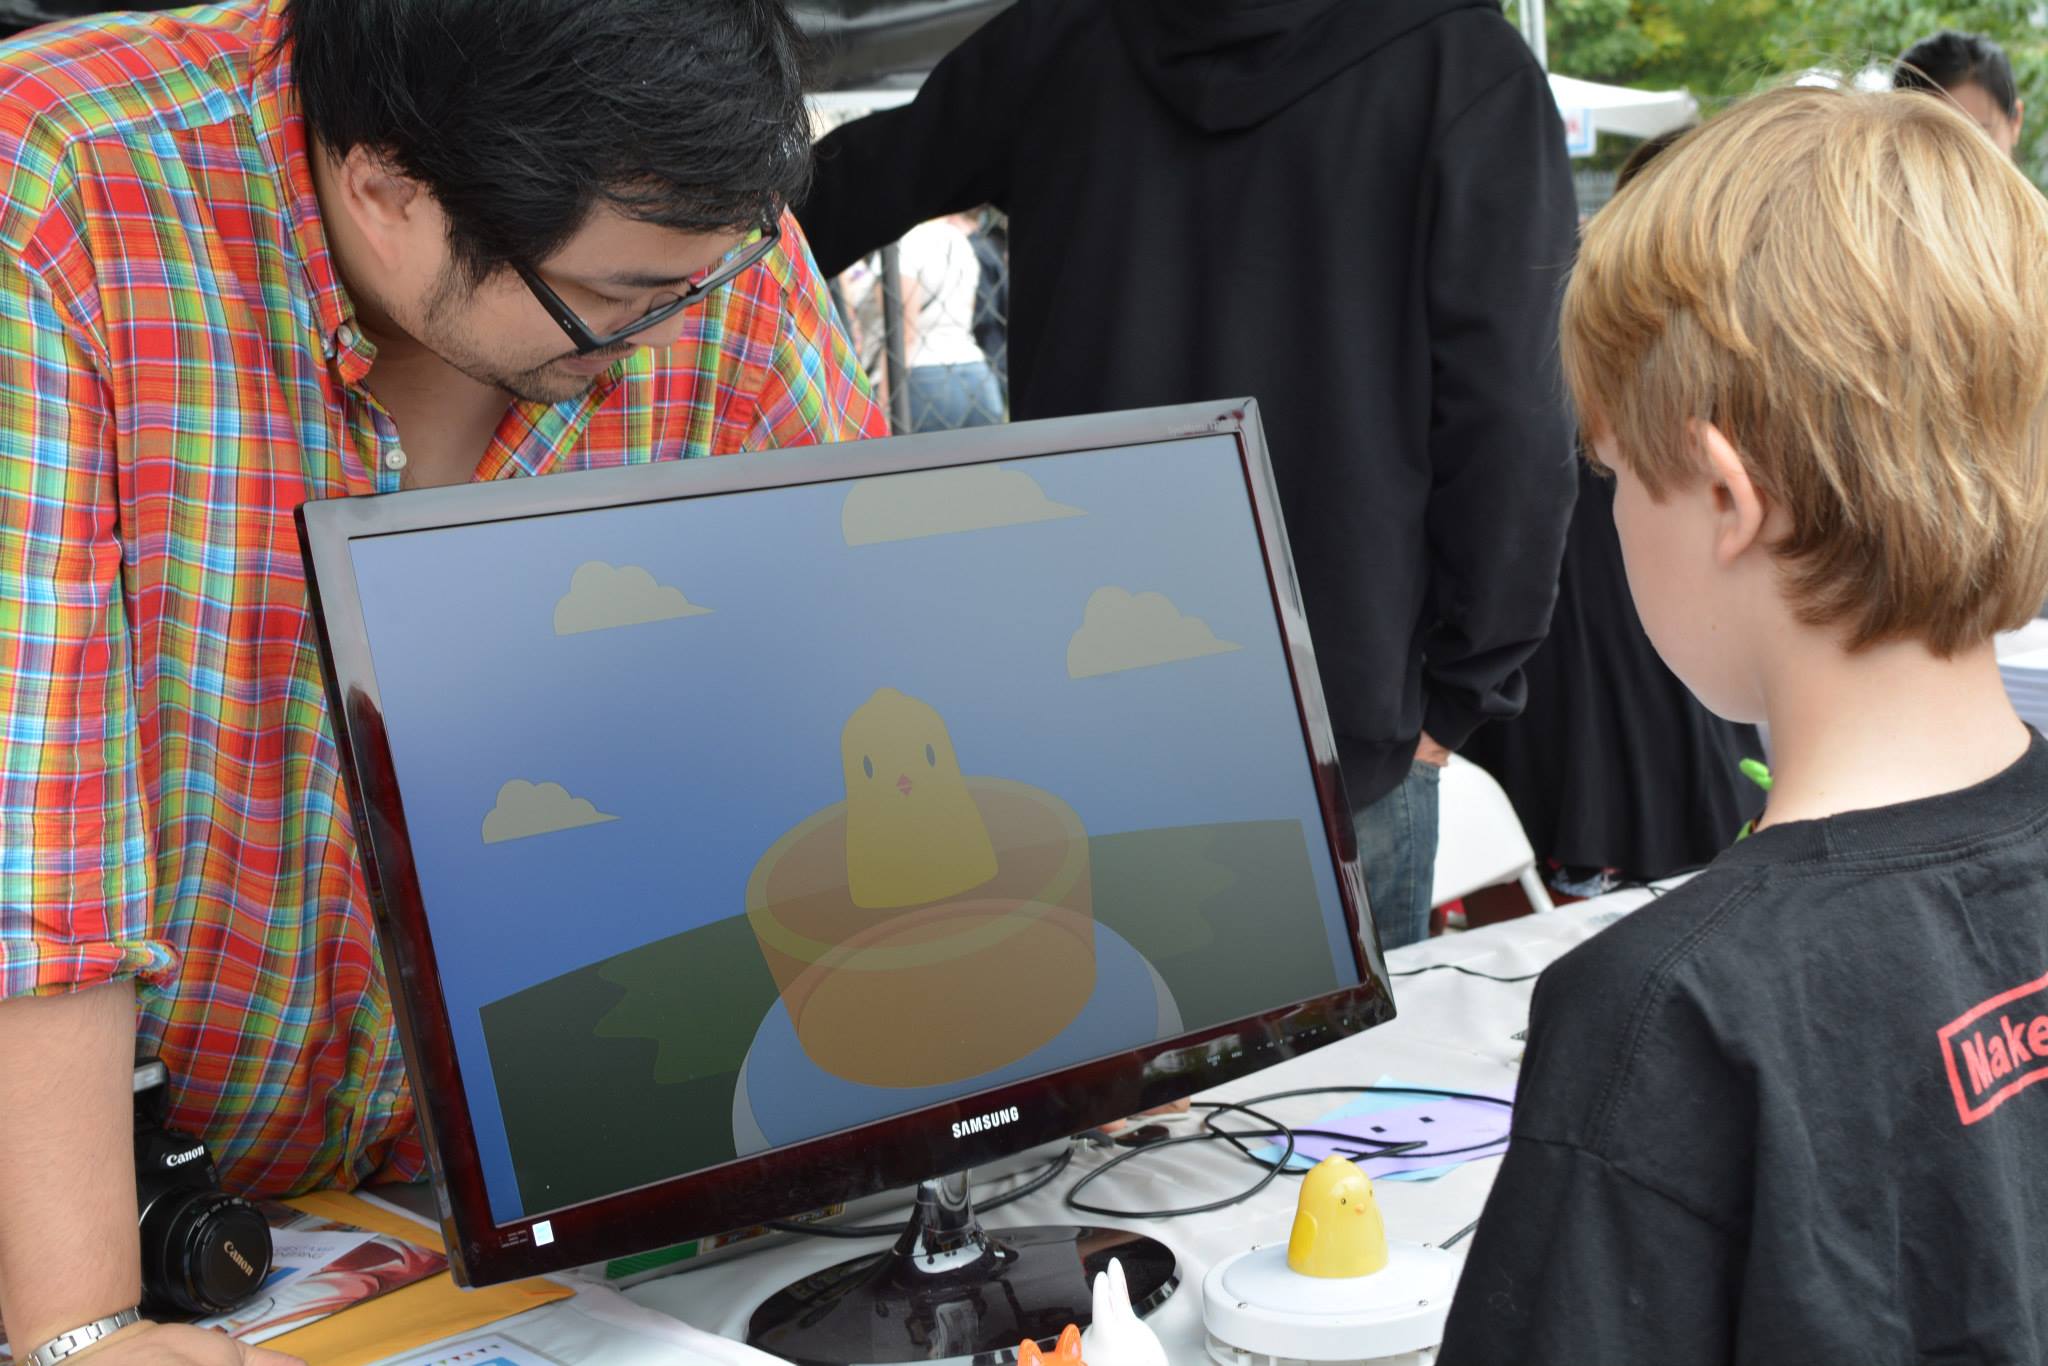
Interactive demo application shown at Maker Fair. The demo actually went for a more exploratory approach than what’s shown in game inspiration. Giving the fact that PORTALCADE is essentially an Atari joystick, a D-Pad and a button, I am building something simple to test the interaction before going crazy with it.

1262851_10151932939943745_2008588822_o

1274774_10151636826110036_922057653_o

Screen shot 2013-09-20 at 1.06.03 PM

Screen shot 2013-09-20 at 1.06.18 PM

MAKER LOG:
3/21/2013  Our nanny bought us a set of 4 nicely design animal character eggs and it struck me that it is time to realize this idea of mine.

3/27/2013  Bought button light from Home Depot, took one apart and removed all the cheap guts, including the buttery box. People may not know, usually the space of a 4 AA bettery box is perfect fit for 1 Arduino board.

4/7/2013   Reed switches finally arrived. Tested them on a small breadboard as pull-down switches. First attempt to read RFID reader TX with Arduino. It worked like magic.

4/10/2013  Designed a small breakout board for all my inputs/outputs, also leave some extra pins open just in case I am going to light this up.

4/11/2013 Made a circular structure for reed switches and used 2 3M clip hook to mount it under the button light cover.

4/12/2013  Finish soldering, testing and writing Arduino code. 4 directions work perfectly but there are some noise in between adjacent reed switches.

4/18/2013  Unsoldered the BUZZ pin on the RFID reader, official end the annoying buzzing sound. Was thinking adding a switch to the pin for debugging purpose, didn’t bother.

4/21/2013 Serial port only works with Processing 2.0+ 32-bit version (otherwise 1.5.1). Experienced a huge delay with my old sample code, fixed by using the serialEvent(Serial port) function. I also get ride of out the delay(30) in my Arduino code, not sure if it was necessary.

6/8/2013 Start making the interactive demo

11/4/2014 Coming back to this project and polishing the demo application.

Dorkshop 2013: Dynamic Level Management with Google Drive and Unity 3D!

Posted on March 15, 2013March 13, 2021 by Kyle Li

Resources & Requirements:

  • Internet connection
  • a Google drive account
  • Unity 4: I will be using this game creation tool for the dorkshop, but the backend will work with other web players such as FLASH. Yes, FLASH rules. (FLASH no more.)
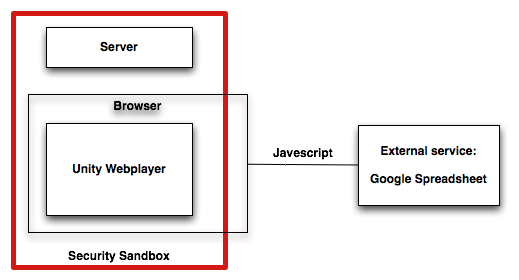
  • jQuery javascript Backend: The code is partially based on Mike Mikay’s google-spreadsheet-javascript example. Only needed for the Unity 3D Web Player.
  • in-shop sample code: a Unity package.
  • notepad
  • some webspace.

Overview:

external spreadsheet

something, something level design
mini-game jam [live demo]

[Still compiling notes from the Dorkshop]

[ Part 1 ] Create and publish a Google spreadsheet
1. All we need is a Google spreadsheet, adding a form is just more fun and help us collecting data more easily.
2. Once the spreadsheet is up, publish it to the web.
3. The default output format is Web Page, change it to CSV (Comma-separated values)
4. Copy the link to the CSV file and save it for later.

[ Part 2 ] Unity 3D platformer in a flash:
I. Scene setup:
1. Go to Main Camera’s Inspector window. Change Projection to Orthographic, and Size to 4.0. (Main Camera and other newly created GameObjects can be found in the Hierarchy window.)
2. Create a Cube from Menu/GameObject/Create Other/, and rename it to “Player” in the Hierarchy window.
3. In the Inspector window, change Player’s Position to (-2, 2, 0) and Scale to (1, 1, 1).
4. In the same window, find the Box Collider component and remove it with the Remove Component option.
5. Create another Cube and named it “Platform”. In the Inspector window, change its Position to (0, -4, 0) and Scale to (8, 8, 3).

II. Import package files:
1. In the Project window, right-click on the Assets folder and go to Import Package/Character Control.
2. A pop-up window will show up, import PlatformInputController.js and CharacterMotor.js two files only.
3. Go back to the Player’s Inspector window. At the bottom of the window, click [Add Component]. In the drop-down menu, go to Character and add PlatformInputController.js and CharacterMotor.js to Player.
4. Now click the play button on the top. On the keyboard, press A to move left, D to move right, and space bar to jump. It should work like a magic!

You might not notice this due to the orthographic view, but the Player is still moving 3 dimensionally and will eventually roam off the platform on the Z-axis. To fix that, a few lines of code needed to be added to the CharacterMotor.js to eliminate the motion on the Z-axis.

5. Open CharacterMorot.js in MonoDevelop or other editors you prefer. Do a search (Command + f ) on “return velocity;” and replace both lines to:

return new Vector3(velocity.x, velocity.y, 0.0f);

[ Part 3 ] Data parsing
1. Import the Unity package file downloaded earlier. (Ok to all overwrites)
2. Create an empty GameObject and name it “lvlManager”
3. In the scripts folder under your Asset, add javaListener.js and javaParser.cs two scripts to the lvlManager.
4. Keep lvlManager opened in the Inspector window, go to the prefabs folder under your Asset, assign Platform and Marquee to javaParser’s Platform prefab and Text prefab.
5. The set-up we just did was designed to work with a web player, and you won’t be able to test it by the Unity itself.
6. Check the build type: go to file/Build Setting. Make sure the current build is on the Web Player. If not, select the Web Player and click on the build button.
7. Drag the filename.unity3d file from your build folder to our jQuery Javascript backend folder (download earlier and unzipped). Rename your file to dorkshop.unity3d for the purpose of testing (and awesome too.)

[ Part 4 ] Javascript
Find the following code block in the dorkshopEmbedded.html and replace the highlighted values with yours:

Replace Value 1 = link your Google CSV file
Replace Value 2 = The name of the GameObject in the Hierarchy window that has the javaListener script attached.

function myFunction()
{
     localStorage.clear();
     var sample_url = "Replace Value 1";
     var url_parameter = document.location.search.split(/\?url=/)[1]
     var url = url_parameter || sample_url;
     var googleSpreadsheet = new GoogleSpreadsheet();
     googleSpreadsheet.url(url);
     googleSpreadsheet.save();
     googleSpreadsheet.load(function(result) {u.getUnity().SendMessage("Replace Value 2", "GiveID", cdata);
                                              url = result.data; $('#results').html(JSON.stringify(result.data).replace(/,/g,",\n"));});
}

[ Part 5 ] test it All together
Now save the HTML file and open it in a browser. After the unity web player is fully loaded, click on the “Update level” button. (ノ◕ヮ◕)ノ*:・゚✧*:・゚✧ Magic moment! If not, make sure all the steps are done correctly, check for typos and casing. Good luck! ( ´ ▽ ` )ノ

[ Update ] 4/30/2014 The new Google drive, the option to publish .csv is no longer visible, however, the function is still there. Go to the share screen of your spreadsheet and copy the key and replace it in the following link and you are all set!

CSV file : https://docs.google.com/spreadsheets/d//export?format=csv

Mini Game Jam!

Posted on March 7, 2013February 16, 2021 by Kyle Li

Screen shot 2013-03-15 at 12.40.40 AM
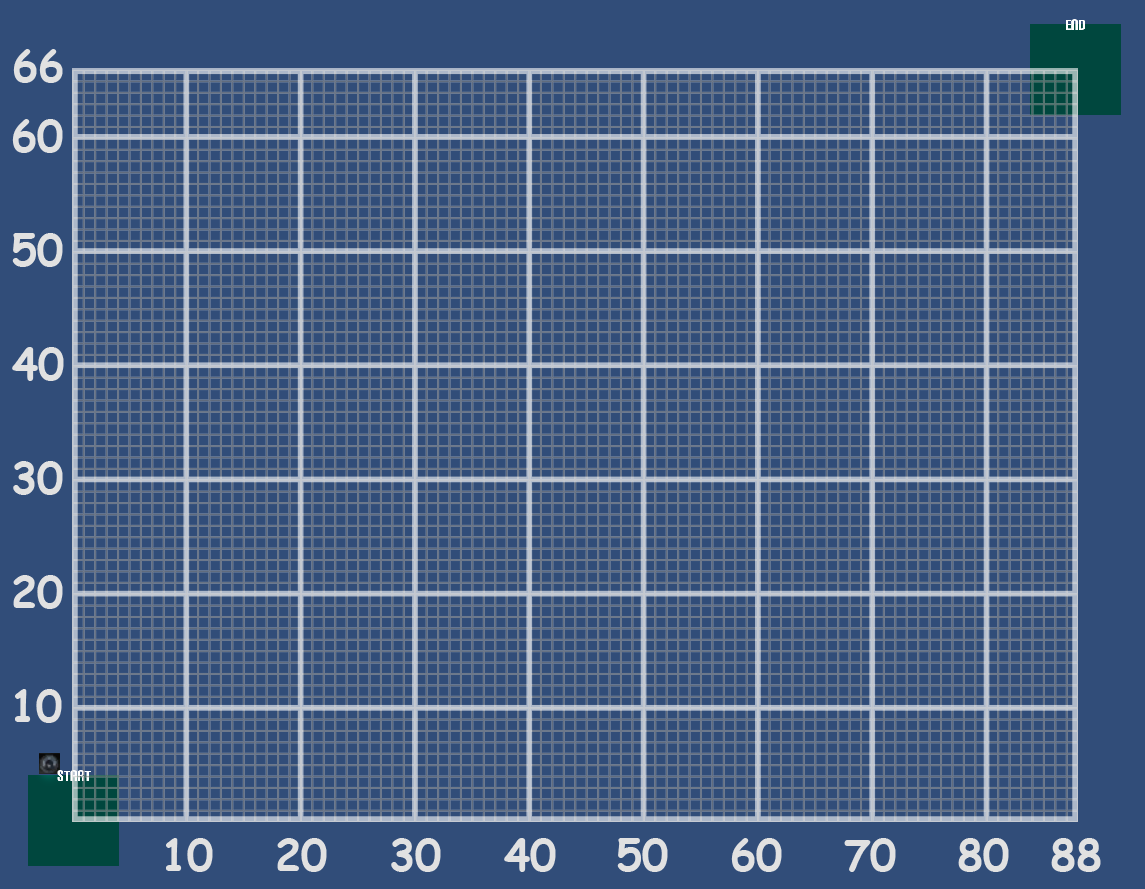
The plan below is an overall view of the map in this demo game. As you can see it is empty between the lower-left platform and the upper-right platform. Use the Google Form below to create a platform for the game. When you are done submitting the form, launch the game below, once the web player is fully loaded, click the “Update level” button underneath the web player. To update again, just refresh the page and the button will show up again. CAUTIONS: The level creation here is a collaborative effort, everyone’s contribution will show up all in 1 game.

[CAUTION] Please don’t enter “,” in the text field.

== Launch the demo game v1.0! ==

lvelmap

Change Log:
[03-19-2013] Update Google form, change checkbox to multiple choice for Ramiro.

something, something level design

Posted on March 6, 2013February 16, 2021 by Kyle Li

basic guidelines:

1. Understand the genre
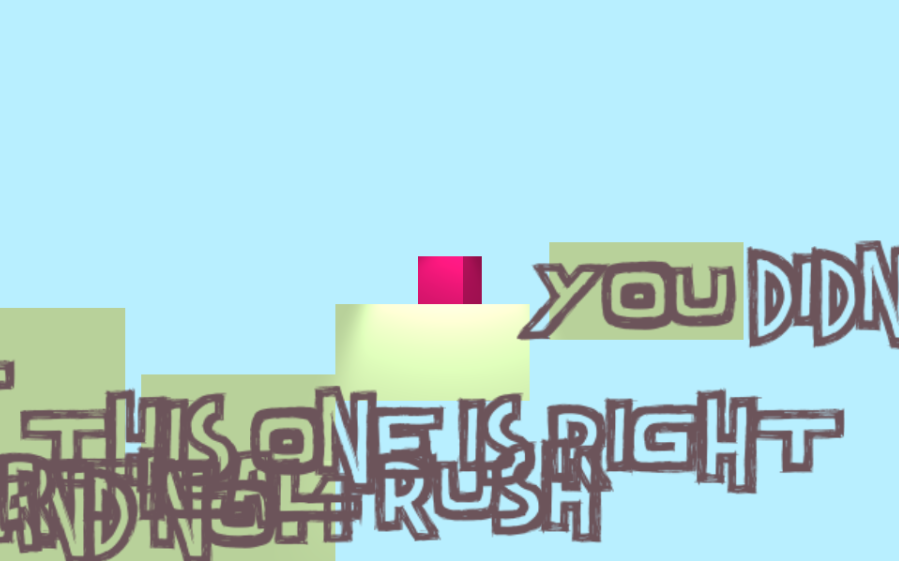
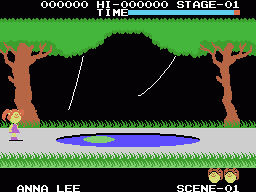
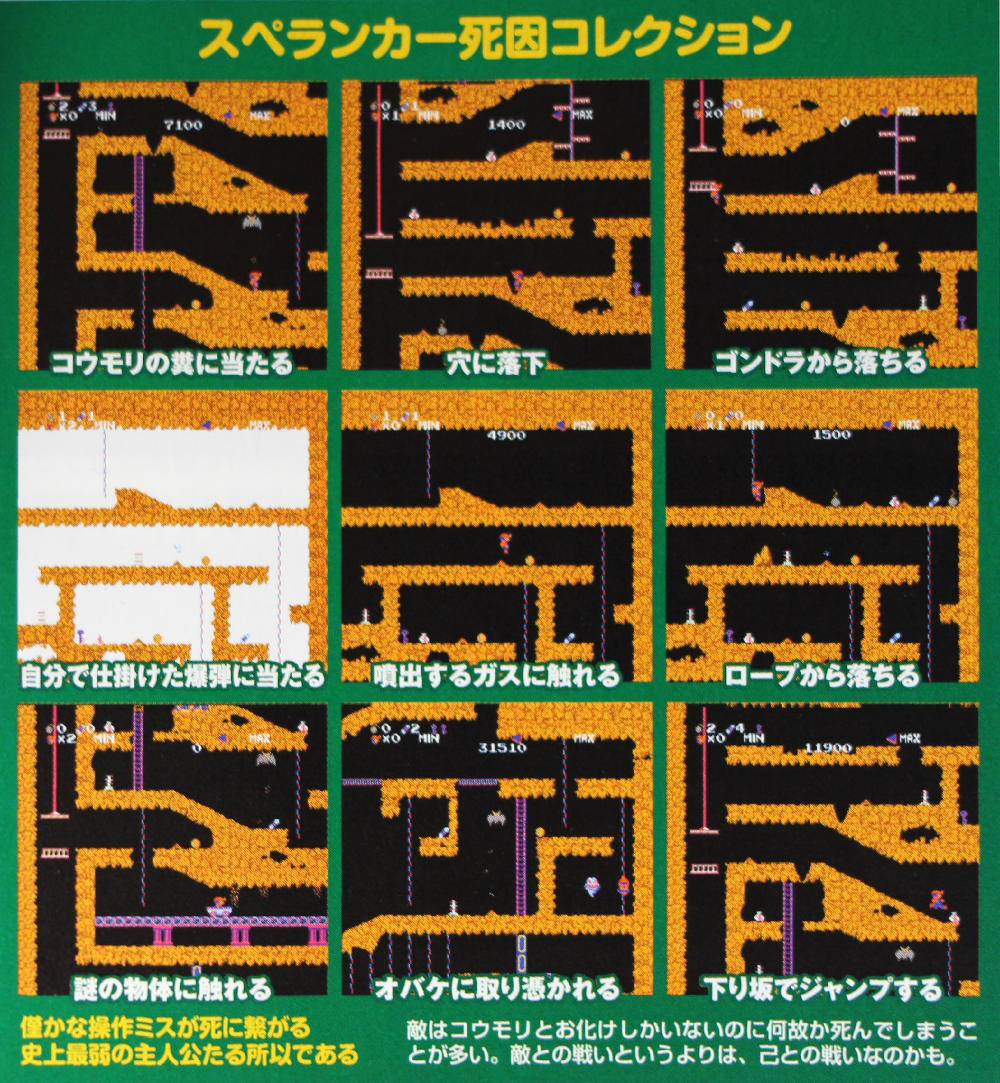
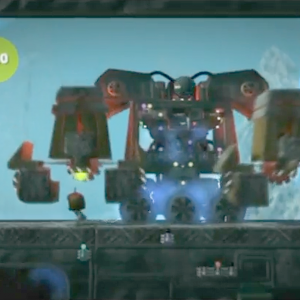
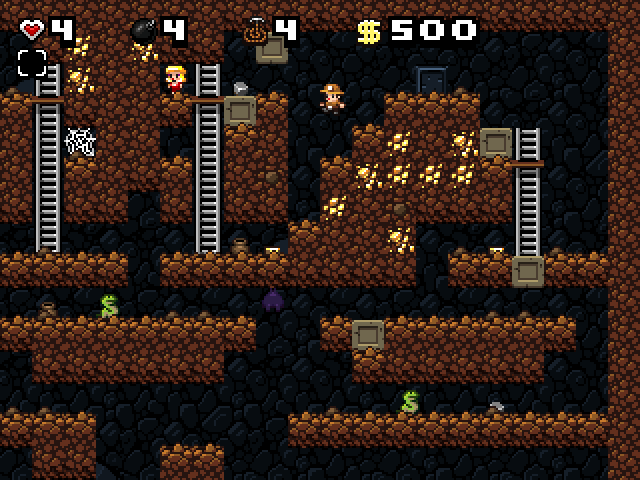
In our demo game, the main character “cube” can only move left or right and jump. The character doesn’t grow stronger over time, doesn’t level up, and doesn’t have any massive destructive weapons available in-game. There are tons of game characters like ours throughout the history of video games. In fact, the cube is not the weakest, Spelunker is – click the image to find out different ways the main character in Spelunker can die. However, from the point of view of play experience, the weaker it gets, the greater the satisfaction is after beating a difficult level.

Cabbage Patch Kids - Adventure in the ParkCabbage patch kids MSX (83′)spel1Spelunker (83′)
lbp1
Little Big Planet 1 (08′)
spelunky-pc-screenSpelunky (08′)
Week2.009
Week2.011

2. Be Experimental
Understand every one of your game elements and different ways they can work together to create new gameplays, build game levels for those elements and combos to thrive. Check out this link on the 4 step level design in Super Mario 3D world that covers onboarding, habit-building, and mastery in building a fun and challenging player journey.

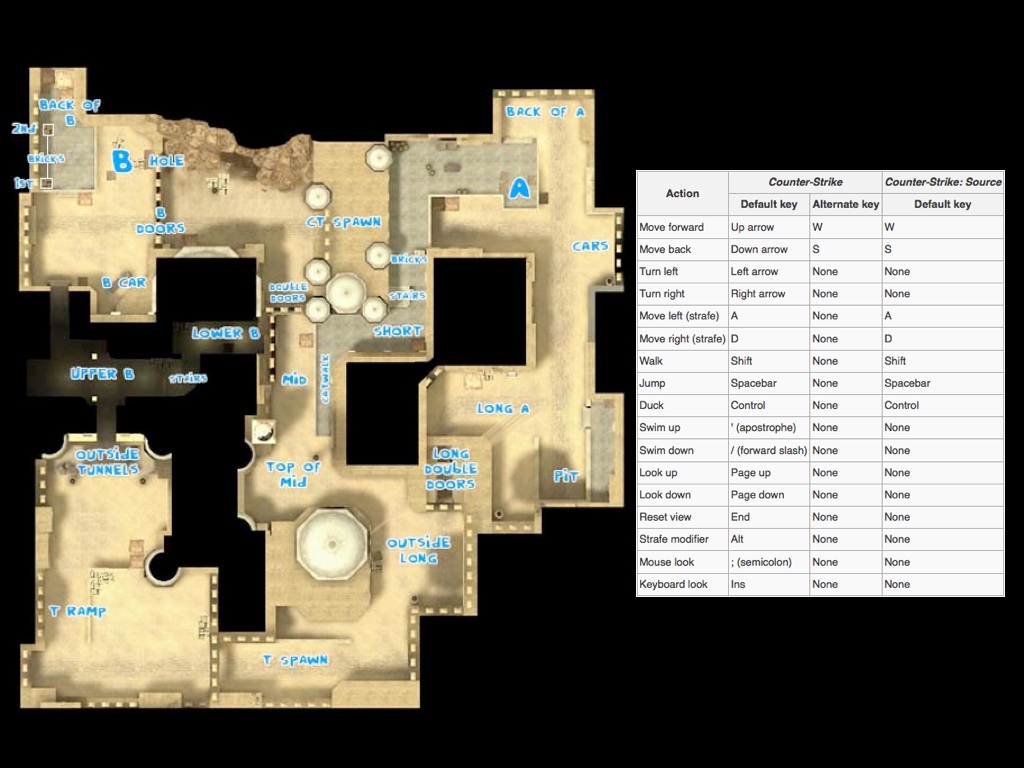
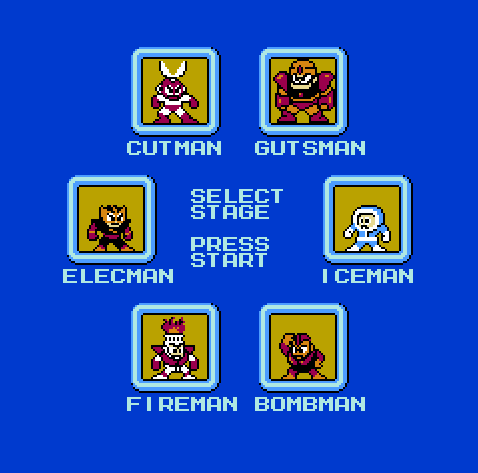
3. Offering options and keeping secrets
Get players involved in making choices. Even tho only 1 door leads to the next level, let’s give them 5 doors to choose from.

megaman


4. Keep them focus
Mix and match your game elements to create different Immediate Goal (combo gameplay) e.g. Exploration = traversal + stomping + exterior. Doing so will give limited game mechanics a fresh spin.

  1. Immediate Goal: Exploration, Defending, Puzzle Solving, …
  2. Mechanics: Traversal, Stomping, Brawling, Flying kicking, …
  3. Environment: interior/exterior, weather condition, urban/rural, …

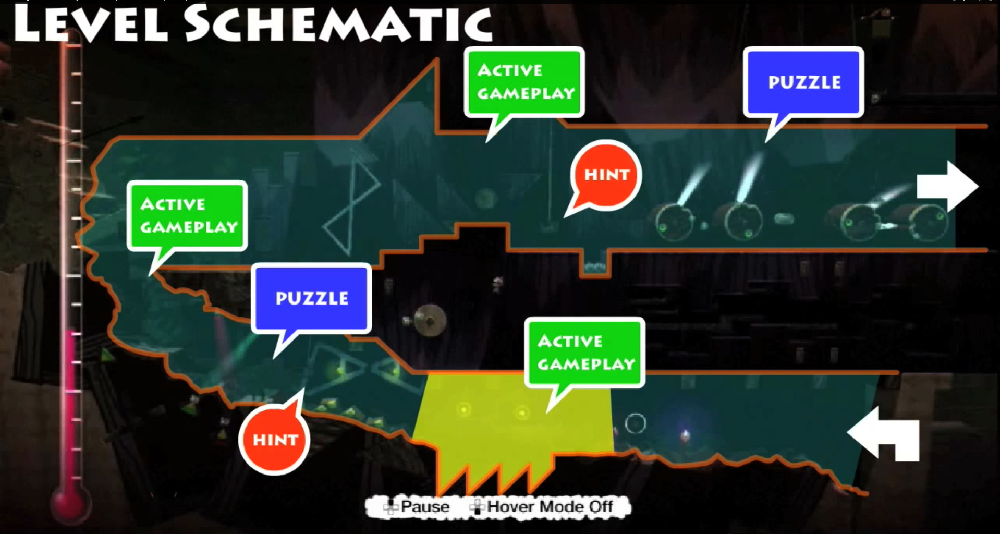
5. Alternation:

LEVEL
levelDesign

6. Break your rules in case of fun!
“Rational game design repeats rational gameplay.” and “Irrational game design lead to new experiences.” – If Sol LeWitt designs games.

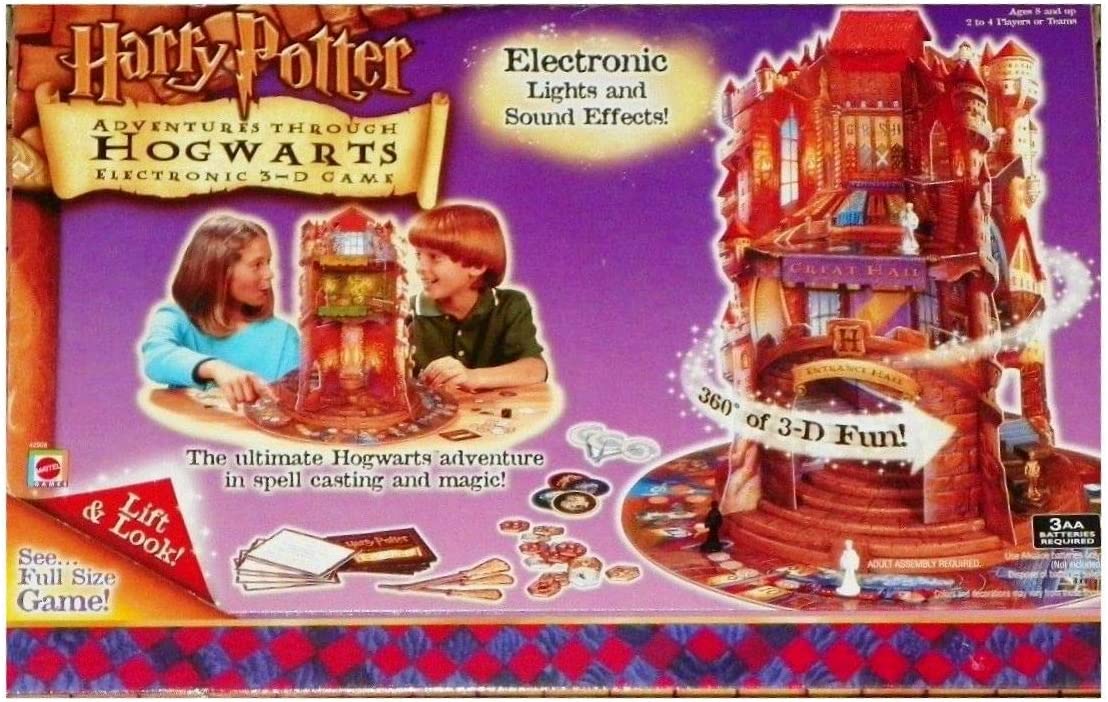
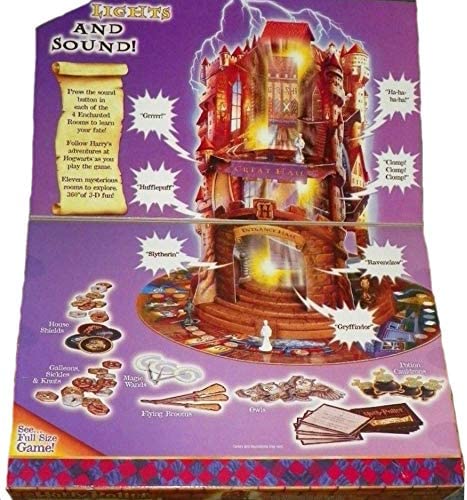
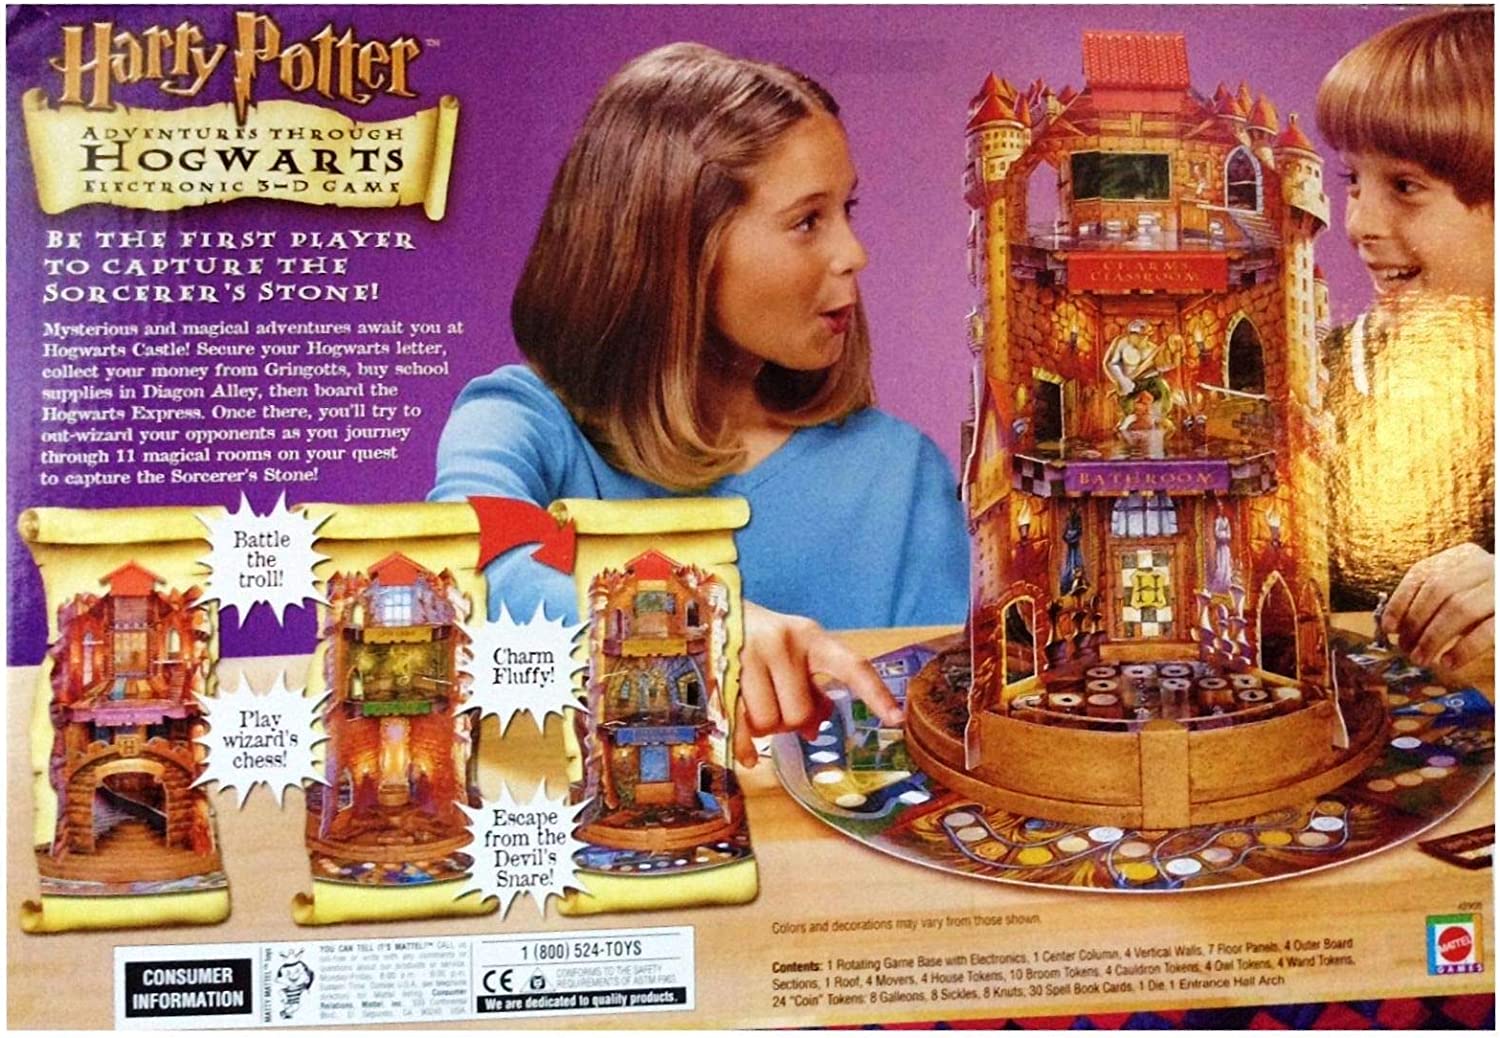
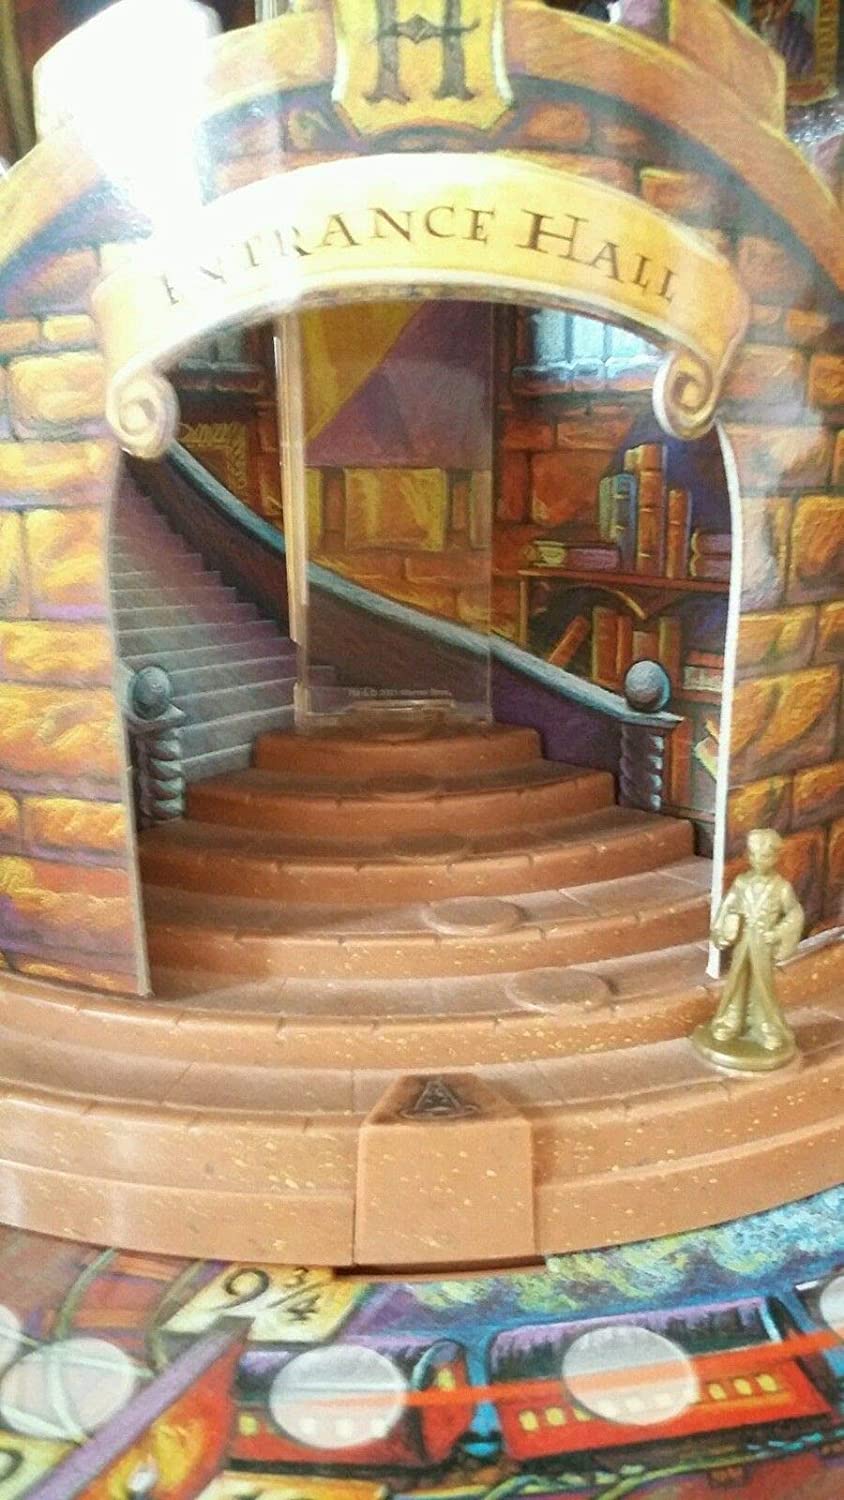
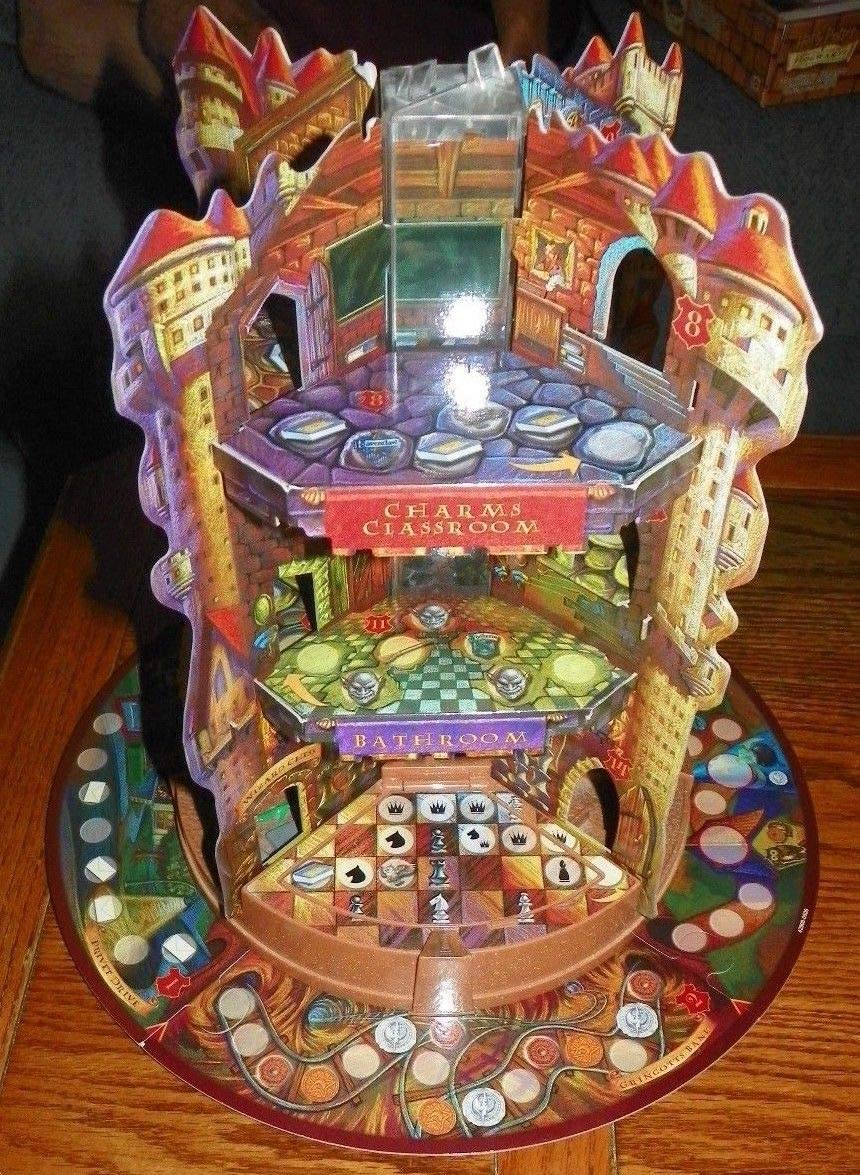
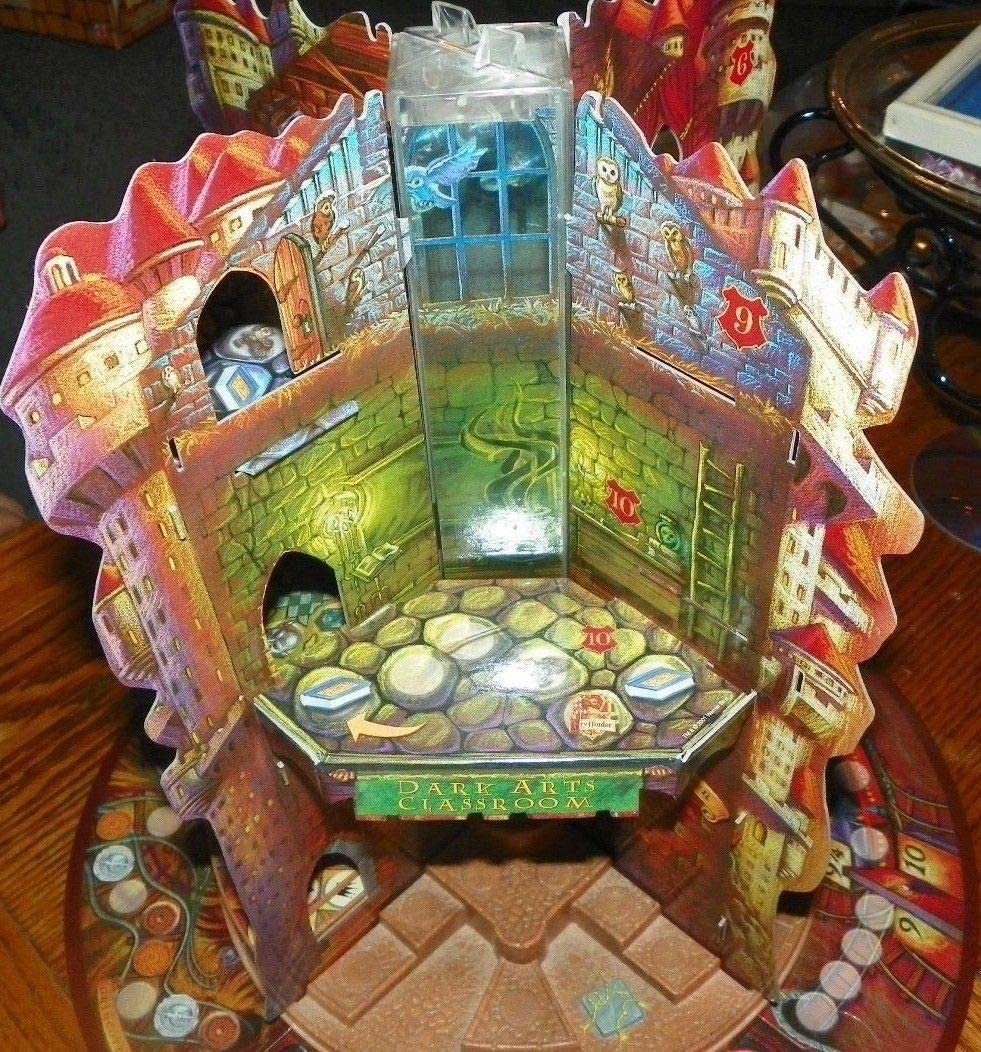
Harry Potter Adventures Through Hogwarts Electronic 3D Game

Posted on November 23, 2012November 23, 2022 by admin

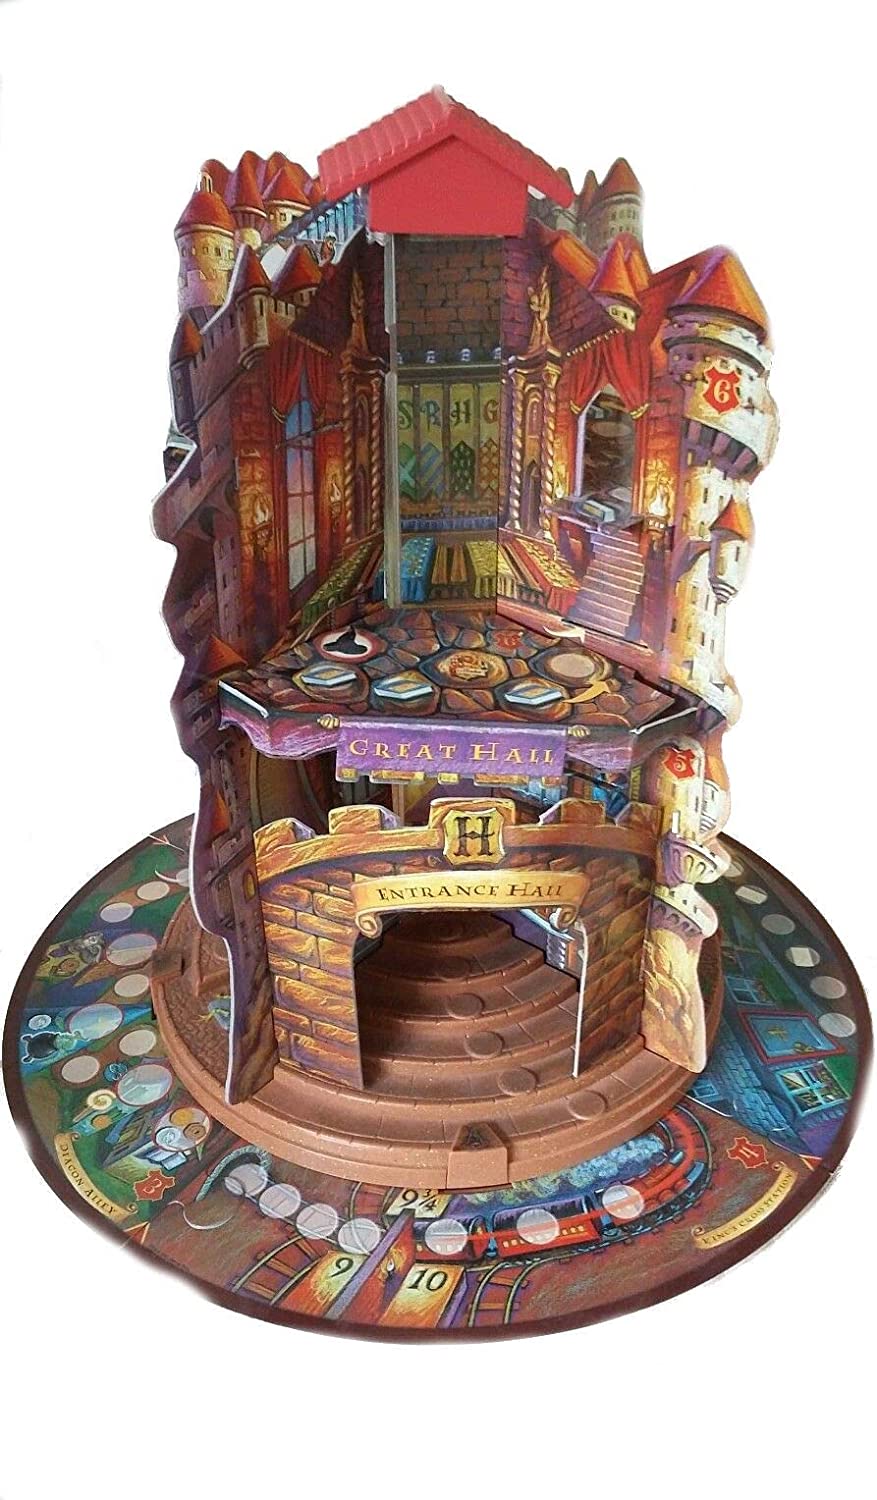
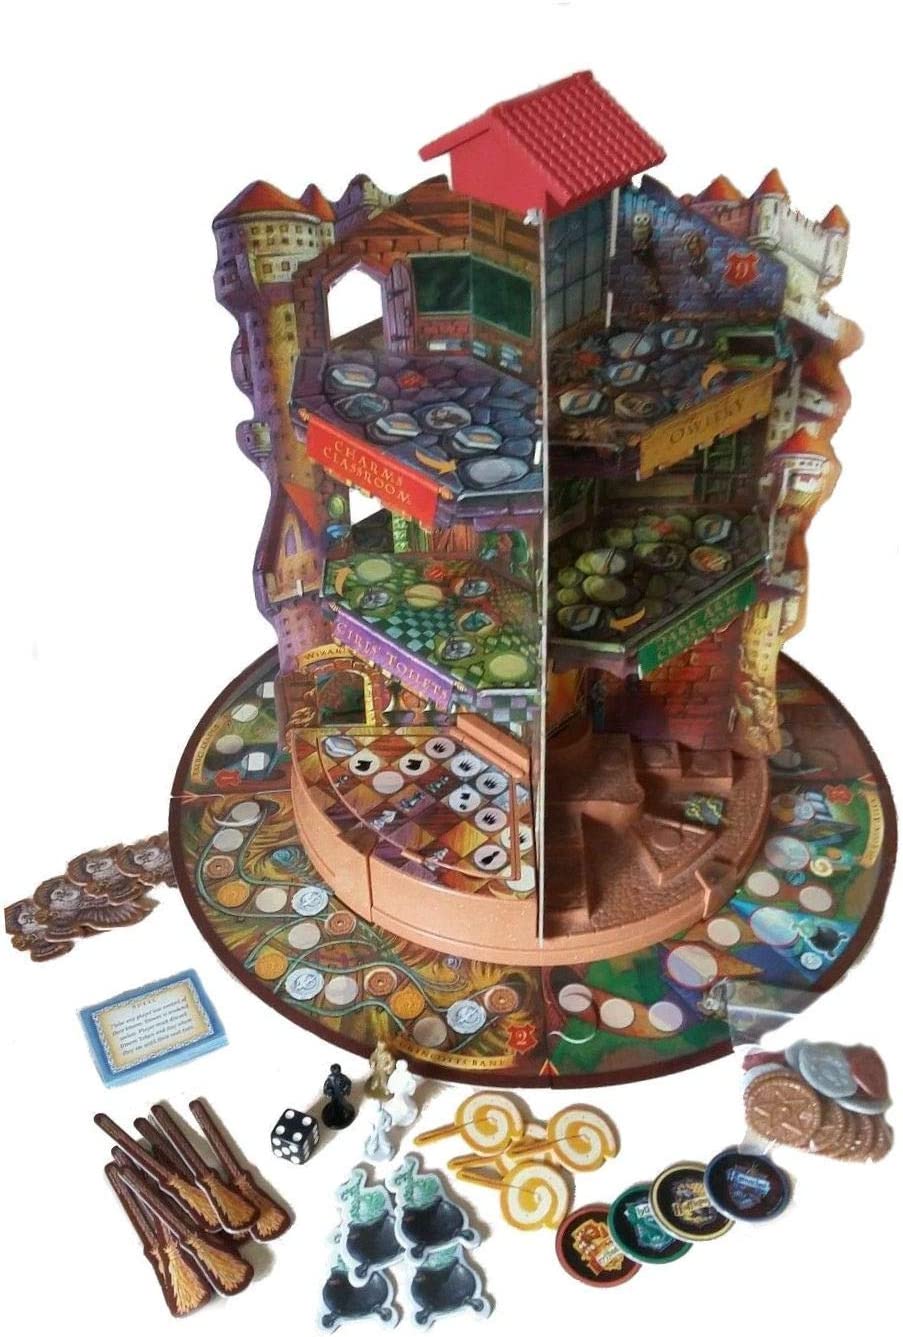
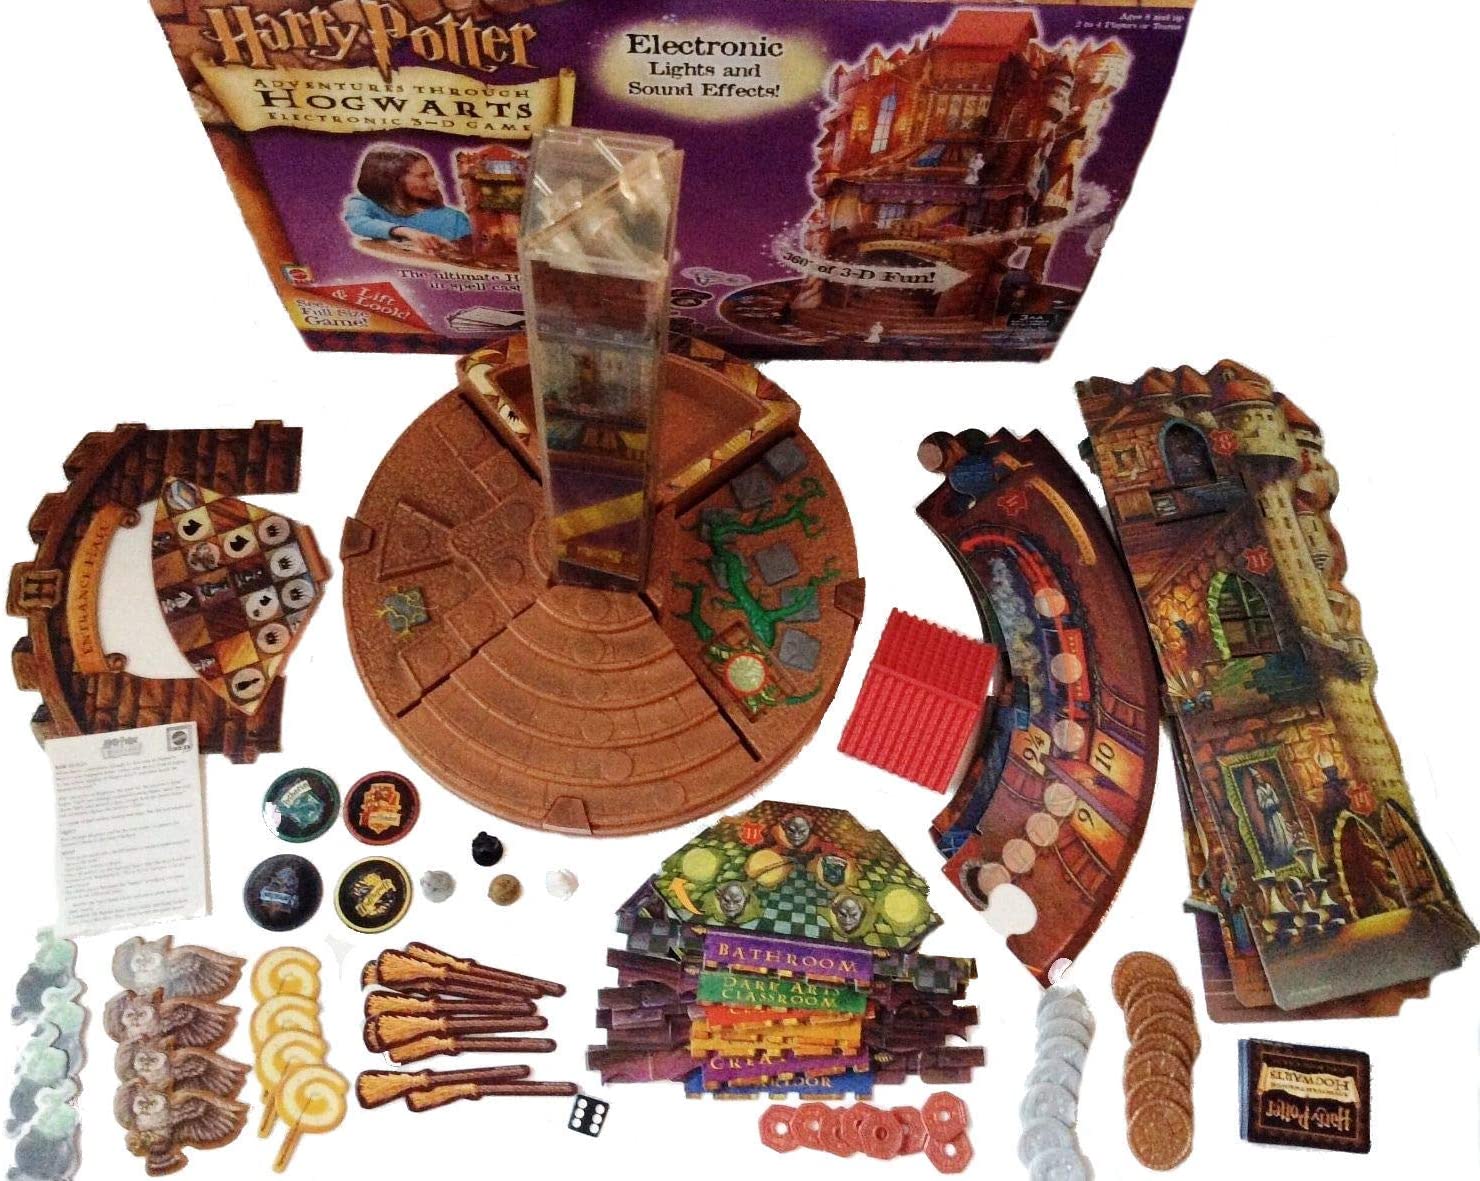
[MATTEL, 2001] Mysterious and magical adventures await you at Hogwarts Castle! Secure your Hogwarts letter, collect your money from Gringott’s, buy school supplies in Diagon Alley, then board the Hogwarts Express. Once there, you’ll try to out-wizard your opponents as you journey through 11 magical rooms on your quest to capture the Sorcerer’s Stone! DESCRIPTION Players travel through a 3-D version of Hogwarts Castle as they search for the Sorcerer’s Stone. There are eleven rooms to explore. Electronic sounds and lights enhance the game play. The “castle” rotates so that players have easy access to their pawns. Players can cast spells to slow down their competition. The first player to capture the Sorcerer’s Stone wins.

CONTENTS: 1 Electronic game base 1 Entrance hall arch 1 2-Piece plastic center column 4 Vertical walls 7 Floor panels 4 Outer board sections 1 Roof 26 Cardboard tokens 4 House tokens 10 Broom tokens 4 Caldron tokens 4 Owl tokens 4 Wand tokens 24 Coin tokens 8 Galleons 8 Sickles 8 Knuts 30 Spell book cards 4 Plastic movers 1 Standard 6-sided die Rules

https://boardgamegeek.com/boardgame/12823/harry-potter-adventures-through-hogwarts-electroni

SMALLab: Game of π

Posted on March 14, 2012June 7, 2020 by Kyle Li

“The children really got into the game, and you could hear good reflection statements and questions. they were learning.”  – Daniel O’Keefe, Curriculum Designer, Institute of Play

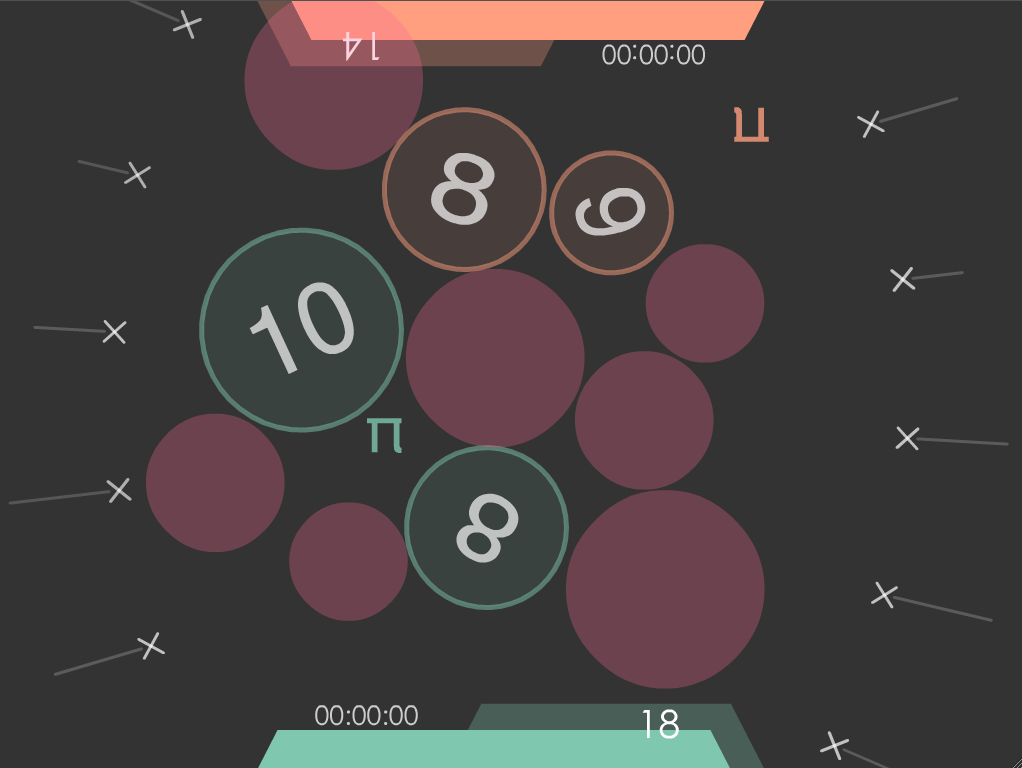
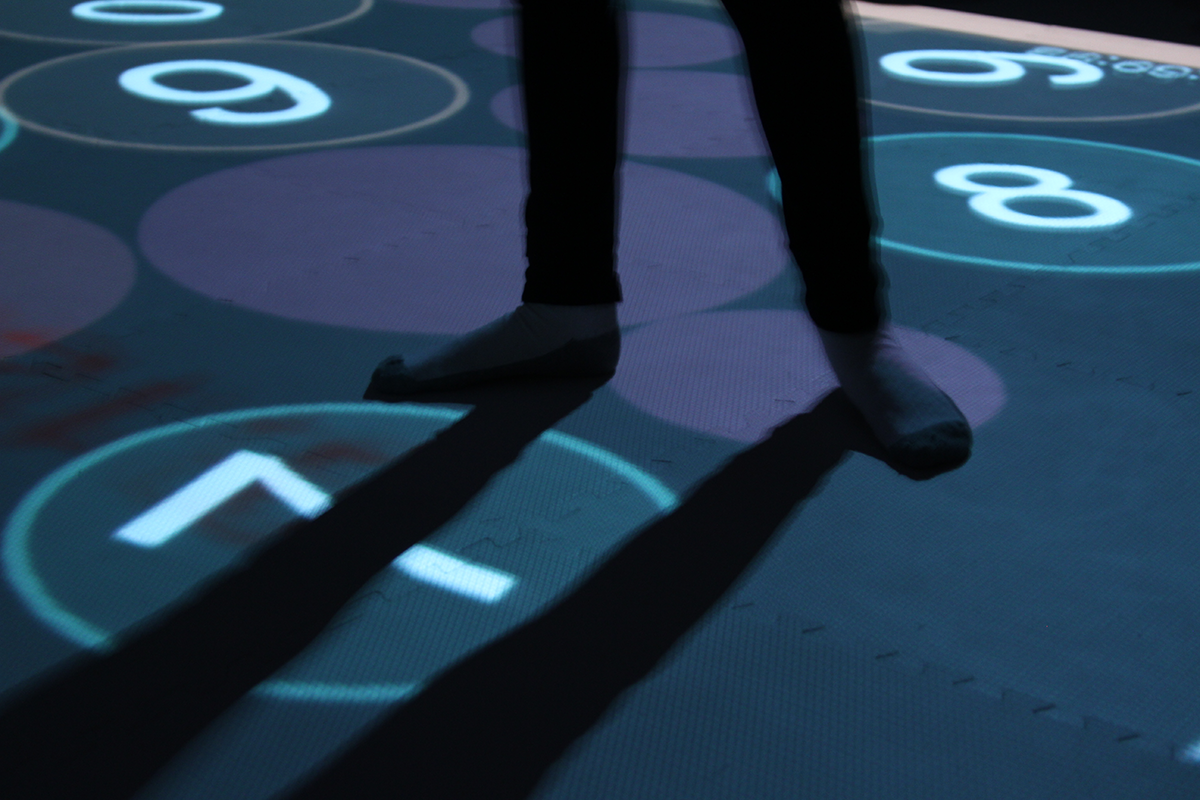
CIRCLES is a multi-player territorial game that reinforces the concept of Circumference = 2 x π x Radius. In this game, players are divided into 2 teams and each team holds the correct value of π in their controllers. Teams are competing to capture as many circles as possible with matching circumferences. Each circumference is created by pairing their π value with a roaming radius in the space. The process of creation is companied with a robotic voice saying “1, 2, 3, and a little more!” which is directly connected to the π lesson prior to the SMALLab experience. If the circumference matches the target circle perfectly, the team captures the circle and scores! However, a mismatch offsets the team’s π value and deactivates their controller temporarily until the value counts back to π again.

SMALLab Team:
Kyle Li <SMALLab PL/Game Designer>, Lena Kotani <Math Teacher>, Daniel O’Keefe <Curriculum Designer/Learning Expert>, Shulamit Ponet <Mission Lab Game Designer>, Richard Bowman <SMALLab IT>

Posts navigation

Older posts
Newer posts

Recent Posts

  • 8bitworkshop Notes – Include binary files
  • 8bitworkshop Notes – Display an external Nametable V1
  • 8bitworkshop Notes – Player Running and Jumping
  • Native Web Speech API
  • AI: You are _____ correct.

Archives

Proudly powered by WordPress | Theme: MiniZen by Martin Stehle.