Skip to content

A PLAY EXPERIENCE MAKER'S WORK LOG FOR FUTURE SELF©2001 – 2023 Kyle Li 李肅綱 All Rights Reserved.

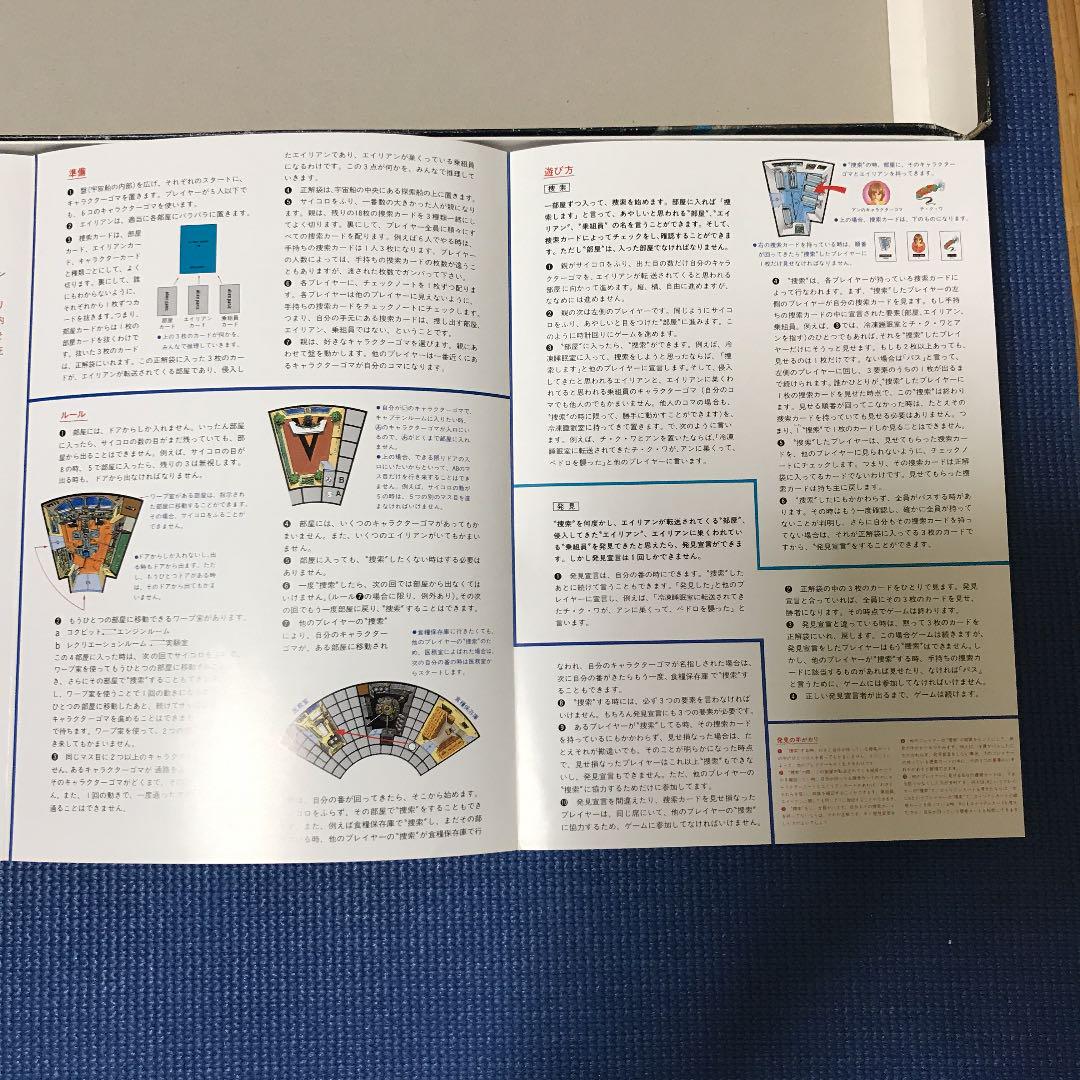
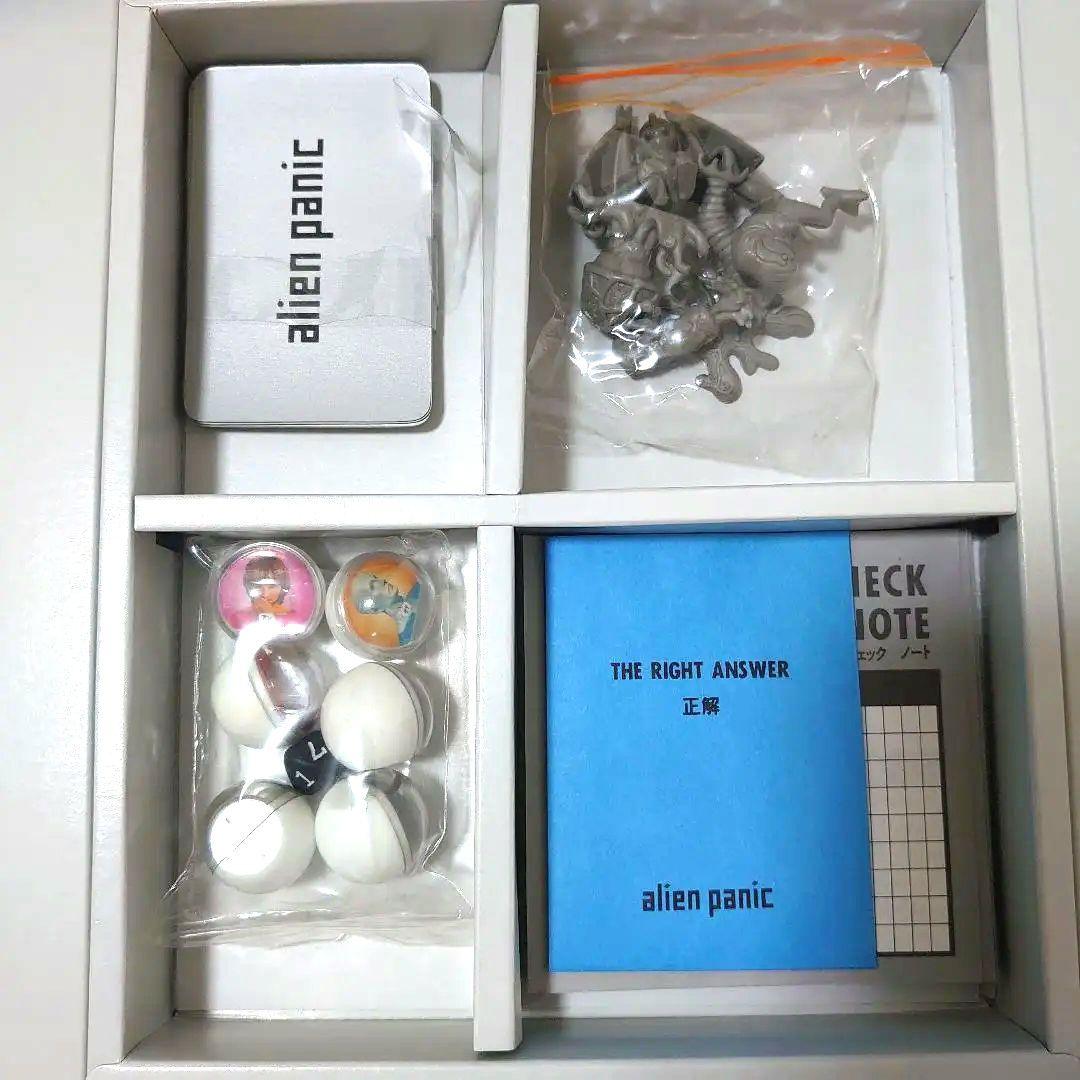
Board games with Clay or Play-Doh

Posted on January 3, 2025January 3, 2025 by admin

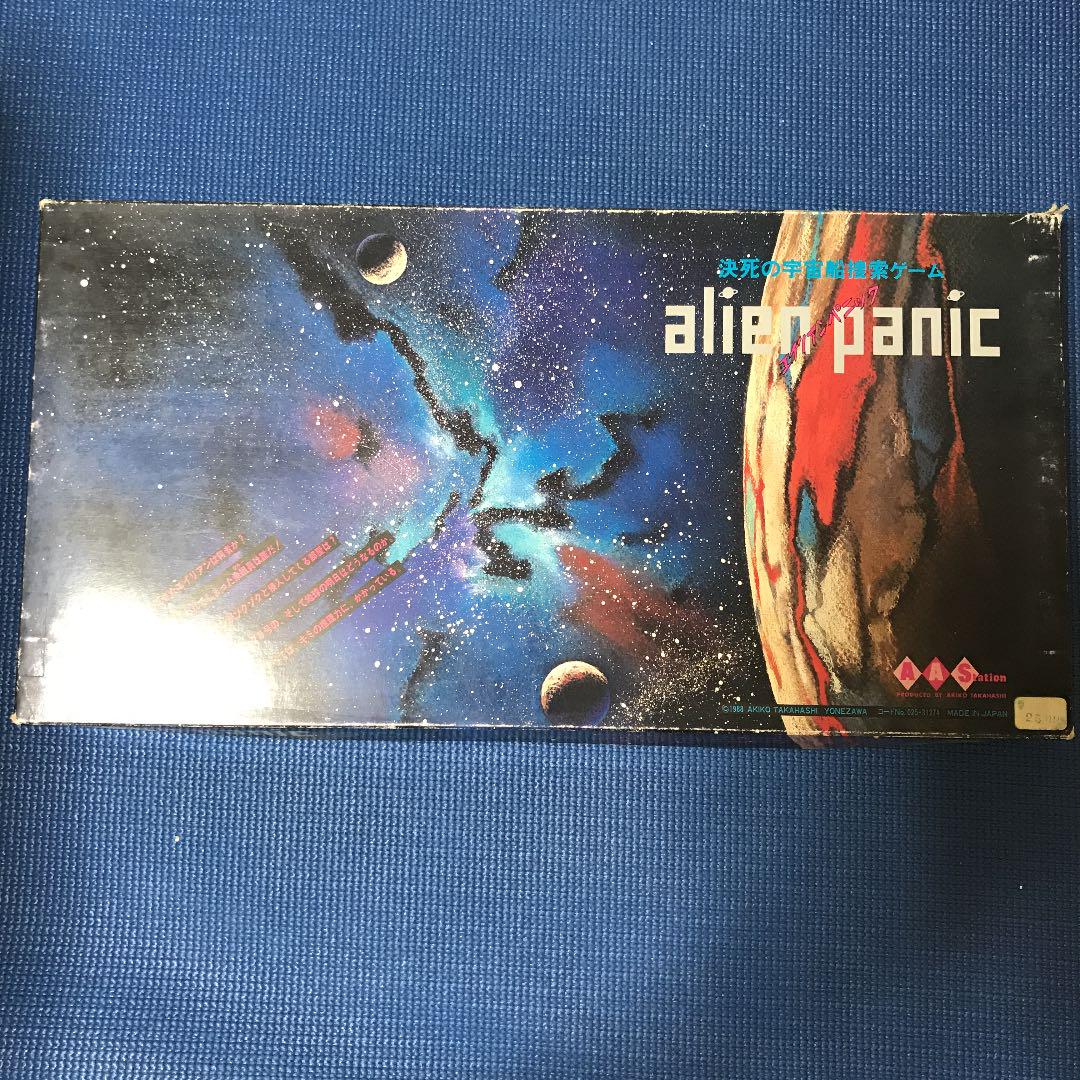
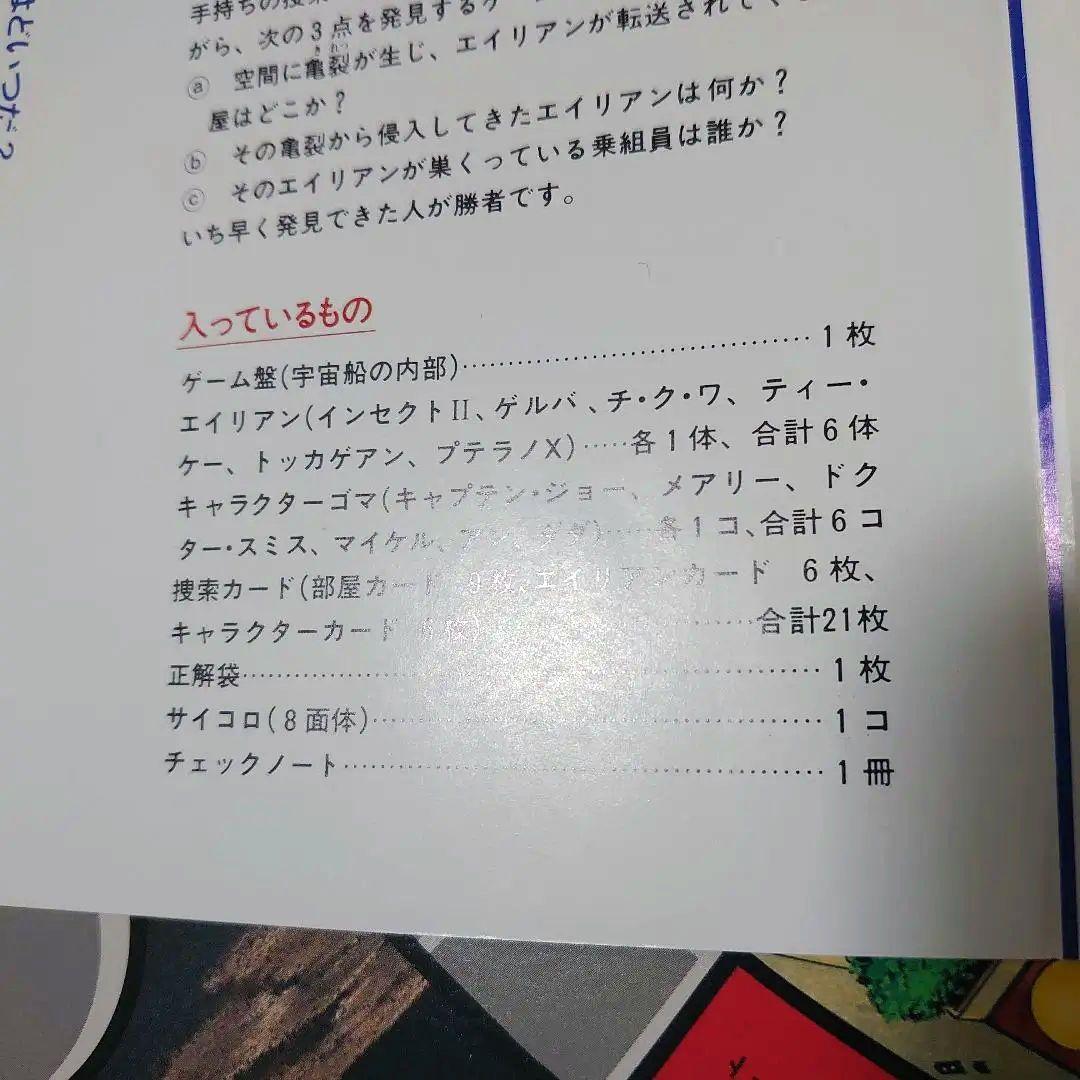
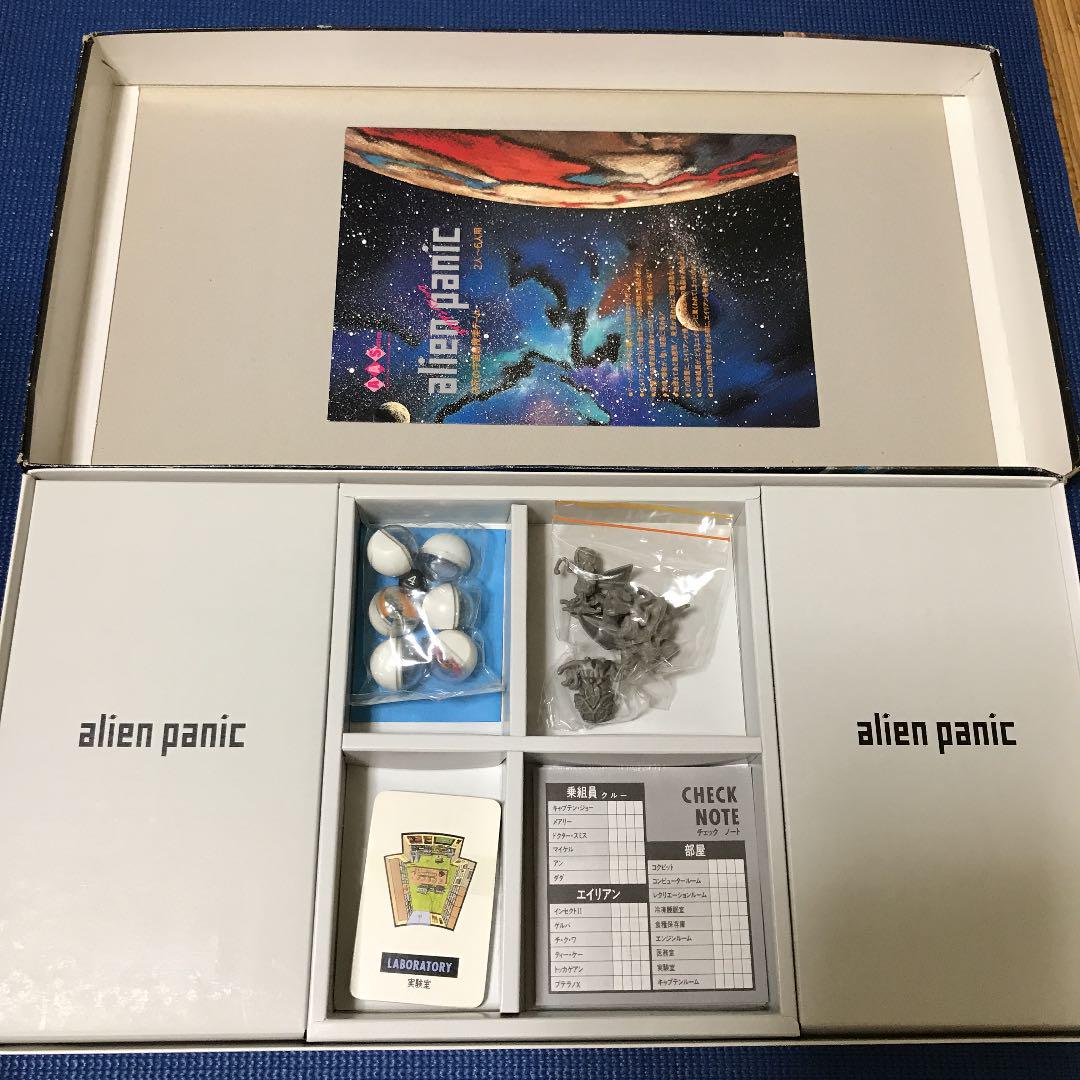
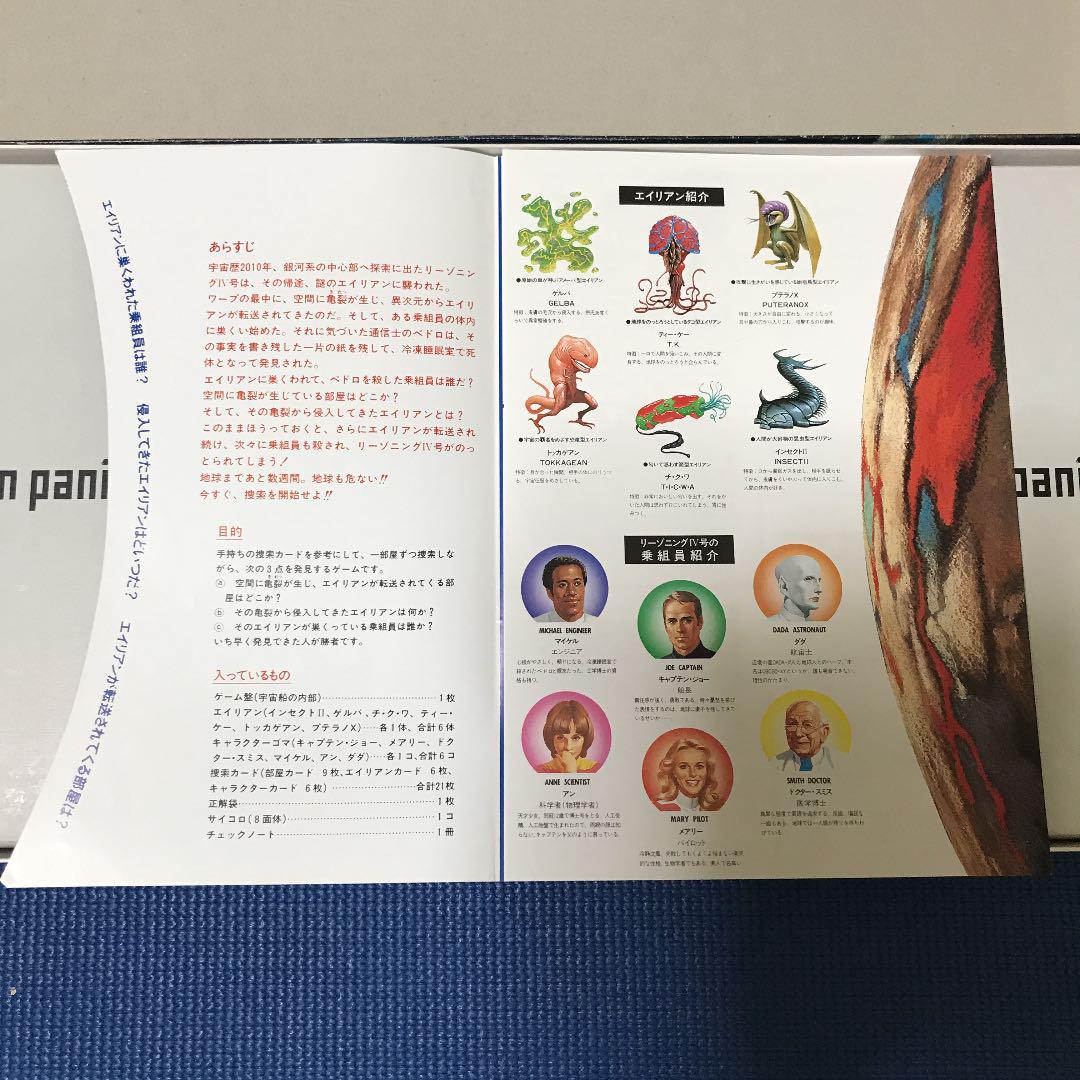
I am not particular interested in the sculpting nature of clay or Play-Doh so that rules out a lot of clay charade-ish board games like Clay-O-Rama (1987), Sculptivity (1987), Clay to Win (1988), Claymania (1993), Rapidough (1994), Barbarossa (1988), Cluzzle (2004), Smugglers (2016), Cranium Sculpt-It (2017), Sculptapalooza (2018) or any of the Cranium games.

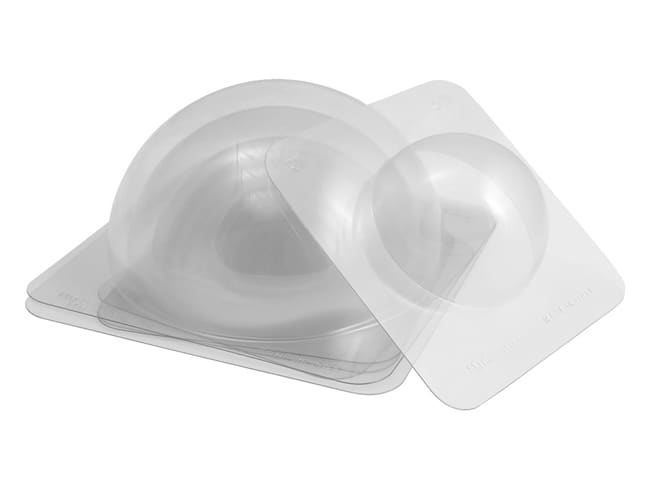
I am more interested in the gameplays that involves molds such as Hawaiian Punch (1978), The Grape Escape (1992), Splat! (1990), The Incredible Hulk Smash (Godzilla Squish-it board game) (1998), and why I am looking into games with clay or Play-Doh, Necromolds: Monster Battles (2021).

MIG

Posted on December 3, 2024December 3, 2024 by admin

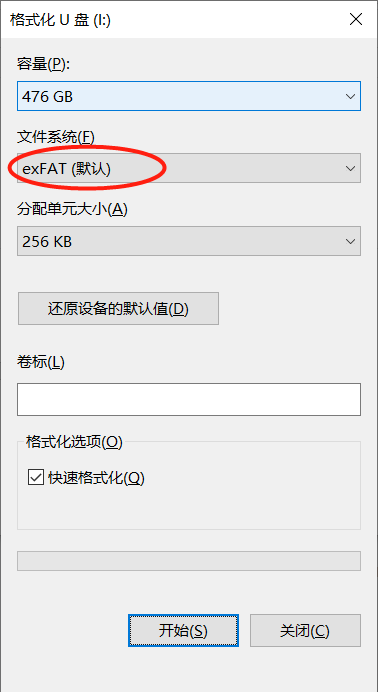
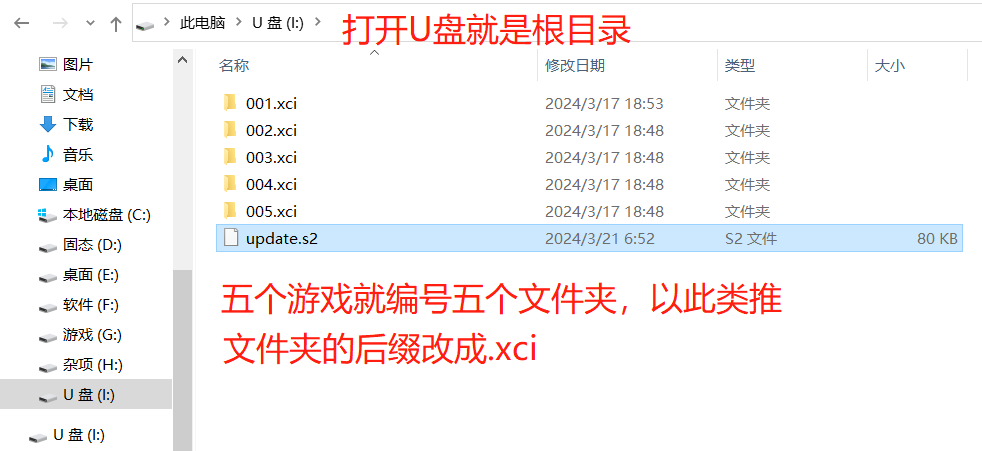
Do not connect to the internet, do not update games, doing so could lead to ban. Recommend to put the Switch in Flight Mode while using MIG.

Capsule (RFID) reader

Posted on November 8, 2024November 9, 2024 by admin

After many years, I am coming back to get 3 RFID readers to work together again. Completely forgot how I did it , I started with Software serial. I couldn’t get two software serial ports to work. After reading the notes I left for myself in this post (https://www.ivadream.com/kyle/red/?p=4344). I found out from myself that in order to get 3 RFID readers working on 1 Arduino, I had to use 1 hardware serial, 1 software serial, and 1 altsoftware serial. It worked like charm!

Capsule Vending Machine

Posted on October 22, 2024June 20, 2025 by admin

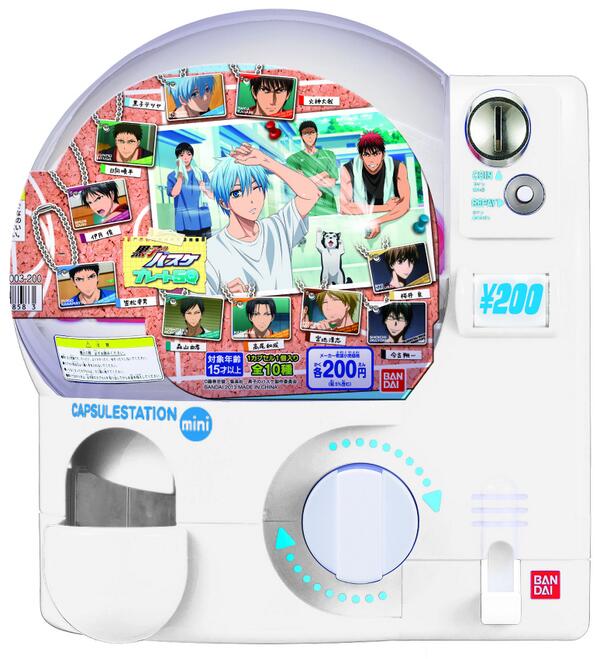
Finally made some progress in the DIY vending machine, going to reactivate the Acorn Riders project. After building the coin dispenser, I have been looking for a capsule vending machine. My ideal vending machine was Bandai’s Capsule Station Mini (カプセルステーション ミニ). It looks very different than the regular size one and goes well with my coin dispenser setup (in my imagination). However, I’ve not able to find one in any of the market places all these years.

Capsule Station Mini

Over the years, I have encountered a couple of DIY vending machines. First one was VEND on Thingiverse (https://www.thingiverse.com/thing:45347). My final version is eventually based on this build, I learned so much from taking its design apart. The second one was the Recycle Capsule Machine (循環ガチャ)(https://circular.yokohama/projects/circular-capsule-macine/). I first bumped into one when I visited the Fabcafe in Shibuya. It was made with laser cut and 3D print parts, very eye-catching. It made an impression of me when I found out it takes bottle caps as coins. Last year, when I was judging the Creative Discovery Challenge 2023 (https://awrd.com/award/cdc2023/result), I saw the same vending machine again. They now have multiple versions of the machines which is very encouraging.

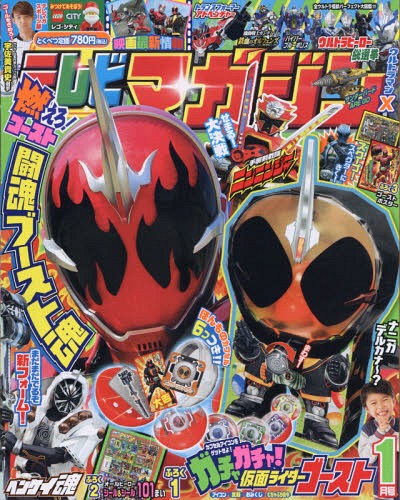
I started to take notice of the mechanics of simple vending machine in this issue of TV magazine (テレビマガジン) in January 2016. It is basically using the same mechanic as the VEND where the handle connects directly to a drum that vends a capsule when rotates. On the other hand, the commercial ones like Bandai’s Capsule Stations has a more complex setup with multiple drums, which increases the chance of capsules falling into place correctly so that a capsule is always ready for vending.

テレビマガジン January 2016
a drum

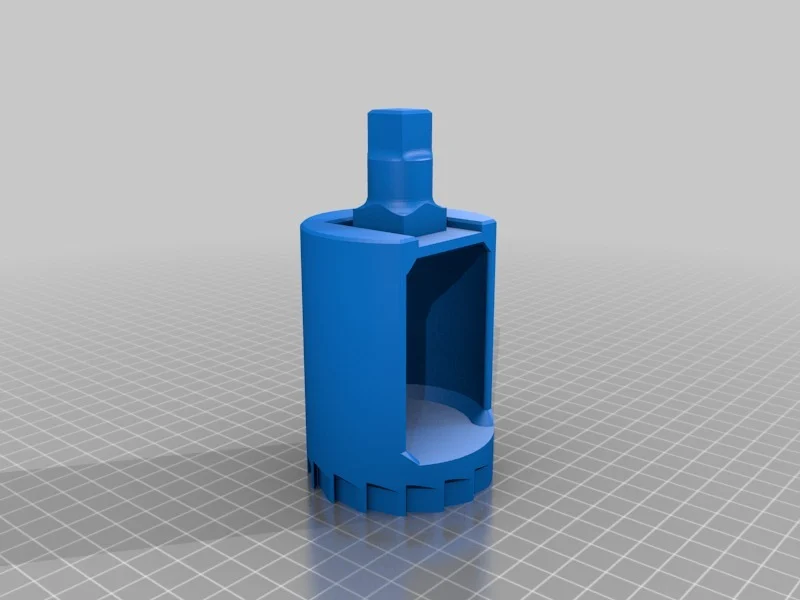
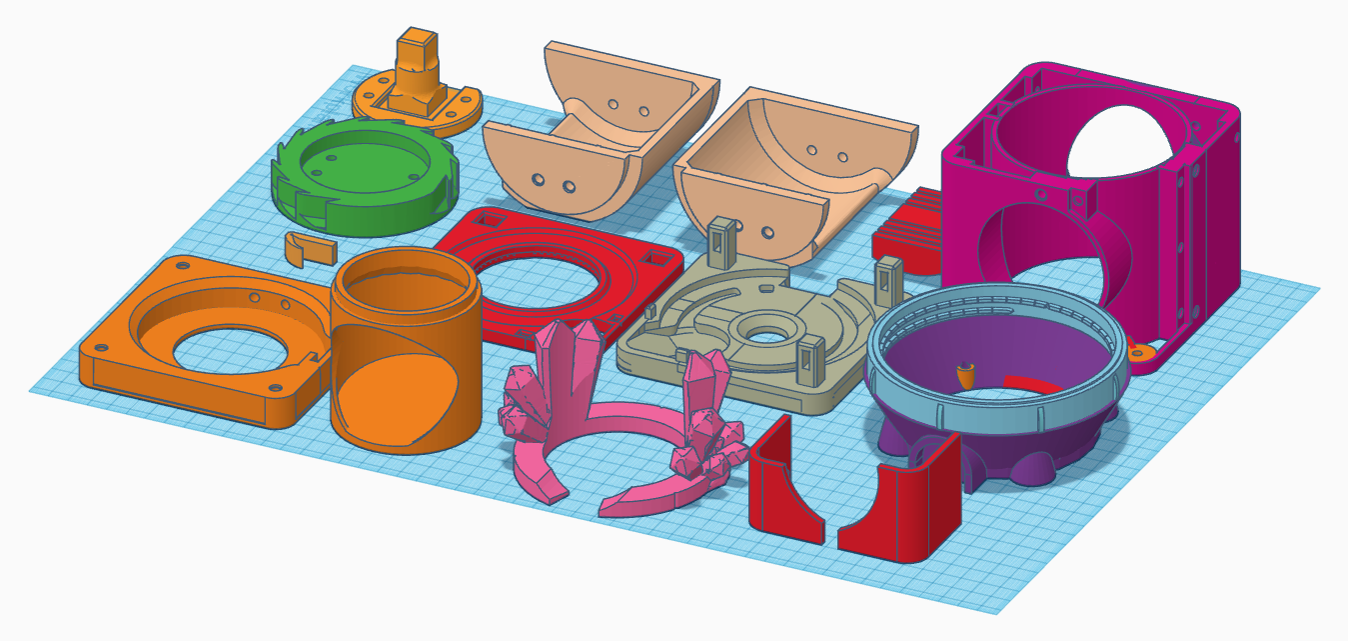
After study VENT, I started to modify the design to suit my needs. I first modified the faceplate (VEND-CoinFace.stl) by removing the extended coin track. I tried to create a simpler look and feel so I can add my own narrative elements to the surface later on. I also modified the drum so it can handle bigger capsules while keeping the same form factor if not a little bit smaller. I then broke parts into smaller ones for easy printing and assembling. After all the specialty parts are modified, I designed a new casing for them with a detachable coin compartment. There are a few places needed to be improved, but I am pretty happy with the outcome.

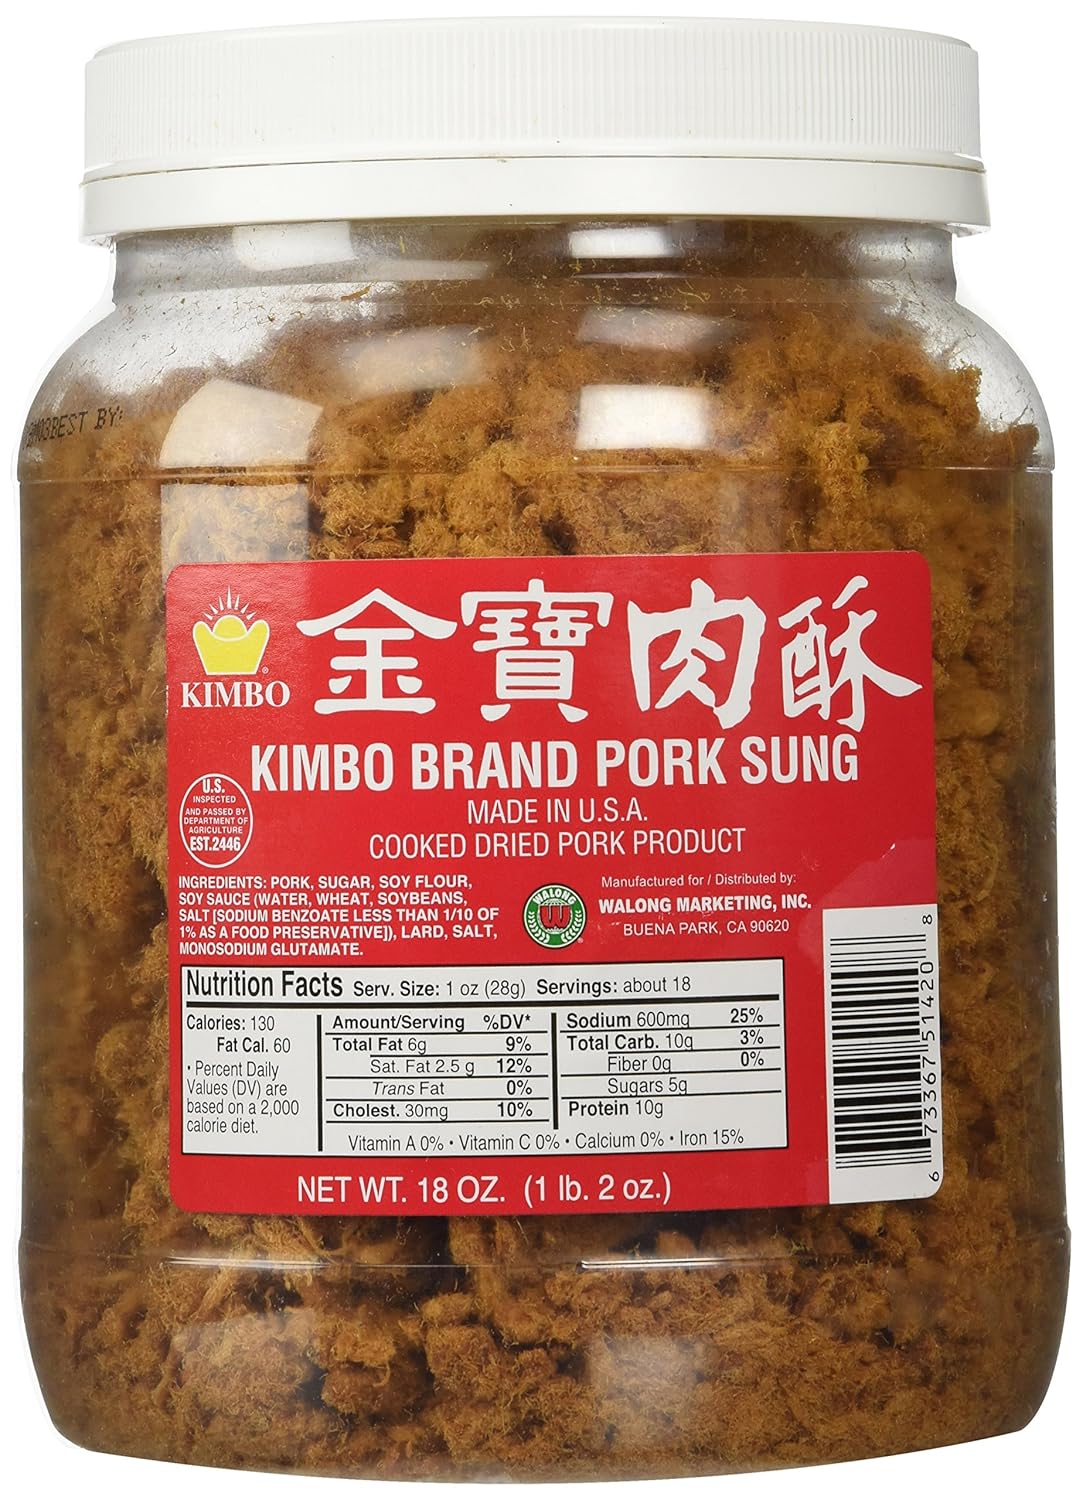
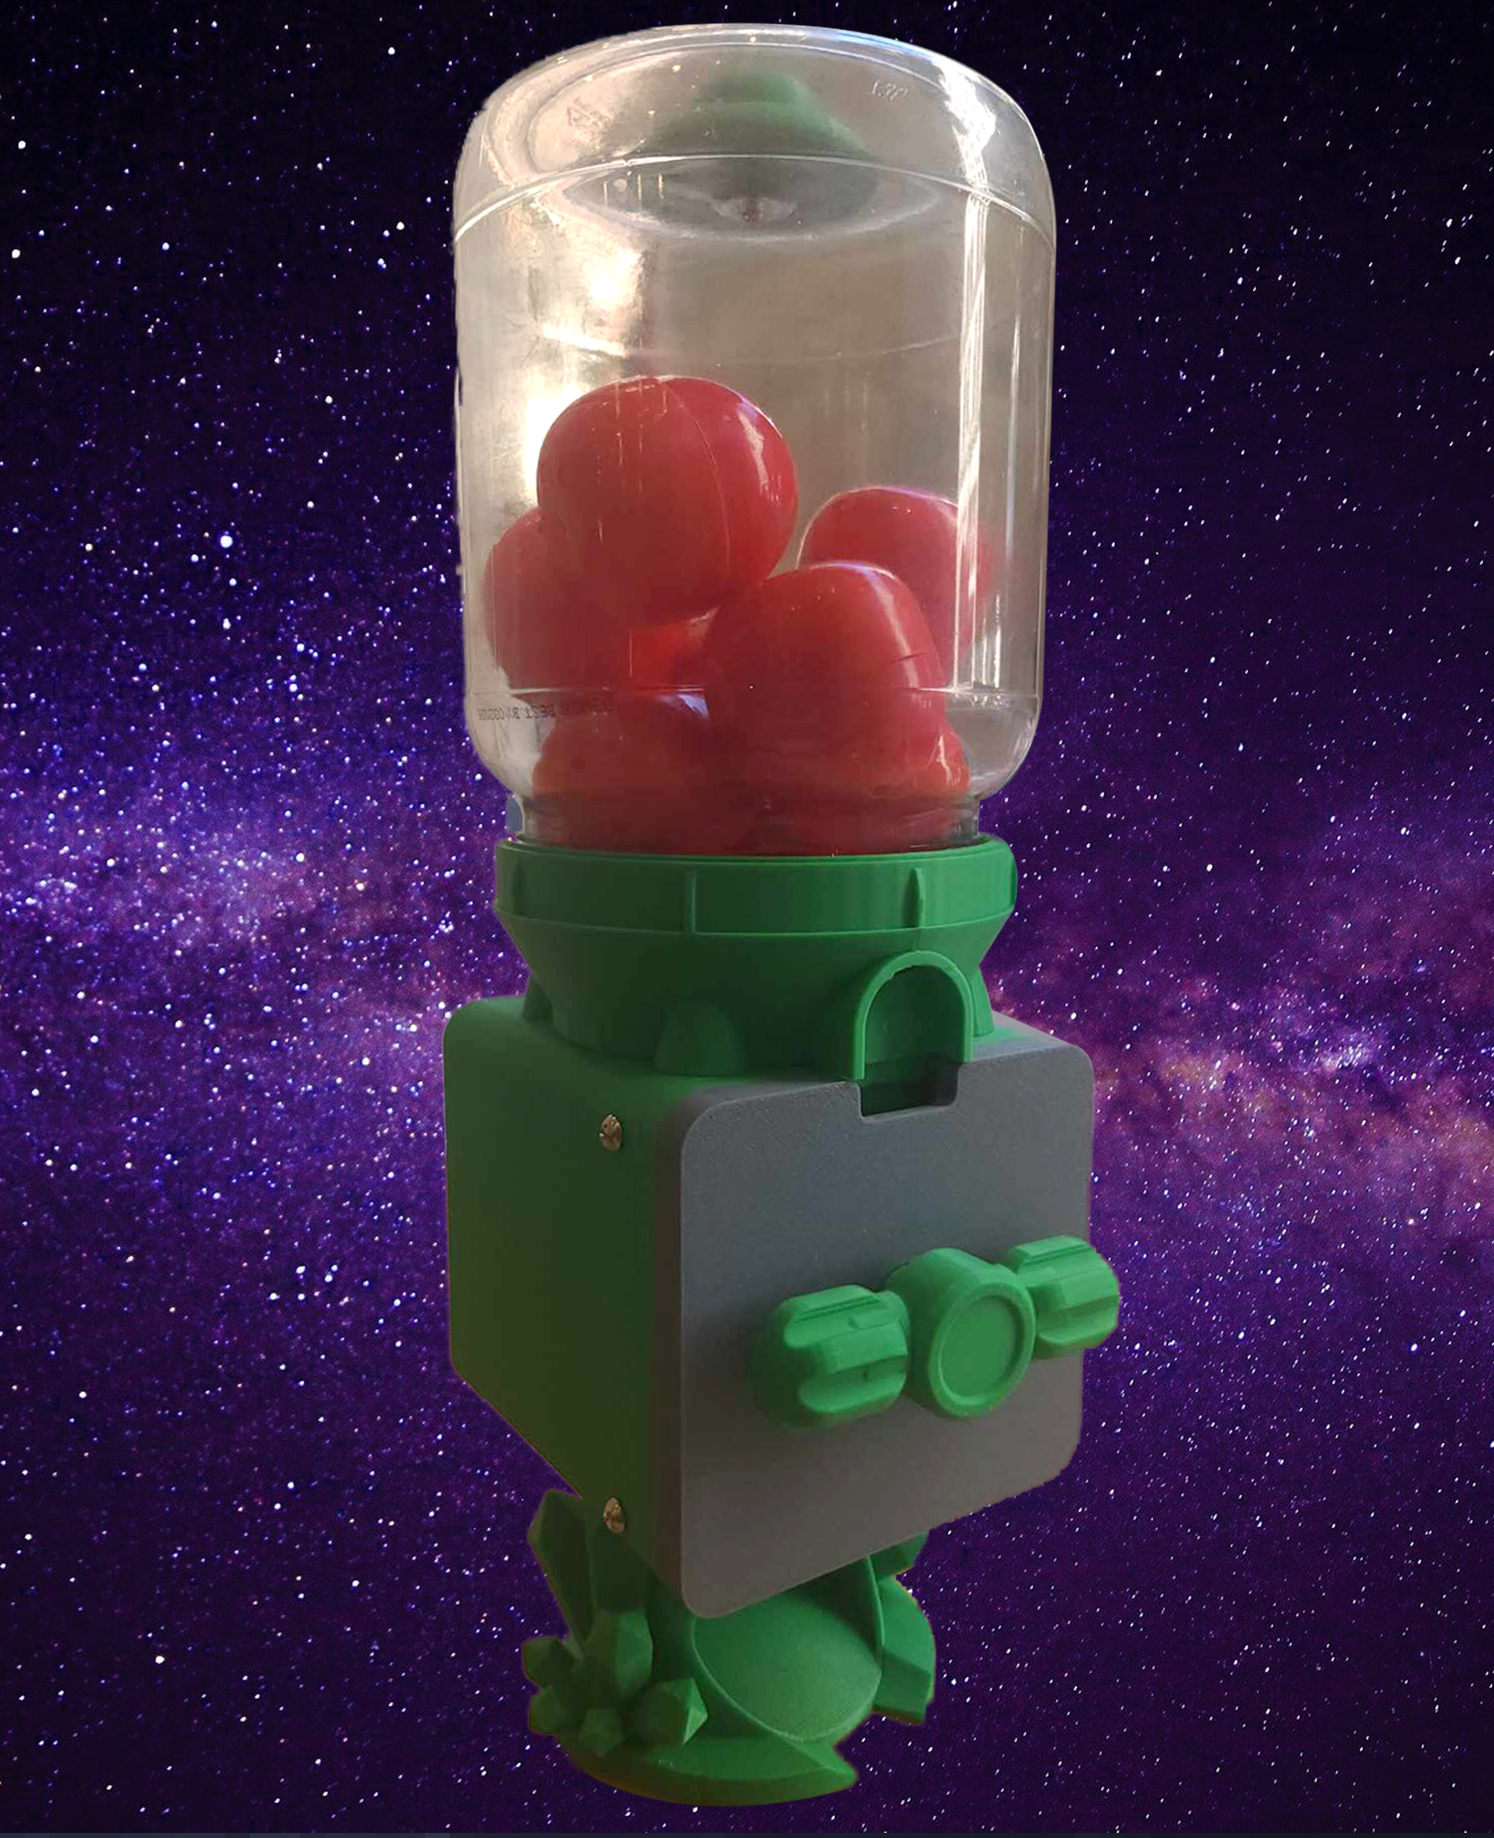
For the capsule container, it has to be from the legendry pork sung jar. I redesigned the top so I can screw the jar in securely. It’s perfect in every way.

Put it together:

Interesting Cardboard Capsule Vending Machine:

AR Marker Contraptions

Posted on June 11, 2024June 11, 2024 by admin

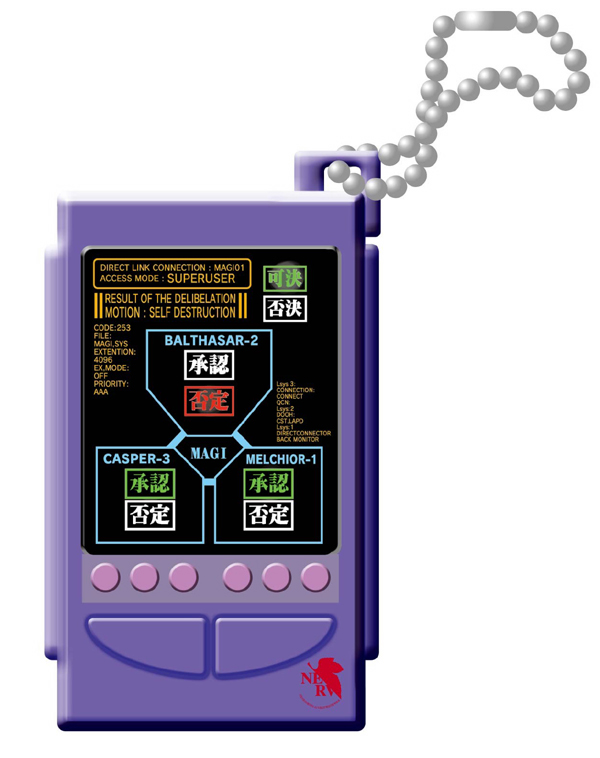
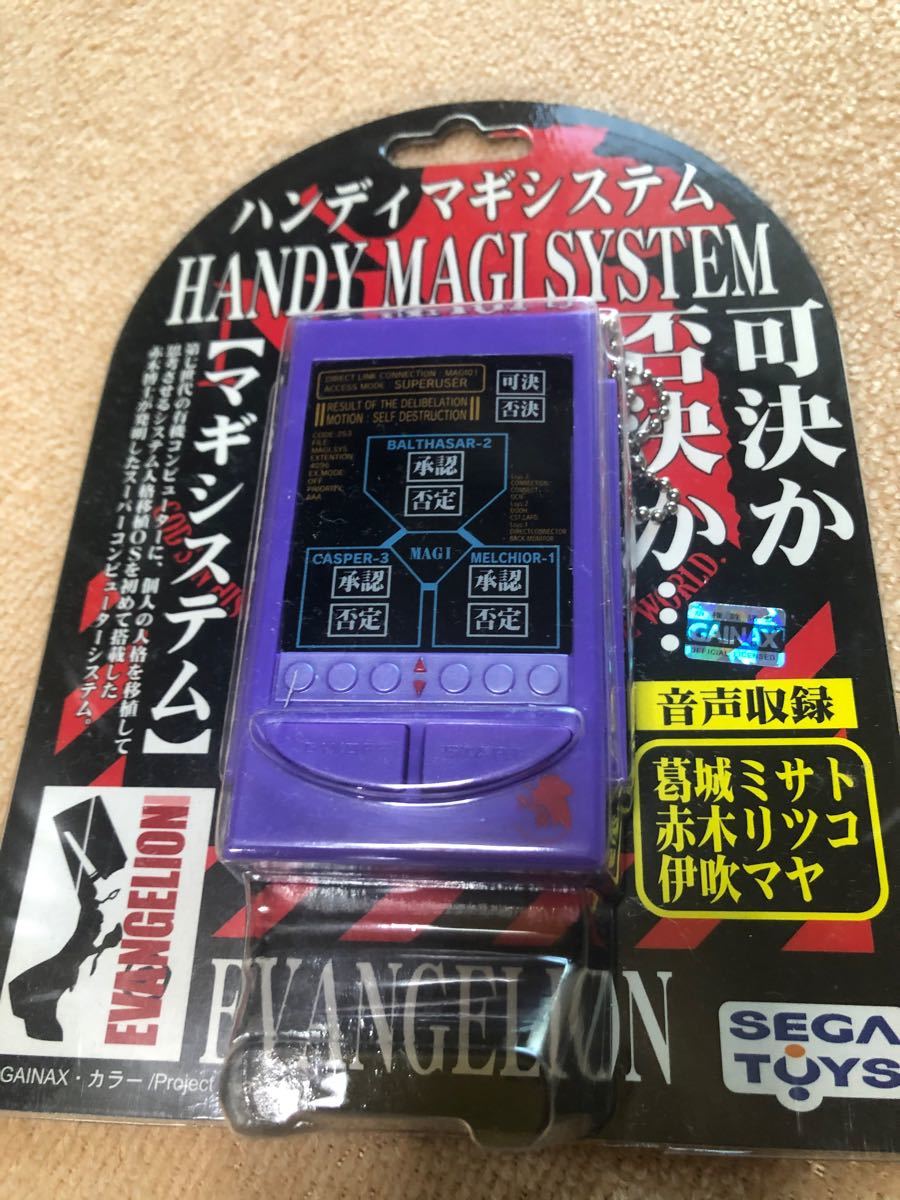
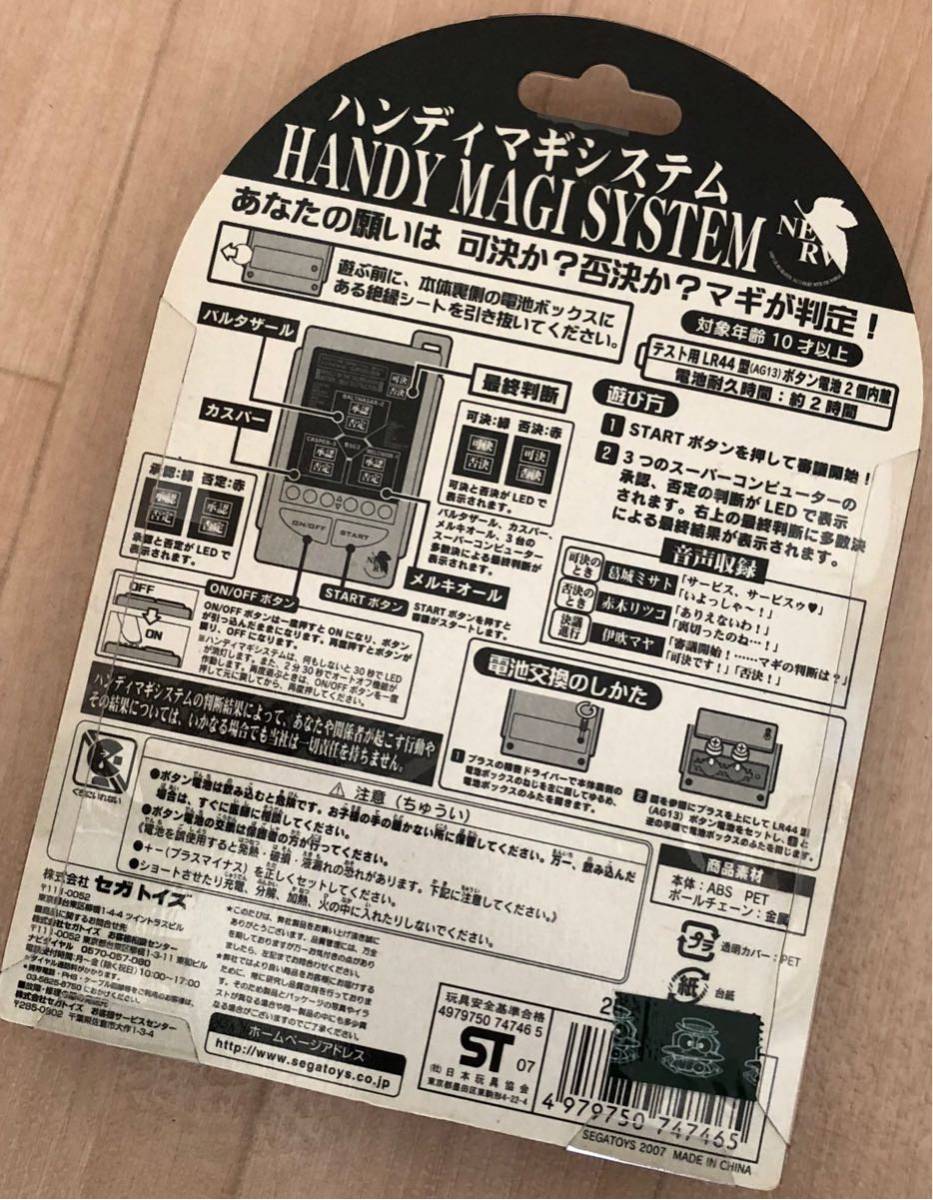
Handy Magi System

Posted on May 5, 2024May 5, 2024 by admin

ハンディマギシステム 新世紀エヴァンゲリオン

Do you undecisive like Shinji in the Evangelion? No problem, this gadget will help you with that.

ハッピージョギング・イン・ハワイ

Posted on May 3, 2024June 23, 2024 by admin

Happy Jogging In Hawaii
2001 Playstation

ステッパーコントローラ(オレンジ)
ハッピーダイエット (Happy Diet) 対応

THE HELL HOUND WALKER

Posted on April 8, 2024June 26, 2024 by admin

NEW REMOTE WORKING OPPORTUNITY AVAILABE IN HELL!

Hell sure has become the popular destination in afterlife recently. In order to improve the overcrowded working condition, the bureau of labor in the underworld has open up to the idea of remote working. This is a pilot program for monster walkers in hell which is similar to dog walkers here. If you have received one of these kits at your doorstep, congratulations, you are going to hell soon, and you better set it up and start working, those hell hounds won’t walk themselves!

This is a single player experience made possible with a custom alternative controller which allows the player to walk a hellhound on a leash. People who work remotely as a hell hound walker will receive a remote working kit. Inside the kit, there is some kind of a monitor, a specialty controller (the Leash), manual, power adaptors, and some AV cables.

The Leash controller is made of a repurposed Gametrak 2 joystick module. I have been wanted to upcycle Gametrak 2 controllers for something fun since it came out. It is essentially a physical motion tracker. It is a brilliant idea from other side of the pond. It is a wonderful controller, especially the 2nd version with modular joysticks which I incorporated in my controller. I also loaned it to my students from time to time just to see what came up. Here are two fun examples:

Echo Rift by Yi-Ning Huang, Clover Paradise, Pierce Wolcott, and Hang Ye, 2014.
This experience puts players into the shoes of a bat navigating a virtual cave. By tilting and turning the oculus, users could control their trajectory as they glide past stalactites and stalagmites. Using a Gametrak controller modified to be wearable, players could also influence their altitude by flapping their arms. This resulted in surprisingly immersive experience, that was also lots of fun to watch.
https://piercewolcott.com/portfolio/echo-rift/

Group Project Assignment 1 by Luca Jeha Civita and Krystal Huang, 2023.
We decided to create an instrument using the Gametrak string sensors Kyle showed us in class. We pictured something that allowed for rhythm, harmony, and melody.
https://new-arcade.tumblr.com/post/732013080328929280/luca-krystal-progress-report

Since this is supposed to be an tool sent from hell, I am trying to make the alternative controller looks like an ancient religious artifact from a sci-fi movie or Warhammer 40K — that dark, gothic, and futuristic look and feel. Most of parts are connected or glued together with Lego Technic friction pins (#2780). The base are hold together securely with a hair loop which is a technique I used frequently with my builds.

The enclosure for the Gametrak 2 module has gone through many iterations. The original design was meant to work with M5Stack Fire and its sensor units, so I designed thicker wall to accommodate the Lego Technic pins. I moved on to a simpler Arduino setup because the analog data are more reliable for what I am doing. I am able to reduce about 5mm (back plate) + 3mm (front plate) of the thickness which helps the controller and the leash align with the hook on top better.

For the aesthetics, I am imagining each level is a park in hell. There will be lost souls, ghosts, monsters, magma everywhere, typical hell stuff. The first park is an abundant race track that I modified from a Synty game asset that I own and remixed it with all the hell elements above.

Park 07-A-001

The missing piece:
https://www.frathwiki.com/Parseltongue-inspired

List of Game assets used in this prototype:
Mix of Synty Game Assets
https://syntystore.com/
Demon Dog
https://assetstore.unity.com/packages/3d/characters/creatures/demon-dog-122346#publisher
Simple Racer – Cartoon Assets
https://assetstore.unity.com/packages/3d/vehicles/land/simple-racer-cartoon-assets-37490
Oak Forest (Tree Pack)
https://skfb.ly/oOrvE
The ambience sound 1 was a loop sampled from
-D&D Ambience | Hell | Cries, Agony, Despair, Demons, Devils, Magma, Avernus
https://youtu.be/JzVIkY5tKcE
The ambience sound 2 was a loop sampled from
10 Hours Lava Flow, Kilauea Hawaii
https://youtu.be/kTpglKDyn4s

NEW VIEW SCHOOL 2024 PREP

Posted on April 6, 2024July 5, 2024 by admin

Dan visited DT in 2018 when he was an evangelist at Unity. He did a demo for us on Unity’s latest cinematic pipeline at the time. Can’t believe it was almost 7 years ago! I reached out to Dan for some insights on how much we will be able to accomplish with Unity Visual Scripting and VisionOS.

… it’s been a really fun project. There has been some work to support visual scripting in AR Foundation but mostly from a mobile perspective. The good news is that most of those API’s are the exact same on mobile as on VisionOS.

see: https://docs.unity3d.com/Packages/com.unity.xr.arfoundation@5.1/manual/visual-scripting/vs-samples.html

So there are some visual scripting nodes and logic is supported for accessing ARKit data (through AR Foundation). The challenge will probably be understanding how and where ARKit on iOS differs from ARKit on VisionOS (it’s a very small subset of the features supported on iOS). Then creating custom logic to fill those gaps or access the data differently. Lastly input will likely be a challenge as there are some unique constraints to how VisionOS handles input.

STYLY-VisionPro-30Days:
https://github.com/styly-dev/STYLY-VisionPro-30Days

Requirements

  • Unity
    • Unity 2022.3.27 or later (Use 2022.3.XX)
    • Modules:
      • visionOS Build Support
    • Render pipelines: URP
    • Color Space: Linear
  • Xcode (if you want to test with visionOS simulator)
    • Xcode 15.2 or later
    • Apple Silicon Mac (M1/M2/M3)

OSC Jack
-> OscJackVS
-> WebRequest Visual Scripting
-> PolySpatial Environment Diffuse Shader
-> Spectrum Visual Scripting Nodes
-> UniGLTF
-> VRM-1.0
-> VRM Visual Scripting Nodes

  • In your Unity project, go to Windows > Package Manager.
  • On the status bar, select the Add (+) button.
  • From the Add menu, select Add + package by name. Name and Version fields appear.
  • In the Name field, enter com.unity.cloud.gltfast.
  • Select Add.
  • The Editor installs the latest available version of the package and any dependent packages.

Currently stuck on Day 3.

Supported features for STYLY visionOS Plugin

  • Mixed Reality mode: Bounded Volumes, Unbounded Volumes
  • Standard URP shaders: Lit, Simple Lit, Unlit and some shaders in supported Unity packages
  • Visual Scripting
  • Timeline, animator, animation, audioclip and other basic features. See Supported Unity Features and Components page for the detail.

NOT Supported features for STYLY visionOS Plugin

  • Fully Immersive VR, Windowed Apps
  • Your C# scripts
  • Custom shaders
  • Visual Effect Graph
  • Postprocessing Stack

FAQ

  • How does the thumbnail work after upload? Is there a specific orientation and position to get a better thumbnail?

Tiny Thermal Printer

Posted on March 18, 2024March 29, 2024 by admin

original documentation:
https://learn.adafruit.com/mini-thermal-receipt-printer/overview

Power

The Tiny printer has three sockets: a 2-pin connector for power, 5-pin for TTL serial communication, and a USB port. DO NOT attempt powering from the red and black wires of the serial cable. This cable is not following common electronics color conventions and connecting power here may damage the printer! Use ONLY the 2-pin connector for power.

Print Test Page

Most of these thermal printers have a test feature providing basic diagnostics. You’ll then know that power is good, paper is correctly loaded, and have some configuration details of the particular unit.

On most Mini and Tiny printers: hold down the button on the top of the printer while connecting power to print a test page. In normal use, tapping this button feeds the paper by one line.

For Product #2751: “Tiny”

The Tiny printer data cable has five wires:

  • Red = GROUND (yes, red, and yes this totally is the opposite of common electronics conventions)
  • Green = data IN to the printer (RX)
  • Blue = data OUT of the printer (TX)
  • Yellow (DTR) and black can be left unconnected

*The above description is not true to my Tiny Thermal Printer, my black wire is ground. It is labelled at the bottom of the printer.

This is in addition to the separate power cable, described on the prior page.

To Arduino

For a board like the Arduino Uno, the other end of the jumper wires can insert into the board edge sockets. For smaller devices on a breadboard, insert into the corresponding contact strip.

Ground from the printer always connects to GND on the microcontroller board. For the data wires (TX and RX), which pins to connect to can vary by hardware and software, explained further on subsequent pages. Some situations may require specific pins, but you can usually use any two pins. Here’s the printer’s TX line connected to digital pin 5, and RX to digital pin 6:

M5Stack Fire

GPIO 36 is INPUT ONLY, so rx has to be 36

Arduino Code

Connections are explained on the prior page. For the Arduino example code, we’ll connect the printer’s data out (TX) wire to digital pin 5, and data in (RX) to digital pin 6. Ground can go to any Arduino GND pin. Pins are configurable, but this is what the example uses, so let’s stick with that for now.

On the Arduino side, pin 5 receives (RX) and 6 transmits (TX)…opposite of the printer’s pin functions…called a crossover configuration, something you’ll hear a lot in serial communication and networking.

Install Library

We made an Arduino library to assist working with these printers.

Go to the Arduino Library Manager under Sketch→Include…Library→Manage…Libraries…
Search for and install the Adafruit Thermal Printer library

You should now be able to access the sample code by navigating through menus in this order: File→Sketchbook→Libraries→Adafruit_Thermal→A_printertest

If your printer test page shows ‘BAUDRATE: 9600’, you’ll need to make a small change to the library source code. Using a text editor (Notepad, etc.) open the file Adafruit_Thermal.cpp and change this line:

#define BAUDRATE 19200

Some printers arrive from the factory set for 19200 baud, but a few may be set to 9600. This will not negatively impact the performance of your unit! The speed of the paper through the printer is already much less than this and you will not see any difference…it’s strictly a data protocol issue of getting the microcontroller and printer communicating.

M5Stack Fire

Two places in the A_printertest sketch have to be modified to work with M5Stack Fire:

  1. Use Hardware serial. Make sure to pass the address (&Serial2) to the printer and initiate it properly in setup().
  2. Adafruit_Thermal’s setFont is conflict with the M5 one. Go into Adafruit_Thermal.h and Adafruit_Thermal.cpp and change the function name to something else. I changed setFont to setTPFont.

OK upload the sketch (with baudrate change if necessary) to the Arduino. You should see the printer print out the example receipt which includes all the capabilities of the library.

The thermal printer has a few handy things it can do, most of which are in the A_printertest sketch. These are shown in the image above. In order, starting from the top:

  • Inverted text: this is invoked by calling inverseOn() — you will get text that’s white-on-black instead of black-on-white. inverseOff() turns this off.
  • Double height: this makes text thats extra tall, call doubleHeightOn() — likewise, turn off with doubleHeightOff()
  • Left/Center/Right justified: this aligns text to the left or right edge of the page, or centered. You can set the alignment by calling justify(‘R’) (for right-justified), justify(‘C’) (for centered) or justify(‘L’) (for left-justified). Left-justified is the default state.
  • Bold text: makes it stand out a bit more, enable with boldOn() and turn off with boldOff()
  • Underlined text: makes it stand out a bit more, enable with underlineOn() and turn off with underlineOff()
  • Large/Medium/Small text: by default we use small, medium is twice as tall, large is twice as wide/tall. Set the size with setSize(‘L’), setSize(‘M’) or setSize(‘S’)
  • Line spacing: you can change the space between lines of text by calling setLineHeight() where numpix is the number of pixels. The minimum is 24 (no extra space between lines), the default spacing is 32, and double-spaced text would be 64.

Look through the source of the A_printertest sketch to see these used in context.

Bitmap Printing

This printer can produce bitmaps, which can add a touch of class to a receipt with your logo or similar. Resolution: 8 dots/mm. 384 dots/line;

The first step is to get the image prepared. The printer can only do monochrome (1-bit) images, and the maximum width is 384 pixels. We suggest starting with a small bitmap (100 pixels or less on each side) and then experimenting to get the size and look you want.

A few steps are required to prepare an image for printing. For Windows users, there’s a nice graphical user interface for this. For Mac and Linux, different tools are used…not as visually slick, but they do the job well.

[Caution] These barcode printers shouldn’t be confused with a LaserJet – they’re not good at printing heavy/dense images with lots of black or they might stick and stall!

Windows

Use an image editing program to save your image as a 1-bit BMP — in Windows, the built-in Paint program will suffice.

Download, install and run LCD Assistant (https://en.radzio.dxp.pl/bitmap_converter/). This program is for Windows only but does a really fantastic job! Load the BMP file you previously generated (in Paint, etc.). The file must be in BMP format — the software won’t read PNG, GIF, etc. Then a couple of settings need to be adjusted…

First, in the “Byte orientation” section of the settings, select “Horizontal” (item A in the image above).

Second (item B above), you may need to change the Width setting. Because this software (and the thermal printer) handle images in horizontal groups of eight pixels, if the image width is not a multiple of 8, it will be truncated (cropped) to the nearest smaller 8-pixel boundary. For example, with the 75 pixel wide image above, the output will be cropped to only 72 pixels wide, losing some data from the right edge. To avoid this, increase this number to the next multiple of 8 (that would be 80 for the example above), and the output will be padded with blank pixels to cover the gap. Remember the number you use here, you’ll need it later.

The image height does not need to be adjusted this way, only width.

Set the table name to something short but descriptive (e.g. “adalogo” above), then select Save Output from the File menu. Give the file a similarly brief but descriptive name, ending in “.h” (e.g. “adalogo.h”).

To get this file into your Arduino sketch, select “Add File…” from the Sketch menu. This will add a new tab to your code. Your original code is still there under the leftmost tab.

A couple of small changes are now needed in both tabs. First, at the top of the file containing the new table data, change “const unsigned char” to “static const uint8_t PROGMEM” as shown below:

Next, in the tab containing the main body of your code, add an “include” statement to reference the new file:

#include “adalogo.h”

Check the A_printertest example sketch if you’re not sure how to include the code properly.

You can now output the image by calling printBitmap(width, height, tablename), where width and height are the dimensions of the image in pixels (if you changed the image width to a multiple of 8 as previously described, use that number, not the original image size), and tablename is the name of the array in the new tab (e.g. “adalogo” above).

Having a graphical user interface is nice, but some of these extra steps can be confusing and error-prone. If you prefer, the technique below for Mac and Linux works in Windows as well.

Barcode Printing

Thermal printers are really good at printing barcodes! This printer supports 11 different codes – UPC A, UPC E, EAN13, EAN8, CODE39, I25, CODEBAR, CODE93, CODE128, CODE11 and MSI. It only supports linear (1-D) barcodes, and can’t generate 2-D barcodes like QR codes (although there is a hack you can do, see below!) Barcodes are generated “on the fly,” which is nice — you can customize the height and data included quite easily.

You can make a barcode by calling printBarcode(“barcodedata”, BARCODETYPE), where the first string is the data to encode (e.g. a UPC code) and BARCODETYPE can be UPC_A, UPC_E, EAN13, EAN8, CODE39, I25, CODEBAR, CODE93, CODE128, CODE11 or MSI.

Some barcodes are very restricted — you can only put in 12 numbers, no characters. Others are very flexible and take nearly any character input. Please check out the wikipedia list detailing kinds of barcodes to pick the right one for your application.

The available range of barcodes varies with the printer firmware revision. Check Adafruit_Thermal.h for a list of codes.

It’s also possible to print QR codes, if you’re willing to pre-generate them. This might be handy if you want to, let’s say, include a URL on the receipt and the URL doesn’t change. You can generate QR codes at many sites including this one. Use the smallest QR code size. The image will be in PNG format, so if you’re using the Windows LCD Assistant tool you’ll need to convert it to BMP first (Windows Paint works for this). Then you can convert and embed this in your Arduino sketch as previously described.

Posts navigation

Older posts
Newer posts

Recent Posts

  • AI: You are _____ correct.
  • 英傑大戦 PL084 Rem (レム)
  • (no title)
  • BMP – Rearrange Colormap
  • Reset Allow USB Debugging? Notification

Archives

Proudly powered by WordPress | Theme: MiniZen by Martin Stehle.