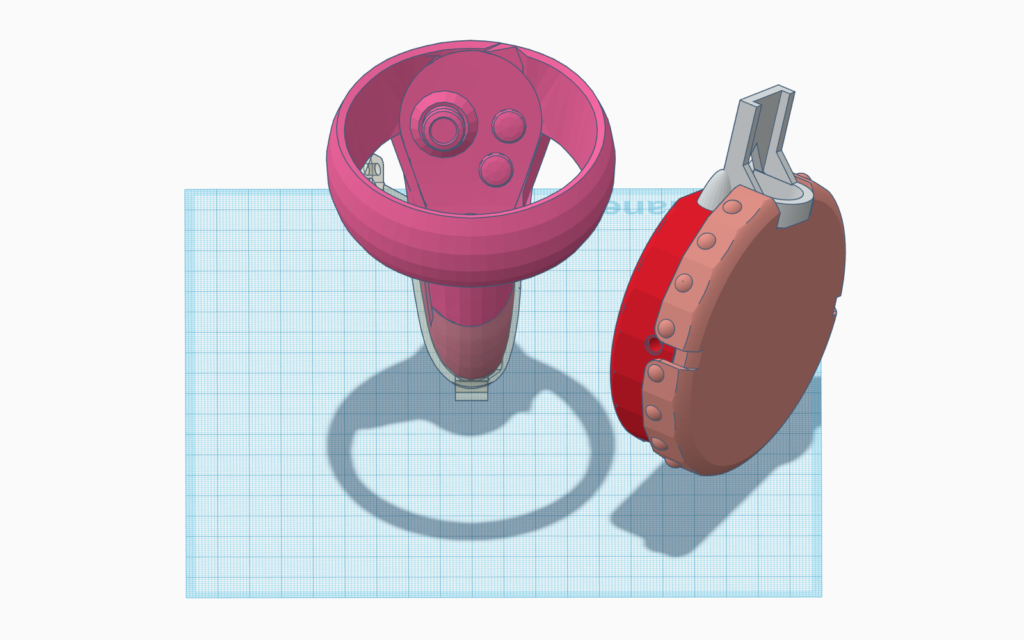
After successfully getting the custom Bubblemancer controller (v2) to work on Oculus Quest through a type C cable, I am now considering making a mount to combine the custom controller and Oculus Touch. The goal is to create a visual reference of the controller in the VR view based on the position of the Touch. With the current build, it has proven through playtesting that it is difficult to use the controller without seeing a visual reference in the VR view.
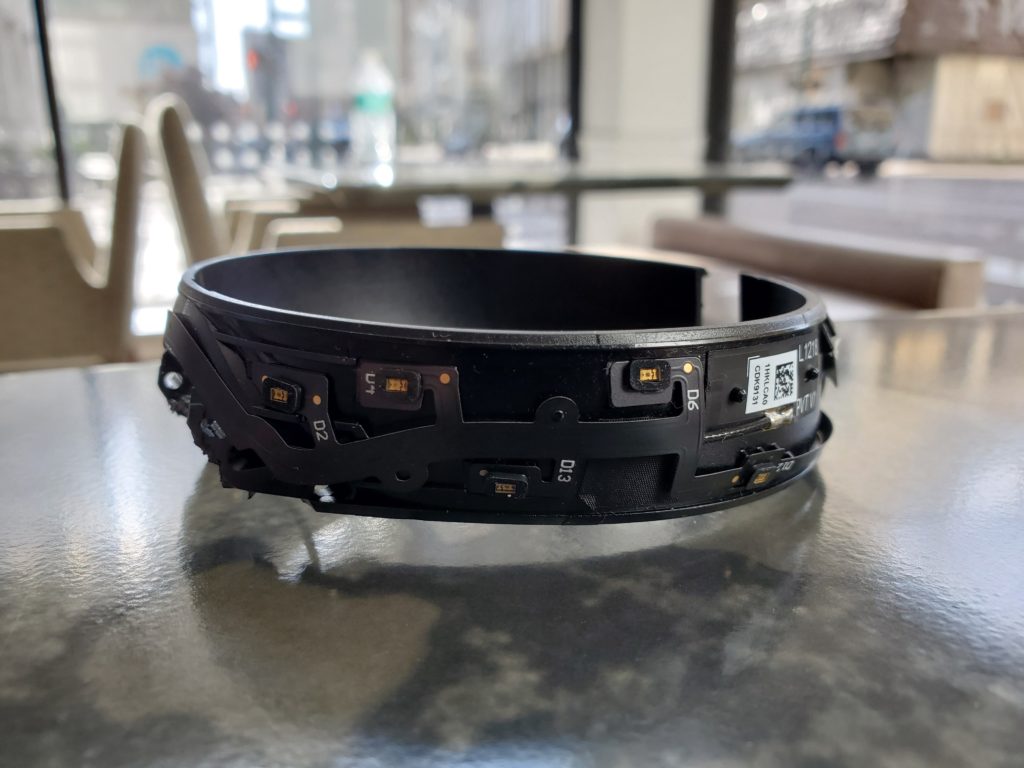
To work with the limited void spaces, first I need to find out how the Touch controllers are being tracked by the headset. The placement of the IR LEDs on Quest’s controller (Touch 2.0) is similar to those on CV1’s (Touch 1.0) – there are no IR LEDs inside of the ring.
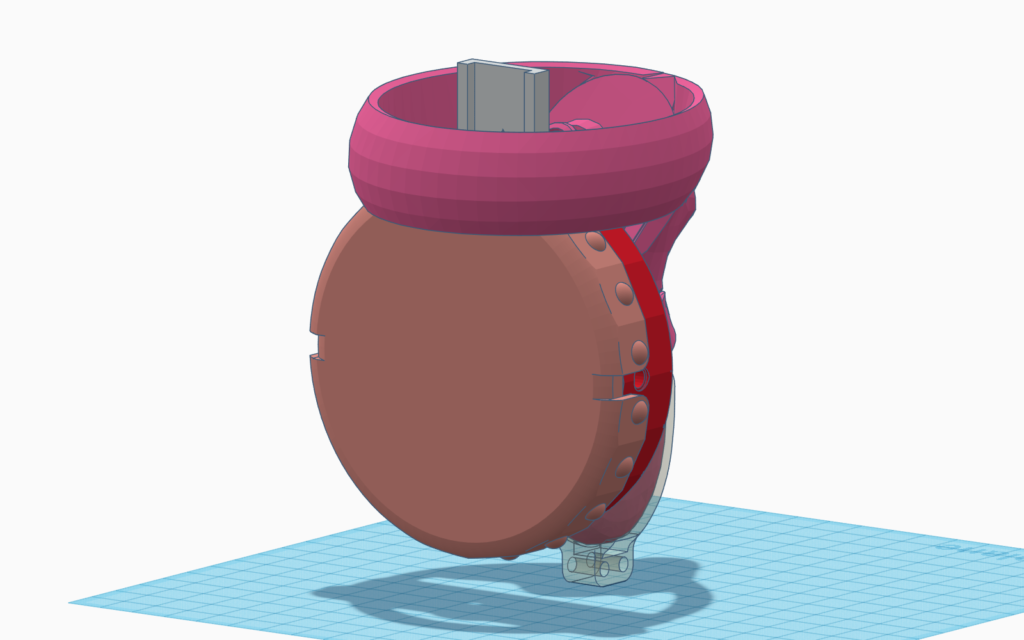
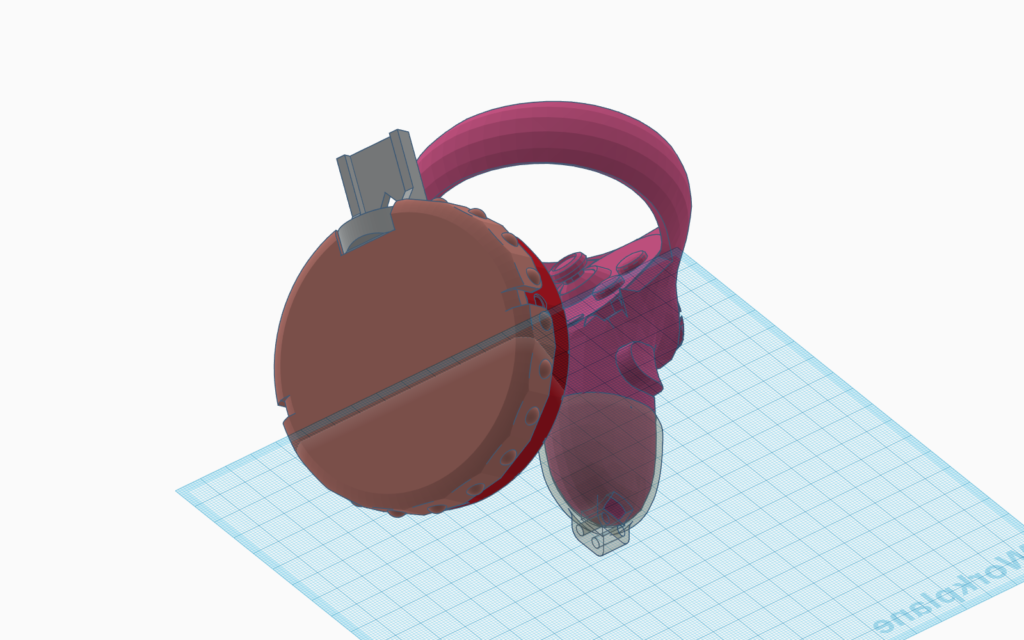
Decided to make a rig in the middle and offset the Bubblemancer controller downwards so it doesn’t block the IR LEDs. I tried to put the wind sensor through the emitting ring for a smaller form factor but worried the tube shield will block LEDs. Also doing so puts the drum right in front of the Touch controller handle, it is not comfortable to hold the controller.
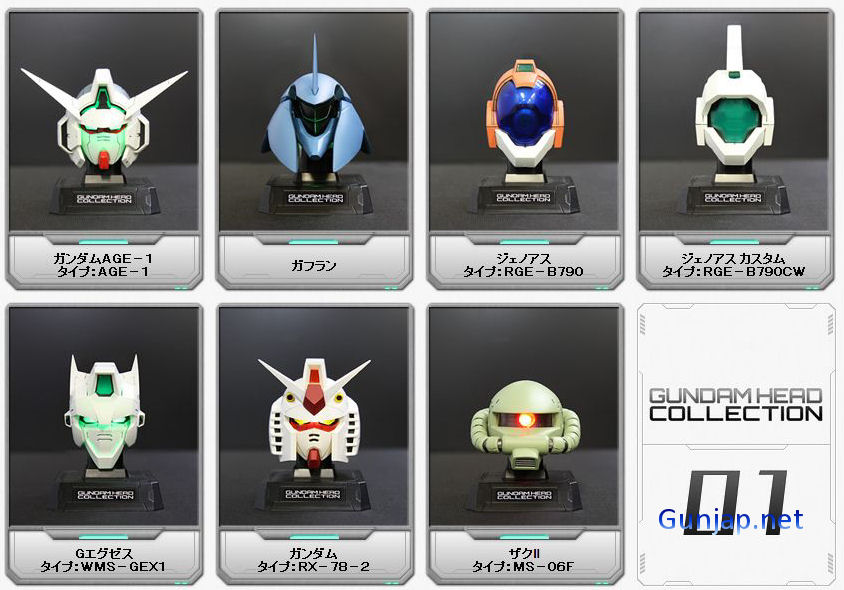
I purchased a KHR-3HV (black edition) Humanoid robot from Kondo in 2011. At the end of that year, I saw Gundam Head Collection No.1 toys came out in Akihabara and they seemed to be the perfect size for my KHR-3HV. The collection had been out for a few months, so I bought the RGE-B790CW on spot first, and slowly looked for others when I was in Japan. With a little modification of the original KHR-3HV headpiece, these Gundam heads fit nicely on it as if they were made for my KHR-3HV.
Gundam Head Collection Vol.1, 2011
The Gundam head + KHR-3HV in a video I uploaded in 2012.
Processing + KHR-3HV
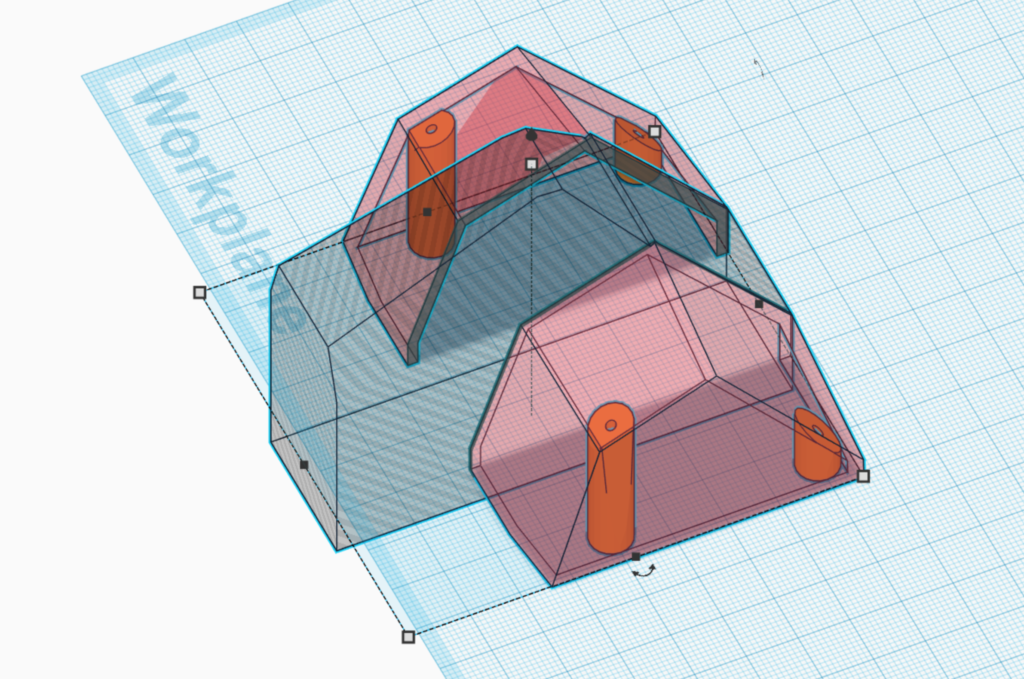
Recently, I discovered that Kondo has released many design diagrams including parts for KHR-3HV. One of the parts I wanted to custom the most is the chest plate – the front cowl as Kondo calls it.
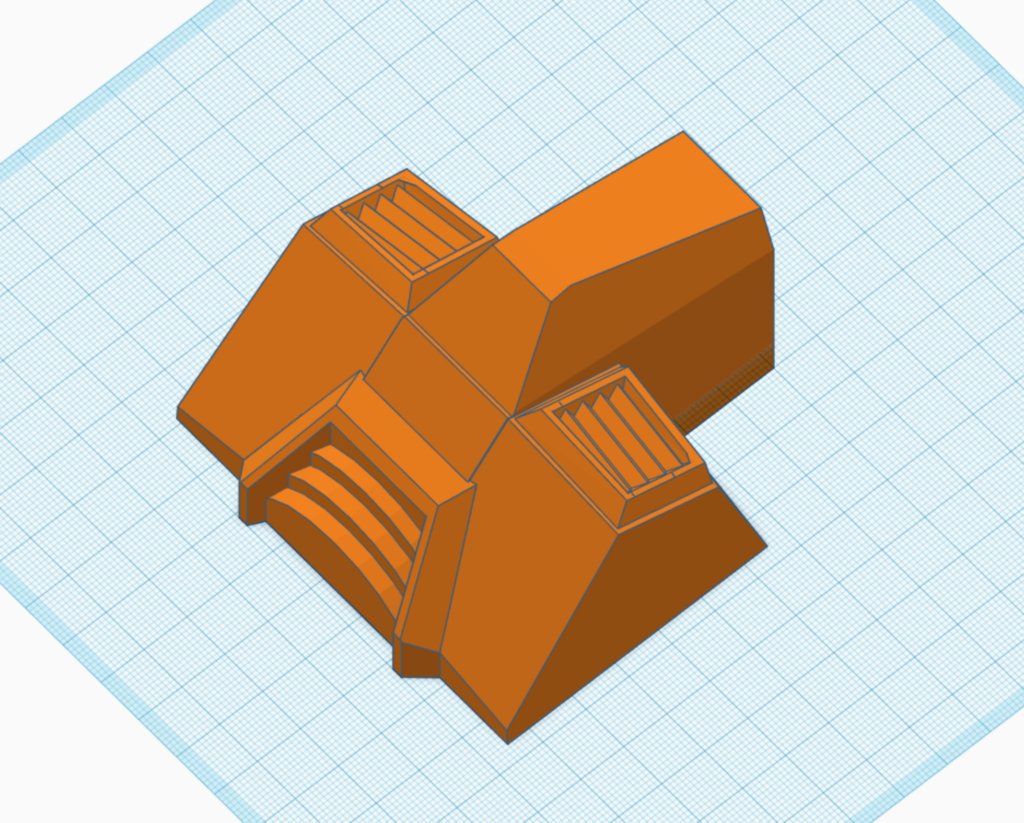
Inspired by Gundam RX-78, made a quick mock-up on Tinkercad.
My brother brought a Phrozen 3D printer home for me to use. Learning to use a new 3D printer is like taming a wild beast, especially this is an LCD resin based printer which I had never worked with before. A few notes from my brother (the master) to me:
Use ChiTuBox for calculating supports (.stl), and Asiga for slicing (.slc).
Avoid horizontal lines at all cause, ones that are parallel to the print plate
Set thickness to be 0.05mm in Asiga because it has to match the resin used
send the .slc to the printer
Since I have a lot of straight lines in my designs, no matter how I tilted the model in ChiTuBox, I would have lines that are parallel to the plate. Therefore, there were warping at some of the edges. I think the resin based printers cares more about the interior structure than filament printers. The warping could also be that I didn’t scrap the model off right after it was done. I guess I will find out when I print more. The print took about 8.5 hours (506 mins) which is much longer than printing the same model on a PLA printer. However, the detail is definitely superior @ 0.05mm with Phrozen. I miss my long-time partner, my well-tamed beast, Makerbot.
This was a great first step, Tinkercad skill levelled up!
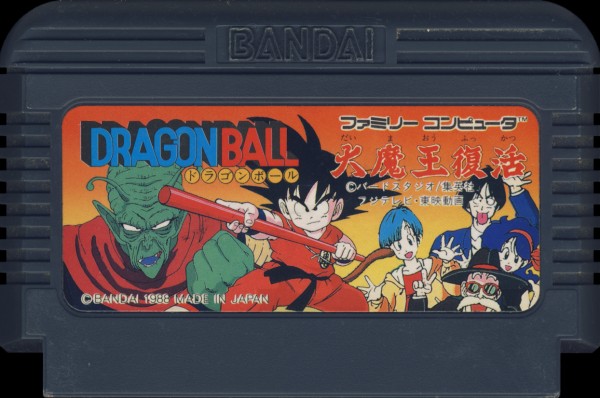
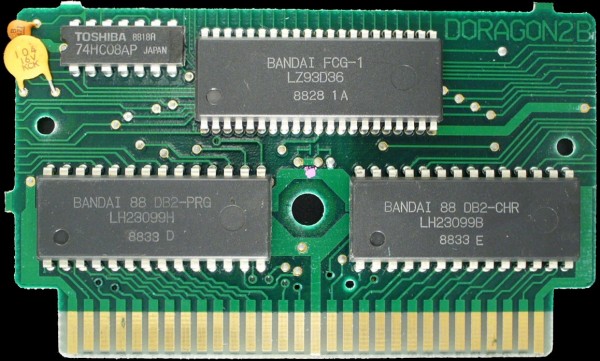
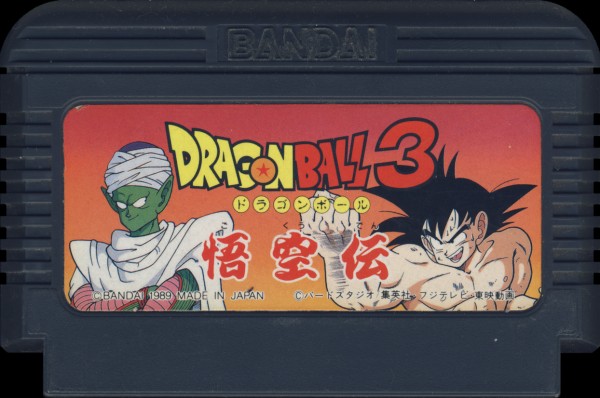
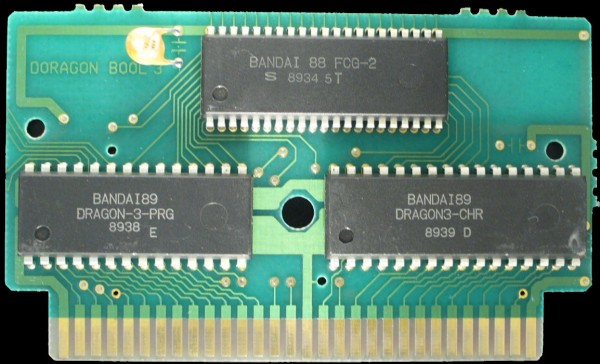
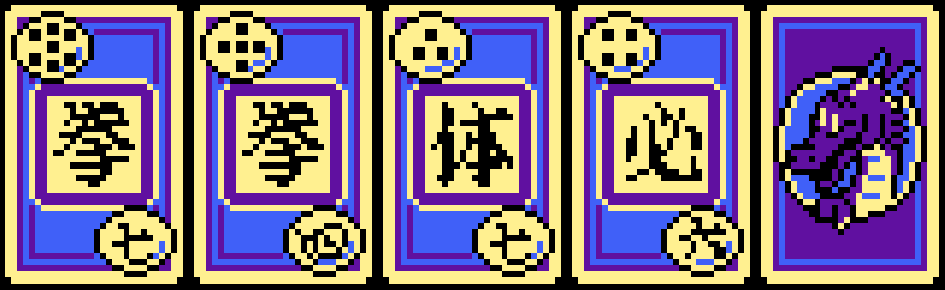
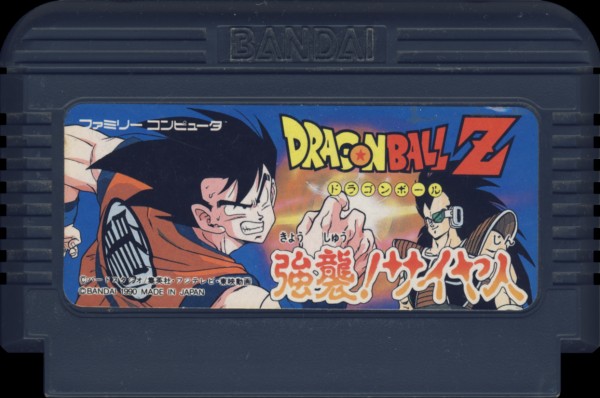
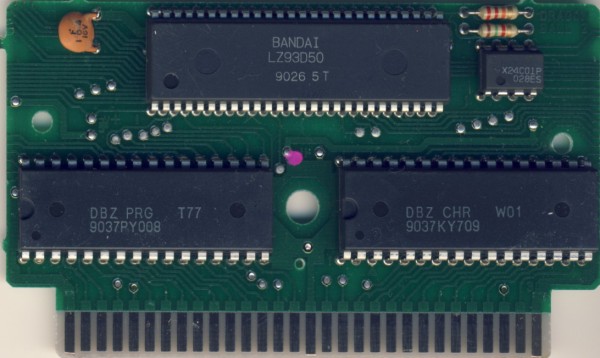
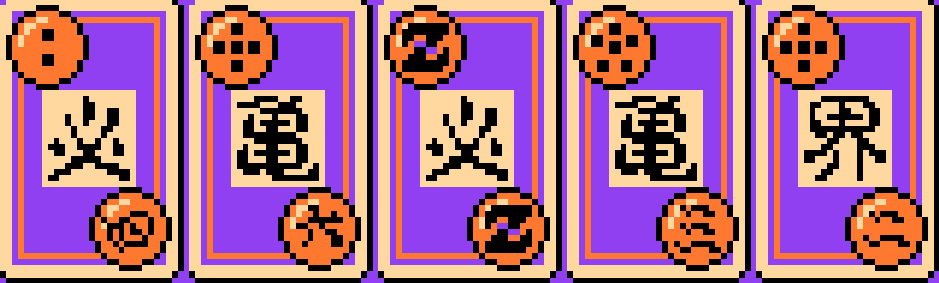
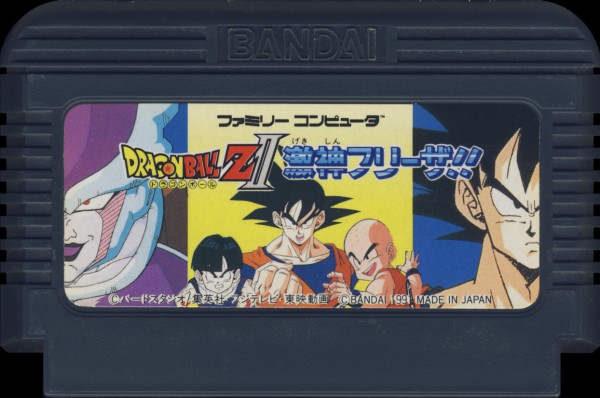
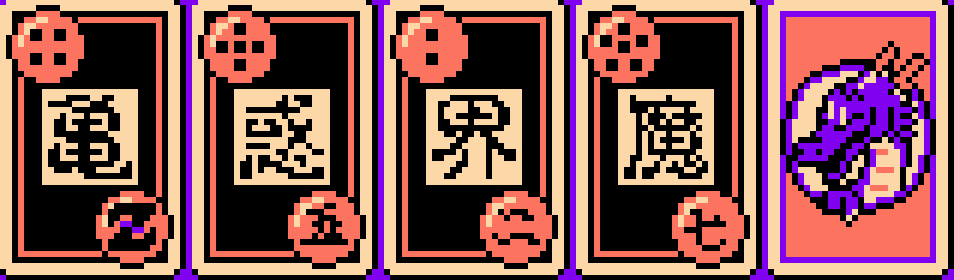
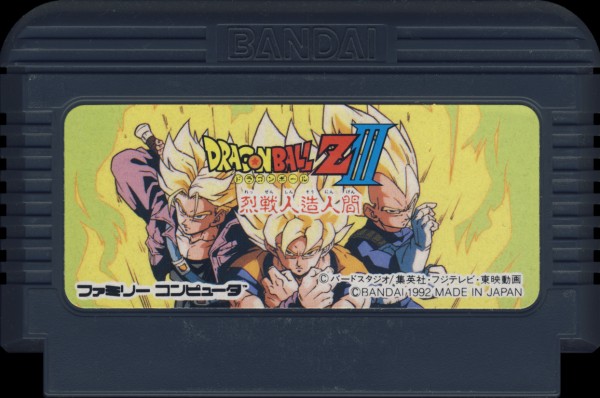
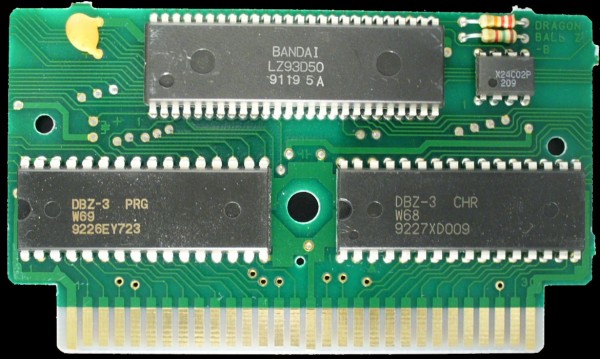
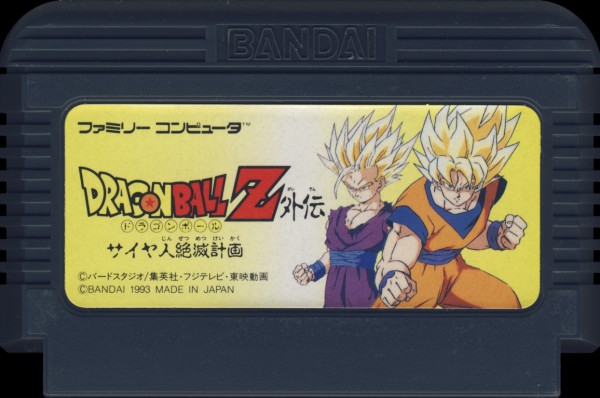
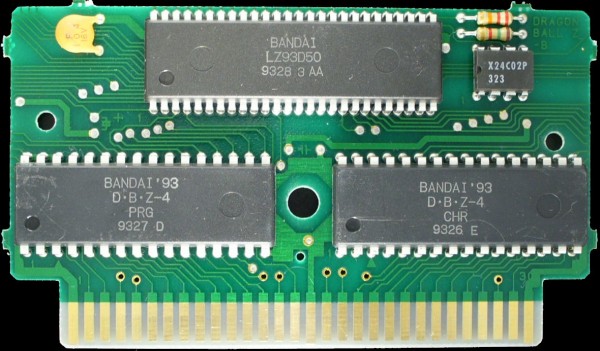
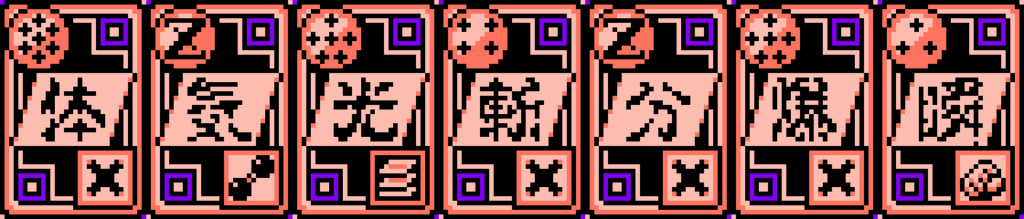
I played ドラゴンボール 大魔王復活 when I was a kid and I was impressed by the card battle mechanic in the game. It was a brilliant idea to bring some strategic thinkings into dice rolling which is usually just pure randomness. I didn’t fully understand how it works because it felt like there were more than just comparing numbers on cards. The mechanic evolved over 6 Dragonball games on Famicom and then was carried over to Super Famicom. I missed old animes that were made into RPG games back in the days such as Saint Seiya, Jo Jo’s Bizzard Journey, and Dragonball. All of them had become fighting games in their recent video game adaptations. Looking back to those old RPG games, I really appreciated all the efforts went into telling a complex story with so few pixels.
“Comfortably lying on a couch in any position you want, stripping a Cardboard VR on your face, bearing your arms behind your head, and let your tongue take over all the snapping, just like a hungry frog boss.”
Here comes my next experiment. The tongue controller is already working, the player has to reach his/her tongue out and touch the controller, and it will register a hit in the game. The feedback, SFX and Visual, has to be satisfying to make it a worthwhile experience.
Makey Makey Go is able to simulate a touch easily with just 1 contact (capacitive touch), in this case, it is the player’s tongue. This setup will require a USB adaptor from Makey Makey Go to the android phone.
Flashback Island is a 360 Panorama picture viewer for RICOH Theta. All the Panorama pictures are stored in the app so it might take sometime to load based on your internet connection. In the future and when I have more time, I will use google doc and store pictures externally instead.
You will see many yellow orbs around the island. If you center any of them on your screen, an orange circle will show up around it with some information about the picture. While you are at it, press spacebar to view the picture, and press it again to exit. Enjoy it!!
01/05/2014
Spacebar vs. Mouse-click. If this was meant to be a desktop experience, I would totally use a Mouse-click over Spacebar. However, this app is intended for Oculus Rift, and the Spacebar is a programmatic preparation for an external (arduino-driven) button that mounts on viewer’s chest.
12/18/2014
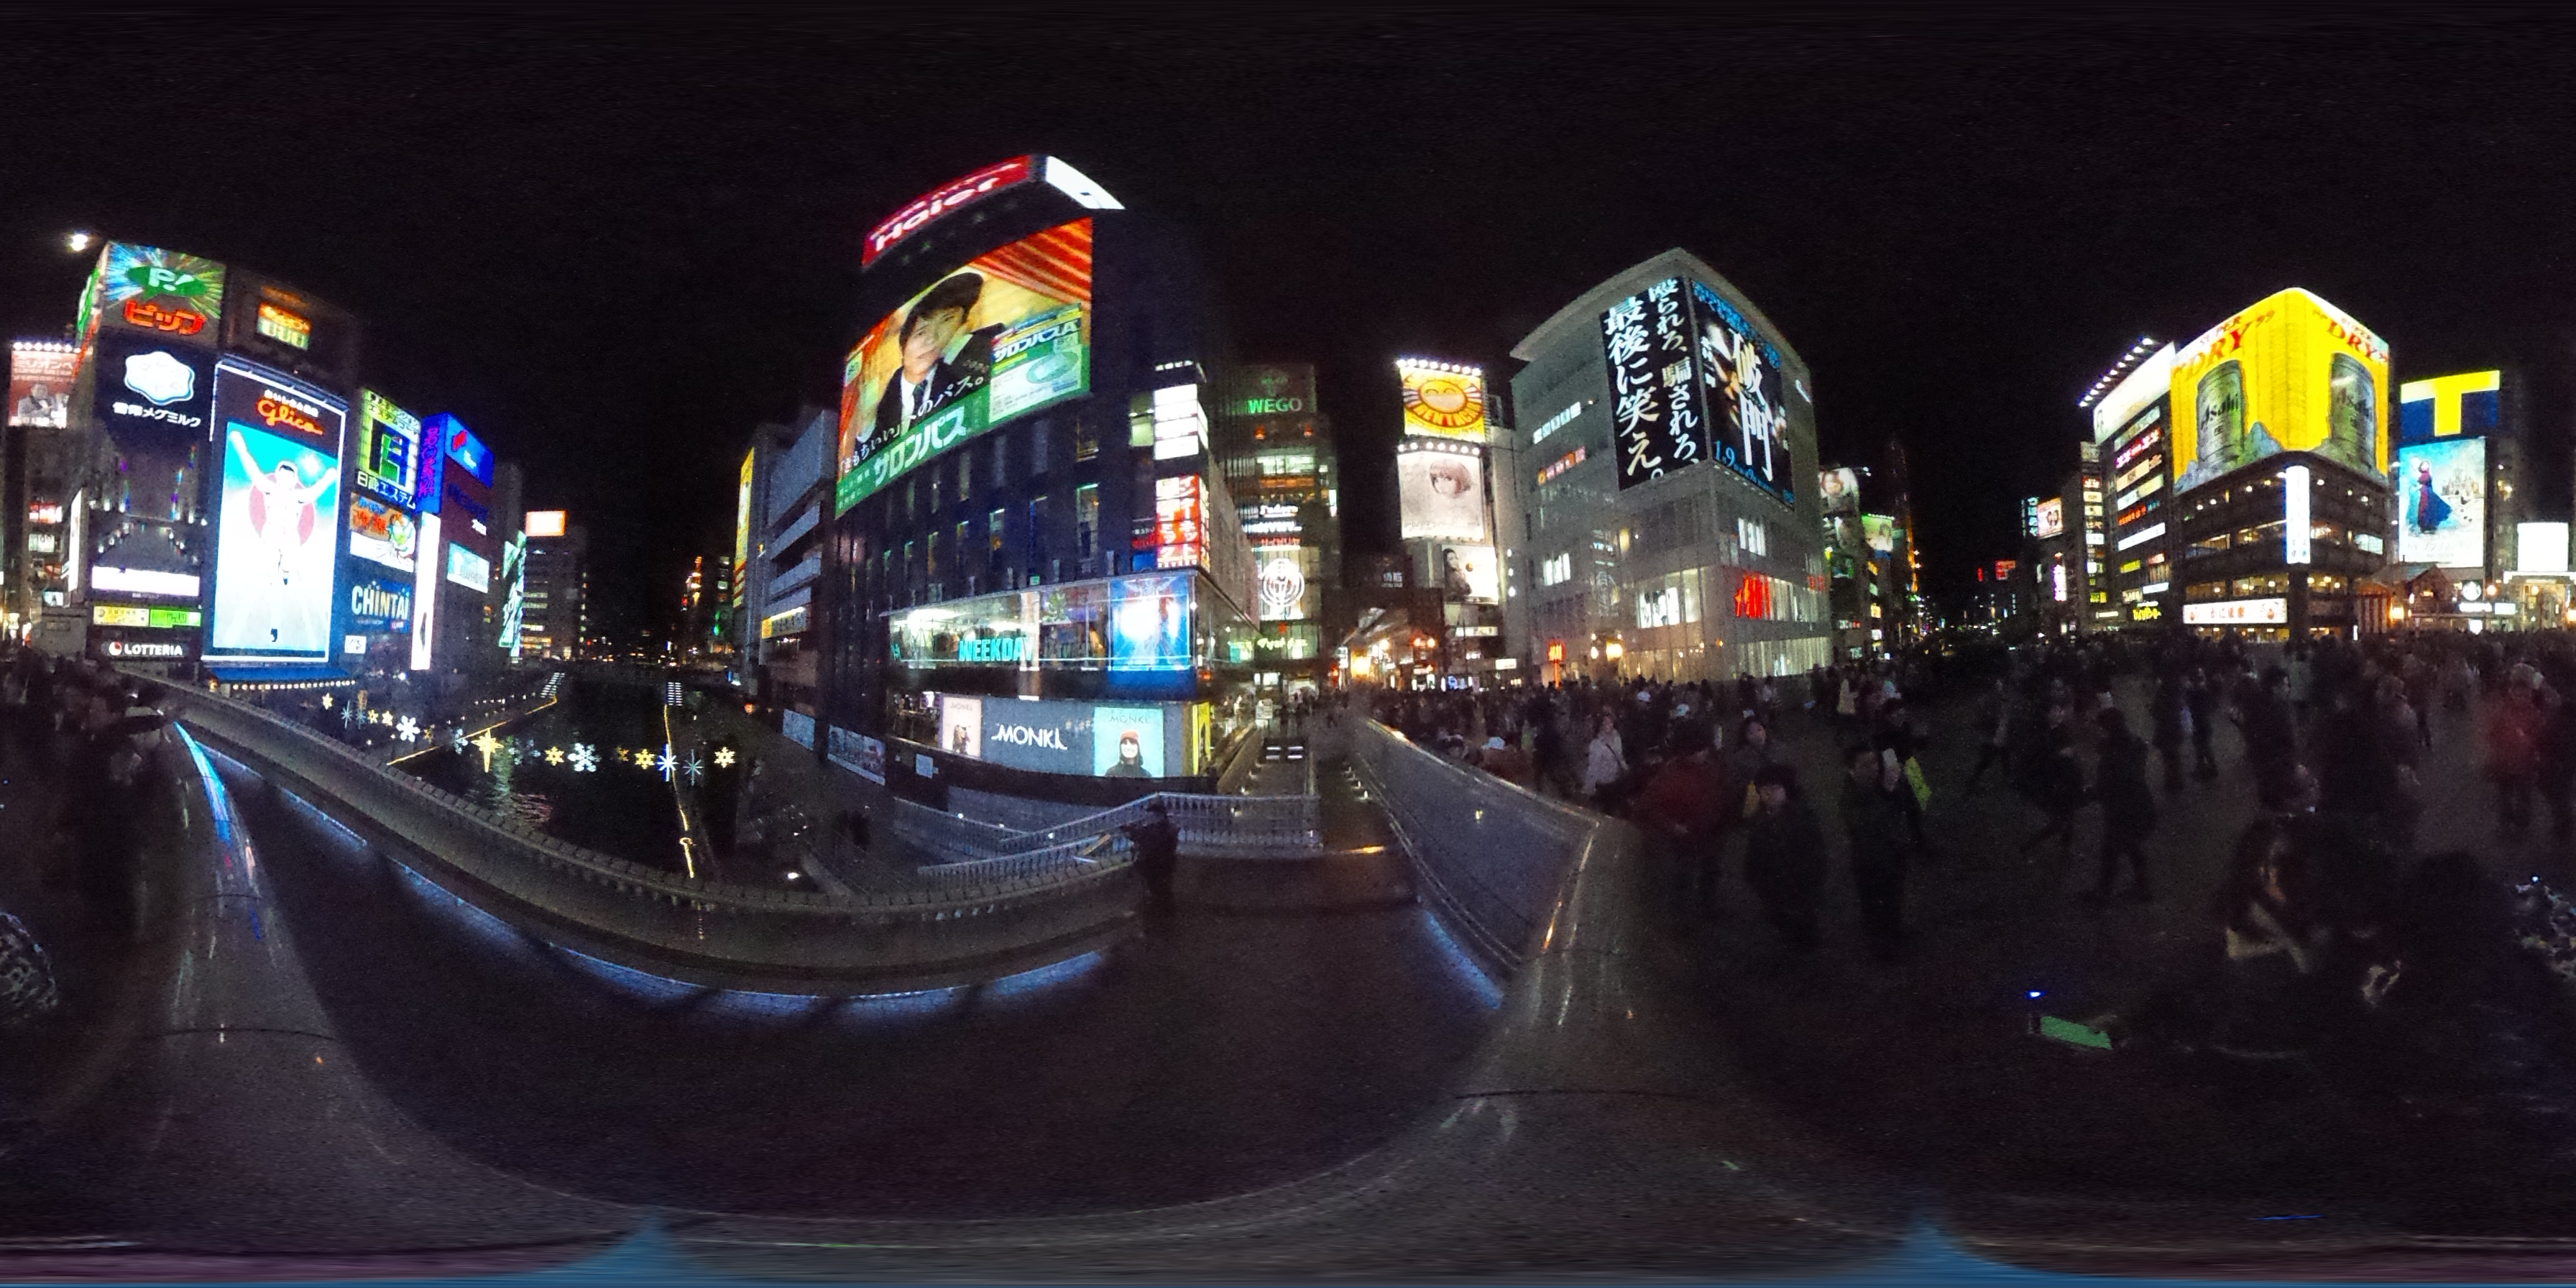
360 Cameras like RICOH Theta produce pictures like the one above. It works perfectly as the texture for sphere in Unity. The only technical hurdle to get this to work is that Unity 3D doesn’t render inside of the sphere by default. Since I am going to texture the sphere with the Theta picture and put a camera in the middle of the sphere for viewing, I need Unity 3D to render inside of the sphere as well. In order to make this happen, a new shader is needed, well I only changed 2 lines…
Combine two Processing Libraries (Kinect + NXT) and Lego NXT sets, I ran the Lego SUMOBOT Battle in my class before the semester is over. It was a lot of fun, 3 teams came up with very different theories and robots. The entire session took 3.5 hours and was divided into design, build, program, test, and battle 5 different stages.
In order to run Kinect and OSCeleton on your Mac, I followed Tohm Judson’s long walk through, there is no short ones… It was written a while ago so some of steps are no longer apply. Here are my notes when I install them again on my new Mac (08/15/11).
My MacBook Pro (Mac OSX 10.6.8, 2.4GHz Intel Core i5, 4GB DDR3)
1. I didn’t install CMAKE and it works fine. 2. MacPorts SnowLeopard installer. 3. OpenNI: link to download OpenNI has changed to here. 4. NITE: link to download NITE has changed to here.* 5. I don’t have the avin2…>NITE>Data folder so there is no 3 files to copy from. Instead (important), open all 3 XML files inside of Nite-….>Data folder and change the value of the attribute “key” inside of the License syntax to 0KOIk2JeIBYClPWVnMoRKn5cdY4=
The line of code should look like this in all 3 XMLs:
6. pbox2d library errors: if there are errors, 99% is because of the latest version of pbox2d library. The OSCeletion example is based on an earlier version of pbox2d, a lot of function names are changed for the newer one. Replace the latest library with the old one above will fix the problem.
*If the link breaks again, go to http://www.openni.org, on the menu bar go to Download/OpenNI Modules, then choose “OpenNI Compliant Middleware Binaries”, then “Latest Unstable”, there pick the latest NITE version for Mac OSX.
OUTPUT TO NXT:
I use Jorge Cardoso’s NXTComm library to communicate with Lego NXT Brick.
The file tree on the website is a little bit messed up for me. In order to make it work for Processing 1.5.1, this is what I did:
1. Unzip and change the folder name to “NXTComm” 2. Open the folder and create a new folder named “library” 3. Drag NXTComm.jar into the newly created library folder. 4. Drag the entire NXTComm folder into Documents/Processing/libraries/
Ignore the RXTXcomm.jar, Processing 1.5.1 has serial library built in already.
There is an example using this library on Diego Baca’s NXT website. The example uses a library called SpringGUI, it is no where to be found. I commented out everything relates to SpringGUI in the code, then it works. I also experience some delay on the response, solved by commenting out unused port readings in the code. Since I am only using NXT’s motor ports, these two commands are all I need:
nxt.motorForward(portNumber, speed);
and
nxt.motorHandBrake(portNumber);
portNumber: 0, 1, 2 speed: -100 to 100 (directional)
For the Boss Level this trimester, students are creating a play together. The idea behind the theme is to introduce system and components, and to create relationships between them. All kinds of workshops are provided to take students through different aspect of a stage play, such as script writing, site design, light design, prop design, and character design. To celebrate the theme and system thinking, in SMALLab we put on a real-time digital puppet show, named Quellywood. The characters are borrowed from Systemia, another very popular trimester theme at Q2L New York.
Students are divided into teams and each team collaboratively acts out a puppet show in SMALLab. A team consists of 2 puppeteers, 2 prop masters, 1 voice actor, and 1 director. Puppeteers use the SMALLab controllers to act with the digital puppets. They can create different facial expressions on their puppet by moving the controller up and down in SMALLab. Prop masters are in charge of sound effects, props, and the backdrops of the show. The voice actor and the director are usually the same person who dubs and keeps the team in sync with their script. They will spend the first 15 mins of the session to write a story. An online version of the Quollywood is available to them as a simulator during the writing. Afterwards, they rehearse their script once in SMALLab, make some last-minute changes,and go into the official recording. Projection screen, including sound effects and voice-overs, is recorded while they act out the whole play, we then corp out the stage area and publish the show to Youtube and BeingMe.
In this play experience, we have built in a few mechanisms that requires players to communicate with each other in order to put on a successful play. There is a special sound effect that requires both prop masters to trigger certain backdrops in a specific sequence. There are tricks to create seamless prop exchange between the two puppets and they are heavily relied on the synchronization between puppeteers and prop masters. Voice actor has to work with puppeteers to sync the voice-overs with the mouth animation.
Step 1: Writing and Simulating
Step 2: Rehearsing and Iterating
Step 3: Recording and sharing
The cheer at the end is real! That is all of us in the room congratulating them a job well done! A urban fairy tale in 45 mins!
This trimester in Q2L SMALLab, we work with students on angles. The goal is to create SMALLab scenarios that reinforce the concept of supplementary angles and opposite interior angles created by two crossed straight lines. We also decided to create a story based on the Carnival theme they have for this trimester with the characters from Systemia.
“Rumor has it, Kalc is building a giant safe in her lab. She is one of the suspects in Professor PI’s kidnap incident. We haven’t seen her for the past three days, and worried that she is up to no good. Codebreakers, we would like you to sneak into her lab while she is gone and investigate the giant safe. But before that, you have to prove your codebreaking skill. We will be waiting at the carnival booth 13…”
booth 13 is hosted by Arithmus and Wordix, they are Professor PI’s trustworthy assistants. In booth 13 players work together to measure angles generated by the game with an augmented protractor and recreated them accordingly. Every round consists of two major steps, the first step is measuring the given angle, and the second one is angle calculation, both steps require recreating the correct angle with angle generator to proceed. However, game master (teacher) holds the power to alter the questions for both steps, which means he/she can bypass the game logic and proceed the game if students creatively solve the problems. The goal here is to emphasis the understanding of the sum of supplementary angles is 180 degrees, the sum of complimentary angles is 90 degrees, and opposite exterior angles are congruent, and hopefully in the end of the SMALLab session, students would be able to measure one angle and calculate the rest.
After booth 13, students are packed with angle skills, it is about time sneak into Kalc’s lab. Kalc’s giant safe is secured with an eight-angle combination lock. Every angle will be announced by the safe in a futuristic female voice. This scenario doesn’t really have any controller inputs for interactivity, all the controls are on game master’s mighty clicker. All four angles are numbered when a new combination comes up. Game master will ask question related to the coved concepts, and player(s) have to step on the right angle to respond. Then game master will proceed to the next combination or ask more questions based on the answers. After the 8th combinations, students have successfully broke the lock, and the safe will open up and show the content. What is really in there? it is for students to find out…
We’ve discovered a new way of implementing Smallab into classroom. It is to shift part of game logics into teacher’s hands or even students’ hands. That way, the gameplay becomes more creative and dynamic, and teachers also have more control over the scenarios. It harden the bond between teachers and the scenarios.
Liferaft is a jungle river adventure game made in SMALLab. Players use glowing controllers to paddle, pump, and signal inside of a broken liferaft. The goal is to get to the river shore without sinking the raft. To succeed this game, players have to avoid obstacles, gather power-ups, pump water out, and manage the weight of their raft.
This collaborative game also has a stand alone level editing tool that allows players to design their own levels on the fly. The tool provides a smooth transition from paper (analogue) prototype into digital game level design. Players plan their level on a set of of three narrow boards resembles the beginning, the middle, and the end of a game level in Liferaft. Then they put color-coded stickers on the board based on their plans. Each color sticker represents a kind of game events. During the planning, players will explain their levels to teachers and game designers including predictions of play experience that their level is going to invoke.
After putting down the stickers, they insert their boards underneath the Computer Vision Box, a support equipment I designed and built to read those color stickers on the three boards. They will then be translated onto the computer screen. The color stickers will be replaced with real game components. Players can either test their level on the screen or send the level into SMALLab and play the real deal there. We usually have groups of players play each others game and give feedback and they will then go through an iterative process to make their game more fun and be close to the play experience they predicted.