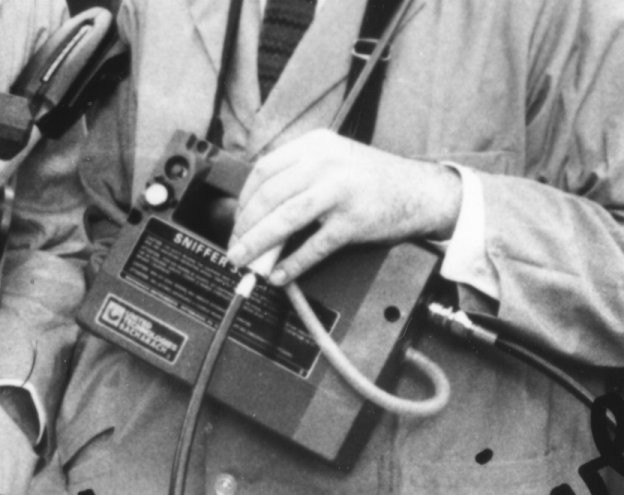
When Dr. Peter Venkman visited Dana’s apartment in the first Ghostbusters movie, he used a device known as the “Ghost Sniffer”.
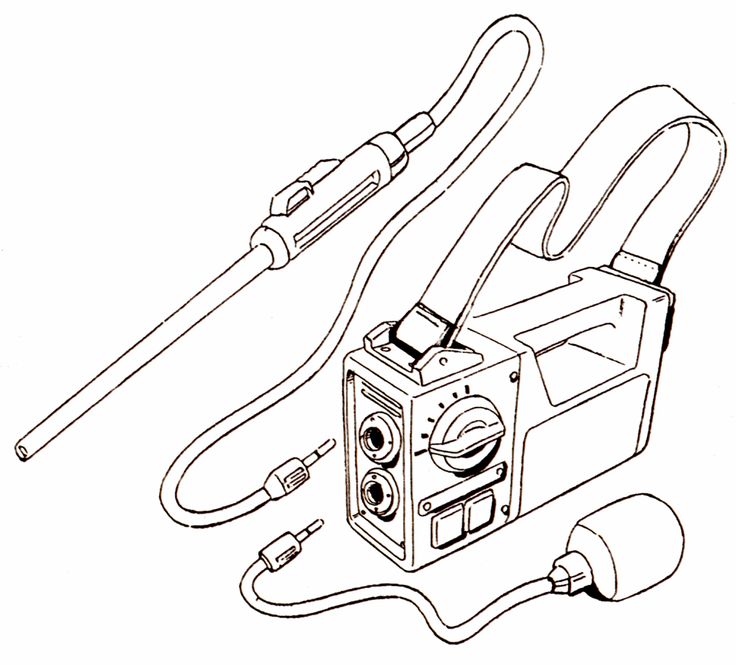
This device is actually a Bacharach model 300 sniffer combustible gas detecting device, a real-world gadget used to detect specific gases and oxygen levels. Venkman used it to purportedly detect “Ectoplasmic vapor trails” and analyze the air for paranormal activity. It’s mentioned that Venkman himself wasn’t entirely certain if he was using the device correctly in the scene.
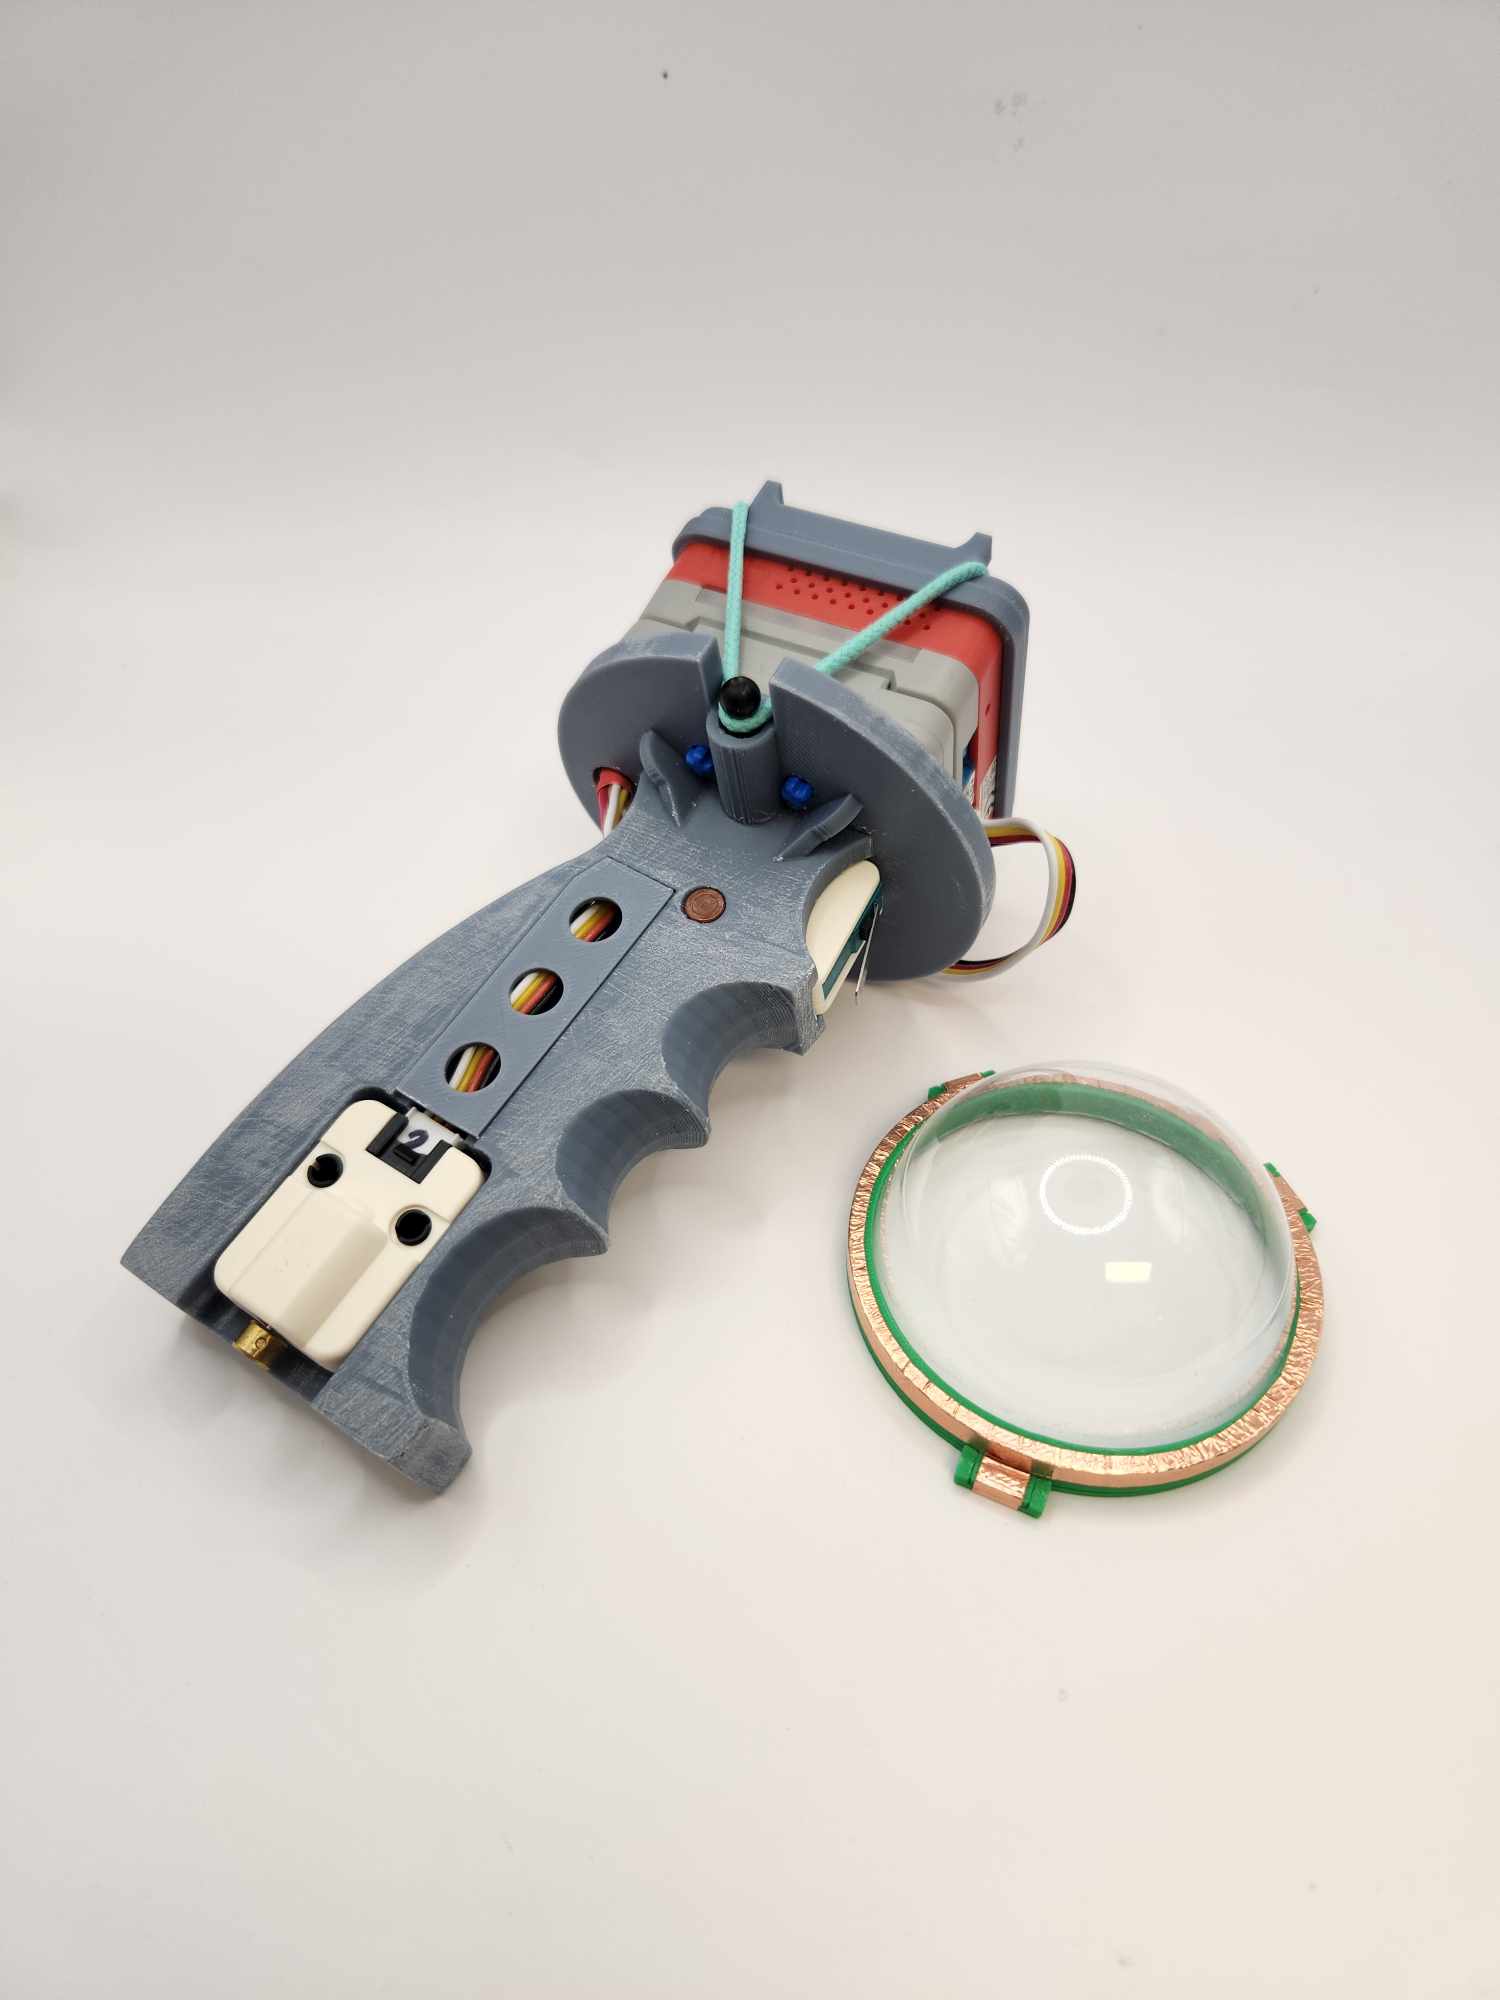
Hmmm… what play experience can be made for a ghost sniffer like controller? I personally really like the tiny pump action.
I was researching for a story backdrop for a game prototype. Preferably an adventure that involves traveling, making friends, and fighting evils. As someone who grew up in Asia, the first two that came to my mind was the Journey to the West (西遊記) and Momotarō (桃太郎). When I research further, I found some interesting articles about using a modified version of the story Momotarō as a propaganda tool in the colonial Taiwan.
Finding 1: 日本國民童話「桃太郎」在殖民地臺灣的傳播 LINK Japanese citizen of country children’s story Momotarō expanse in colony Taiwan
The motivation for this study originated from my first visit to Taiwan, during which I encountered an elderly Taiwanese woman who could speak Japanese. This inspired me to analyze the fairy tale Momotarō from the Japanese-language elementary school textbooks used during the Japanese colonial period, in order to explore the educational policies of the Japanese colonial government and the impact of Japanese education on the Taiwanese people.
First, this study compares prewar Japanese language textbooks with those used in Taiwan during the colonial period. It analyzes which fairy tales appear in both sets of textbooks and compares the differences between Japanese folktales as they appear in oral tradition and as they are presented in textbooks.
Next, it closely examines the Momotarō story as found in both Japanese and Taiwanese textbooks, analyzing the meanings assigned to the tale within these educational materials.
Finally, it investigates how the Momotarō story was used beyond textbooks—in newspapers, magazines, school arts festivals, speeches, and other settings—to analyze the tale’s dissemination. In addition, interviews were conducted with eight Taiwanese individuals who had received a Japanese education, to explore their impressions of the Momotarō story.
This study argues that among the five major Japanese fairy tales, Momotarō is the most characteristically Japanese and the easiest to utilize. During the colonial period, Japanese educators used school curricula and various channels to popularize the Momotarō tale—imbued with Japanese national identity—in colonial Taiwan as a means of instructing and assimilating Taiwanese children.
Before the full-scale war between China and Japan, Momotarō was a prominent fairy tale figure closely followed by both countries. The Japanese construction of Momotarō consistently revolved around a modern colonial cultural logic that framed “justice–Momotarō–Japan” against “evil–demons–conquered territories.” Through means such as sending intellectuals to give lectures in Taiwan, adding the Momotarō story to elementary school textbooks, and promoting it via newspapers and magazines, Japan facilitated the popularization, transplantation, and transformation of the Momotarō image in Taiwan.
However, Chinese intellectuals had already seen through Japan’s use of Momotaro as a tool of “colonial justification propaganda” in its external expansion. For example, Zhang Taiyan criticized the story’s underlying message of aggression, which in turn inspired Akutagawa Ryunosuke to rewrite Momotarō and expose the hypocrisy in Japan’s so-called “Momotarō-ism.” Lian Heng traced the story’s roots in Han Chinese cultural traditions, expressing strong national identity and patriotic sentiment. Meanwhile, Yang Kui extracted a leftist spirit from the tale, advocating for proactive “activism” and encouraging the working class to courageously resist colonial plunder and class oppression.
This reminds me of the street skit “Drop Your Whip” that I learned at the drama club in college. “Drop Your Whip” (放下你的鞭子) is a well-known Chinese street performance with propaganda significance, but it actually predates the Cultural Revolution and was later revived and repurposed during that period.
“Drop Your Whip” was originally a street skit (快板剧 or 小品) created in 1931 by dramatist Chen Liting (陈鲤庭) based on a play by Tian Han during the Anti-Japanese War era. The performance featured a young beggar girl being beaten by her stepfather. A passerby intervenes, scolds the stepfather, and gives the girl money. In the skit, the girl explains that her suffering is due to the Japanese invasion, not personal misfortune. This scene becomes a metaphor for national suffering under imperialism, encouraging anti-Japanese resistance.
During the Cultural Revolution (1966–1976), the piece was revived and adapted as revolutionary propaganda, often performed in public squares, workplaces, and rural areas. Its class struggle themes—a cruel oppressor (the stepfather) and a suffering innocent (the girl)—aligned neatly with Maoist ideology. The performance was used to foster revolutionary fervor, targeting both historical enemies (like imperialists) and class enemies within (landlords, counterrevolutionaries). In some cases, it was even staged as a criticism or denunciation session, with parallels drawn between the stepfather figure and actual individuals labeled as “class enemies.”
The “whip” came to symbolize oppression, and dropping it was a metaphor for overthrowing old systems—imperialism, feudalism, and capitalism. The emotional appeal, direct messaging, and performative nature made it effective for mass mobilization, especially in rural and less literate populations. Therefore, while “Drop Your Whip” wasn’t originally created during the Cultural Revolution, it became part of its broader repertoire of revolutionary propaganda, often adapted to fit shifting political narratives.
My next book game idea is of course a miniature battle royal style game. I had a quick prototype setup and didn’t expect the most difficult part is getting M5Stack’s PaHub to work with multiple I2C devices at the same time. It seems there is not enough documentation and code samples available on the internet.
The two major challenges that I ran into were:
RFID 2 I2C unit requires initiation when creates the instance (MFRC522 mfrc522(0x28);), how do I work this into the channel selection while using PaHub?
I used the PaHub example from M5Stack, somehow 0x28 (RFID 2 default address) shows up in CH0 when RFID 2 unit was plugged into CH1.
Interestingly, I used the I2C Scanner Example Code from Adafruit. It actually sort the 0x28 under the right channel which is 1 in this case. … PCA Port #1 Found I2C 0x10 Found I2C 0x28 Found I2C 0x68 Found I2C 0x75 …
#include "Wire.h"
#define PCAADDR 0x70

void pcaselect(uint8_t i) {
  if (i > 7) return;
  Wire.beginTransmission(PCAADDR);
  Wire.write(1 << i);
  Wire.endTransmission();
}

// standard Arduino setup()
void setup()
{
    while (!Serial);
    delay(1000);

    Wire.begin();

    Serial.begin(115200);
    Serial.println("\nPCAScanner ready!");

    for (uint8_t t=0; t<8; t++) {
      pcaselect(t);
      Serial.print("PCA Port #"); Serial.println(t);

      for (uint8_t addr = 0; addr<=127; addr++) {
        if (addr == PCAADDR) continue;

        Wire.beginTransmission(addr);
        if (!Wire.endTransmission()) {
          Serial.print("Found I2C 0x");  Serial.println(addr,HEX);
        }
      }
    }
    Serial.println("\ndone");
}

void loop()
{
}
I continued to follow the Adafruit tutorial, with some modifications, I got it to work! Now on to the 2nd I2C device. Original code can be found here: Multi-Sensor Example Code
#include <M5Stack.h>

#include "MFRC522_I2C.h"
#include "ClosedCube_TCA9548A.h"

#define FRONT 2

#define X_LOCAL 100
#define Y_LOCAL 35
#define X_OFFSET 160
#define Y_OFFSET 34

#define PaHub_I2C_ADDRESS 0x70
//#define DEV_I2C Wire

ClosedCube::Wired::TCA9548A tca9548a;
MFRC522 mfrc522(0x28);

void pcaselect(uint8_t i) {
  if (i > 6) return;
  Wire.beginTransmission(PaHub_I2C_ADDRESS);
  Wire.write(1 << i);
  Wire.endTransmission();
}

void setup() {
  M5.begin();
  M5.Power.begin();
  Wire.begin();
  tca9548a.address(PaHub_I2C_ADDRESS);  // Set the I2C address.
  M5.Lcd.setTextFont(4);
  M5.Lcd.setCursor(70, 0, 4);
  M5.Lcd.setTextColor(YELLOW, TFT_BLACK);
  M5.Lcd.println(("PaHUB Sensors"));
  M5.Lcd.setTextColor(TFT_WHITE, TFT_BLACK);

  Serial.println("CH1 MFRC522");
  // define the port on the PCA9548A for the first sensor
  pcaselect(1);
  mfrc522.PCD_Init();  // Init MFRC522
}

void loop() {
  // define port on the PCA9548A
  pcaselect(1);
  M5.Lcd.setCursor(40, 47);
  if (!mfrc522.PICC_IsNewCardPresent() || !mfrc522.PICC_ReadCardSerial()) {
    delay(200);
    return;
  }
  M5.Lcd.fillRect(42, 47, 320, 20, BLACK);
  for (byte i = 0; i < mfrc522.uid.size; i++) {  // Output the stored UID data
    M5.Lcd.print(mfrc522.uid.uidByte[i] < 0x10 ? " 0" : " ");
    M5.Lcd.print(mfrc522.uid.uidByte[i], HEX);
  }
  M5.Lcd.println("");
}
Project Setup Tool checked, including both Passthrough over Meta Quest Link and Spatial Data over Meta Quest Link are enabled in the Meta Quest Link settings.
NuGetForUnity installed through NuGetForUnity.4.3.0.unitypackage
ZXing.Net 0.16.10 by Michael Jahn installed
ZXING_ENABLE checked
Imported TMP Essential Resources
Opened up the QRCodeTracking scene for the first time and got 3 of the same warnings: “Your project uses a scriptable render pipeline. You can use Camera.stereoTargetEye only with the built-in renderer.”
Opened up Build Profiles
Switched Platform to Android
Build And Run
This is the 3rd try and it worked. The first two tries, I didn’t know there were dependencies needed to make it work. This is very fun, but still not what I wanted exactly. I wanted an AR Marker tracker.
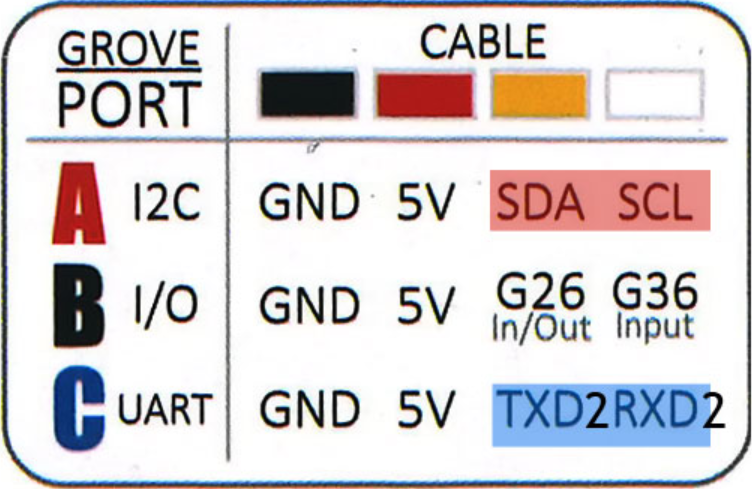
M5 Red only comes with 1 Port B and I would to use 2 Port B units without the hub which added to the overall formfactor. The two units I need are the Limit Switch unit (U145) and the Vibrator unit (U059) and, fortunately, they are hooked up to a different GPIO pin on Port B. The Limit Switch unit is on GPIO 36 (Input, Whit) while the Vibrator unit is on GPIO 26 (In/Out, Yellow).
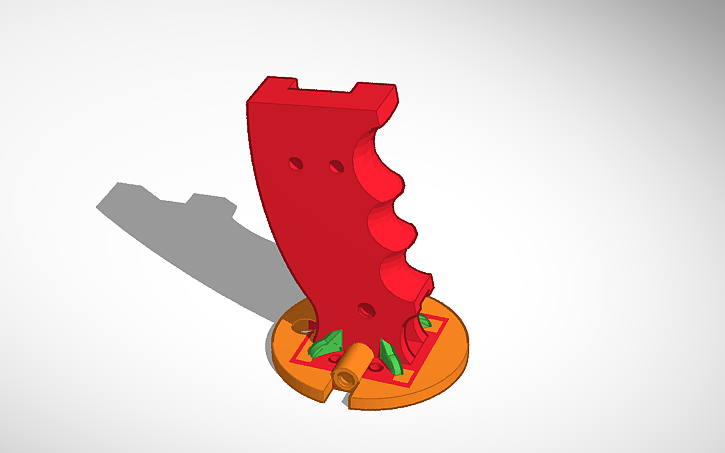
Theoretically speaking, if I split a grove cable into 2, I should be able to connect both units to Port B at the same time. I have done this a couple times for other projects to save space, but I do worry the vibrator might draw too much power from the same cable and eventually cause the switch to stop working properly.
It works beautifully.
Programing the vibrator is super fun. I had in my mind the “pew pew pew” sound, and this is what I ended up with. I have not played with the frequency and resolution yet.
[Note to myself] The ESP32 can generate a PWM signal with a frequency of up to 40 MHz. It is currently set to 10000. If the PWM resolution is “n” bits, the timer counts from 0 to 2n-1 before it resets. For example, if we configure the timer with a frequency of 1 Hz and a resolution of 8 bits, the timer will take 1 second to count from 0 to 255 (28-1). In the case of a frequency of 1 Hz and a resolution of 16 bits, the timer will still take 1 second, but it will count from 0 to 65,535 (216-1). The resolution is currently set to 10.
//Vibration
        for (int ii = 0; ii < 6; ii++) {
          ledcWrite(ledChannel, 512 - ii*40);
          delay(40 + ii*10);
        }
        ledcWrite(ledChannel, 0);  // set buzz off
Bubble Up and Go, aka B.U.G., is a single-player Start-of-2025-Empowering game. It has been a rocky start this year, negativities are around us! In this simulation, players have to navigate through negativities, learn to keep a safe distance to toxic influences, and purify them with positive energy! Hope all of us have a great rest of 2025. Bubble up and let’s go already!
This year’s them is bubble.
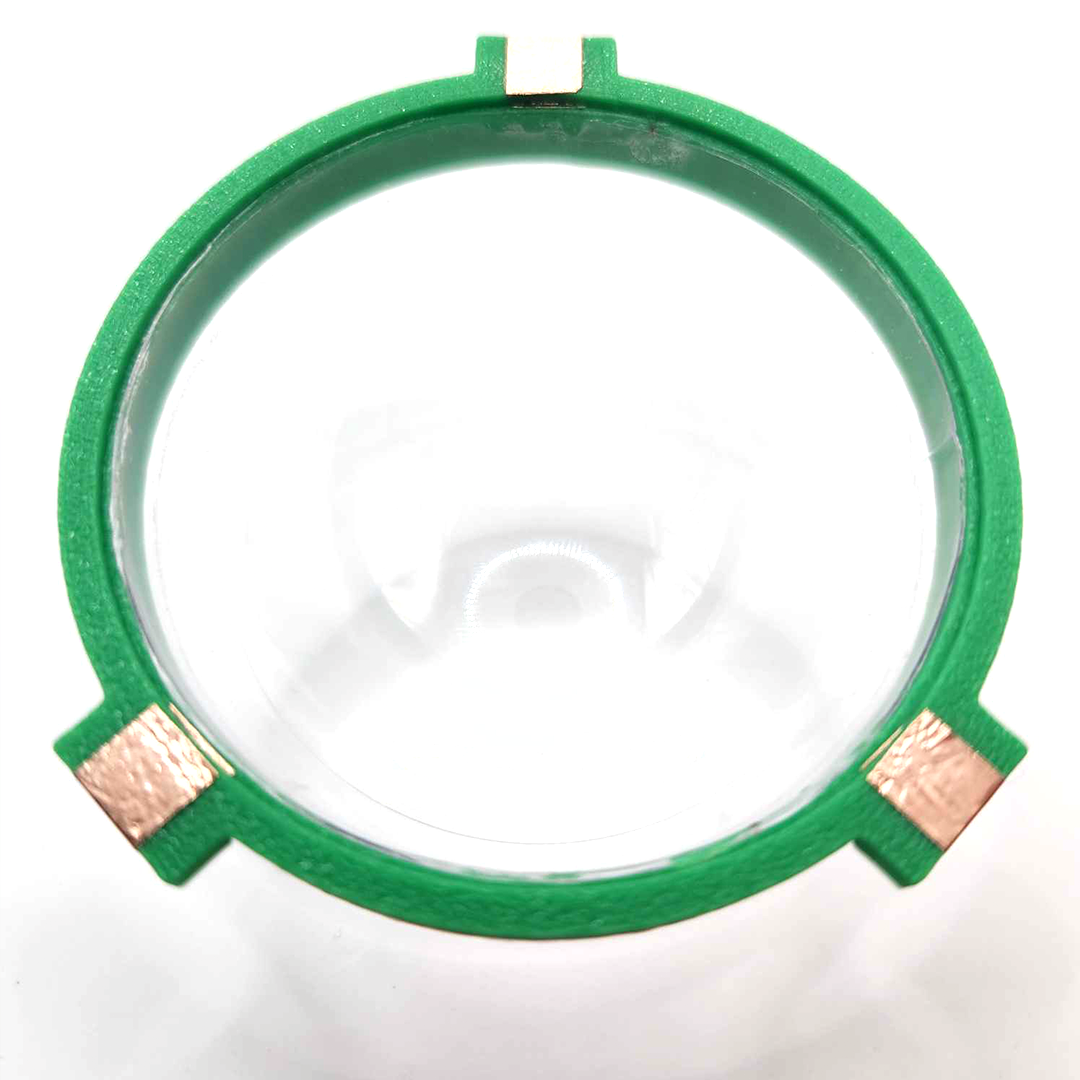
How convenient! Before attending the global game jam today at our site, I stopped by Michael’s. I went there to see if I could find a cheap snow globe kit for a summer project that I was working on. There were a few interesting things I found there but they were either two big or too fragile for the project. I eventually decided to go with a clear plastic 3-Part Mold that was on sale. It has the right size and super cheap. The universe was aligned that afternoon because when I arrived, I found out the theme for this year’s Global Game Jam was, guess what!?, bubble!
Okay, I have to make something to answer the calling!
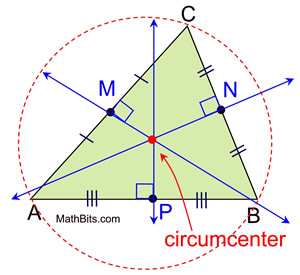
I also relearned math in the process (in English!), for example, in a triangle, the line that goes from one angle to the middle of the line between two other angles is called a median. The other one I relearned was the circumcenter of a triangle which is the point where the triangle’s three perpendicular bisectors meet. It’s also the center of the circle that passes through all three vertices of the triangle, called the circumcircle.
Translating them into Visual Scripting was also very fun. I had done a similar experiment with C# in 2013 when those tablet toys were popular. The relation between the 3 angles is different for different triangles and, therefore in theory, can be used as identifier. The debugging is a little tricky because the multitouch feature can’t be tested directly inside of Unity editor.
With the bubbly controller in mind, the first few things that came to me was protection, activation, attraction and repeal. This probably came from my memory of playing WoW. Bubble up = 0 harm.
Here are an initial set of rules to situate the gameplay and most of them are based on the felt.
the player (soul unit) can attract good energies and repeal negative ones
negative energies (disaster clusters) will randomly pop up in proximity to the player
bullets with positive energy will shoot out of the front of the soul unit to repeal any disaster cluster they hit.
a successful hit with a bullet will generate points and enlarge the soul unity over time
when points reach a threshold, the player can release a map attack that whips out all the disaster clusters nearby.
Over the course this weekend, 21 students, 1 faculty, and 1 alum (my one and only Bryce!) made 7 games in total, super awesome!
We played each other’s games at the end, all of my overthinking and tech-savvy game mechanics were immediately humbled by other players. For example, the bubble controller can also control the rotation of the soul unit. I wanted to use the rotation for something so I added a mechanic which shoots out a energy bullet from the front to repeal disaster clusters. It was not very intuitive, and players had a hard figure out what’s going on there including where the front is. I should of just let the soul unit do what bubble do the best which is to bounce with other disaster clusters directly. I missed frequent playtesting so much!
I am planning to add a few more things:
Soul unit can be hurt by nearby clusters – decrease points?
After many years, I am coming back to get 3 RFID readers to work together again. Completely forgot how I did it , I started with Software serial. I couldn’t get two software serial ports to work. After reading the notes I left for myself in this post (https://www.ivadream.com/kyle/red/?p=4344). I found out from myself that in order to get 3 RFID readers working on 1 Arduino, I had to use 1 hardware serial, 1 software serial, and 1 altsoftware serial. It worked like charm!