Circle Math
https://www.geeksforgeeks.org/equation-of-circle-when-three-points-on-the-circle-are-given/
equation of circle: x^2 + y^2 + 2*g*x + 2*f*y + c = 0
2f = ( ( x12 – x32 )( x1 – x2 ) +( y12 – y32 )( x1 – x2 ) + ( x22 – x12 )( x1 – x3 ) + ( y22 – y12 )( x1 – x3 ) ) / ( y3 – y1 )( x1 – x2 ) – ( y2 – y1 )( x1 – x3 )
2g = ( ( x12 – x32 )( y1 – x2 ) +( y12 – y32 )( y1 – y2 ) + ( x22 – x12 )( y1 – y3) + ( y22 – y12 )( y1 – y3 ) ) / ( x3 -x1 )( y1 – y2 ) – ( x2 – x1 )( y1 – y3 )
c = -x12 – y12 – 2gx1 – 2fy1center: (h = -g, k = -f) radius: r^2 = h^2 + k^2 - c
When run a template within a fsm, that template becomes a sub fsm, and the fsm running this template becomes the “host”.
CHU-PU CHESS
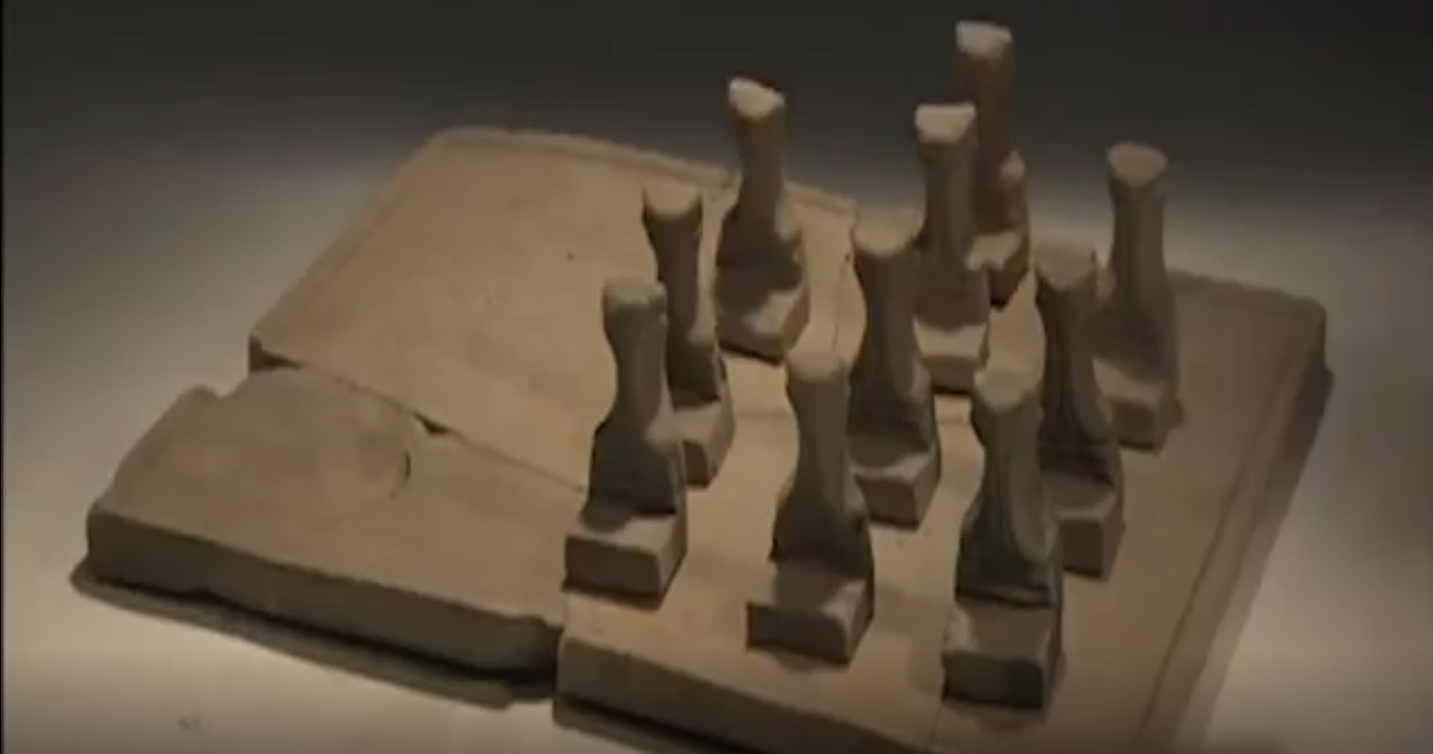
One of the main characters in the famous ancient Chinese tale of the battle of the three kingdoms, Cao Cao, his burial site was discovered in 2009. I watched a documentary recently and found out that Cao Cao is actually a gamer too. Among the artifacts that were found in his grave, there was a board game called Chu-pu Chess (樗蒲棋). The name of the board game came from the two materials that were used to make the game pieces – Chu (Barnyard tree) leaves and fruits of Pu (Cattail/Bullrush).

Cao Cao 
Cao Cao
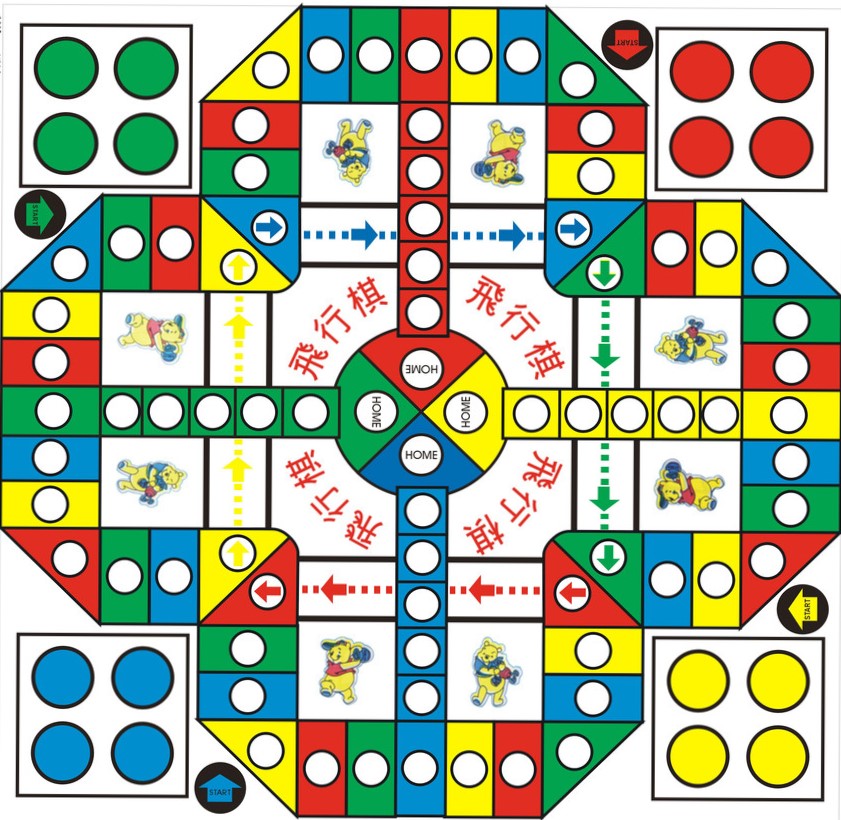
Aeroplane Chess(飛行棋)
https://en.wikipedia.org/wiki/Aeroplane_chess
從漢代走來的飛行棋——樗蒲
https://kknews.cc/culture/382o2r3.html
Text to Speech
I had done some experiments with their SSML, expressive SSML, and Voice Transformation SSML in 2017. It was an interesting way to change, almost like coding the voice in order to make it more human-like. Went back to IBM Watch Text to Speech demo today: https://www.ibm.com/demos/live/tts-demo/self-service/home, and found out it works differently now.
“Hurry up! Pick up the sword and defend yourself, your arrival has awakened the spores. It’s not a good thing.”
“Greetings, my name is Luke, the voice that you’re hearing right now is not my real voice. It is a result of my telepathic thoughts being synthesized by your auditory cortex. It could take form of any voices you have heard before.”
“incoming”
antibody
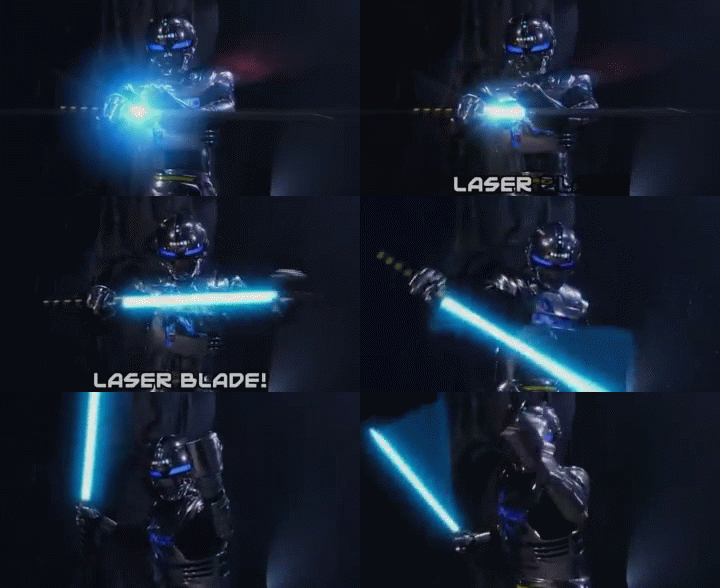
Tokusatsu nerds of my generation probably all mesmerized by Space Sheriff Gavan (宇宙刑事ギャバン)’s Laser Blade when the show aired in 1982, especially when he powers it up before attack. The latest Laser Blade toy by Tamashii Lab was able to bring the powering up experience to live. How do I bring this experience into VR in an embodied way? How does a real-life artifact come to live in the virtual world? This is my attempt. Here are some other inspirations that I would like to incorporate in this experiment:
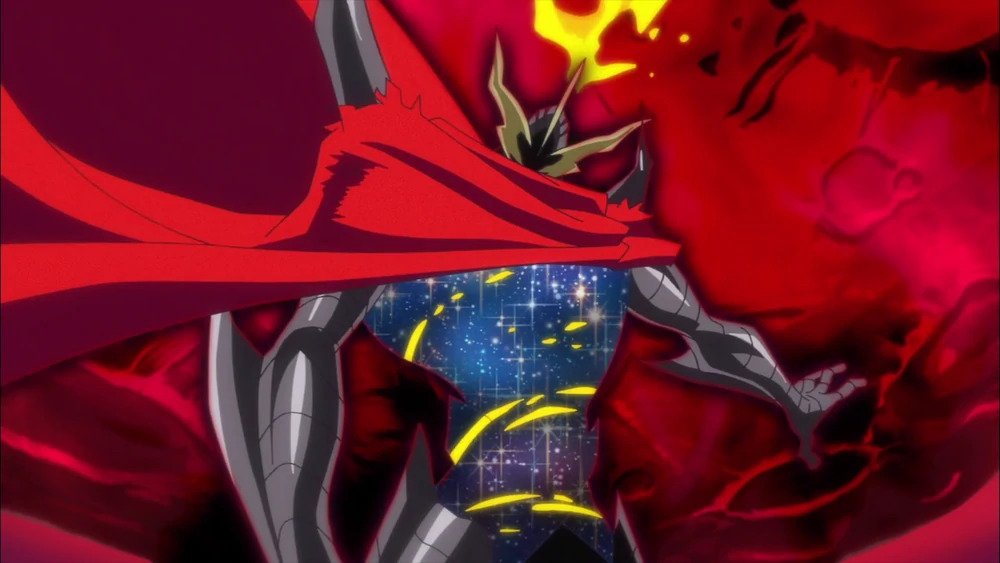
Saint Seiya Omega – Mars
Lady of the Lake gives Excalibur to King Arthur
ALT.CTRL
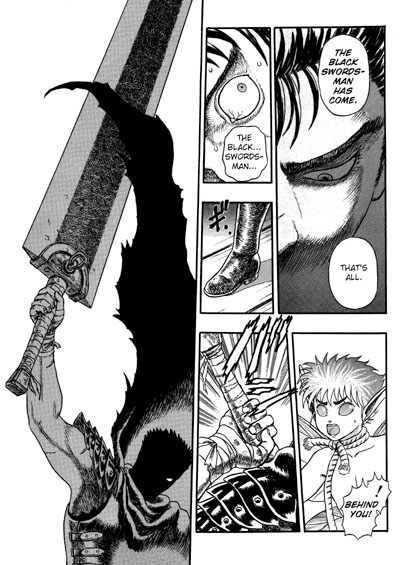
Berserker – The Dragon Slayer
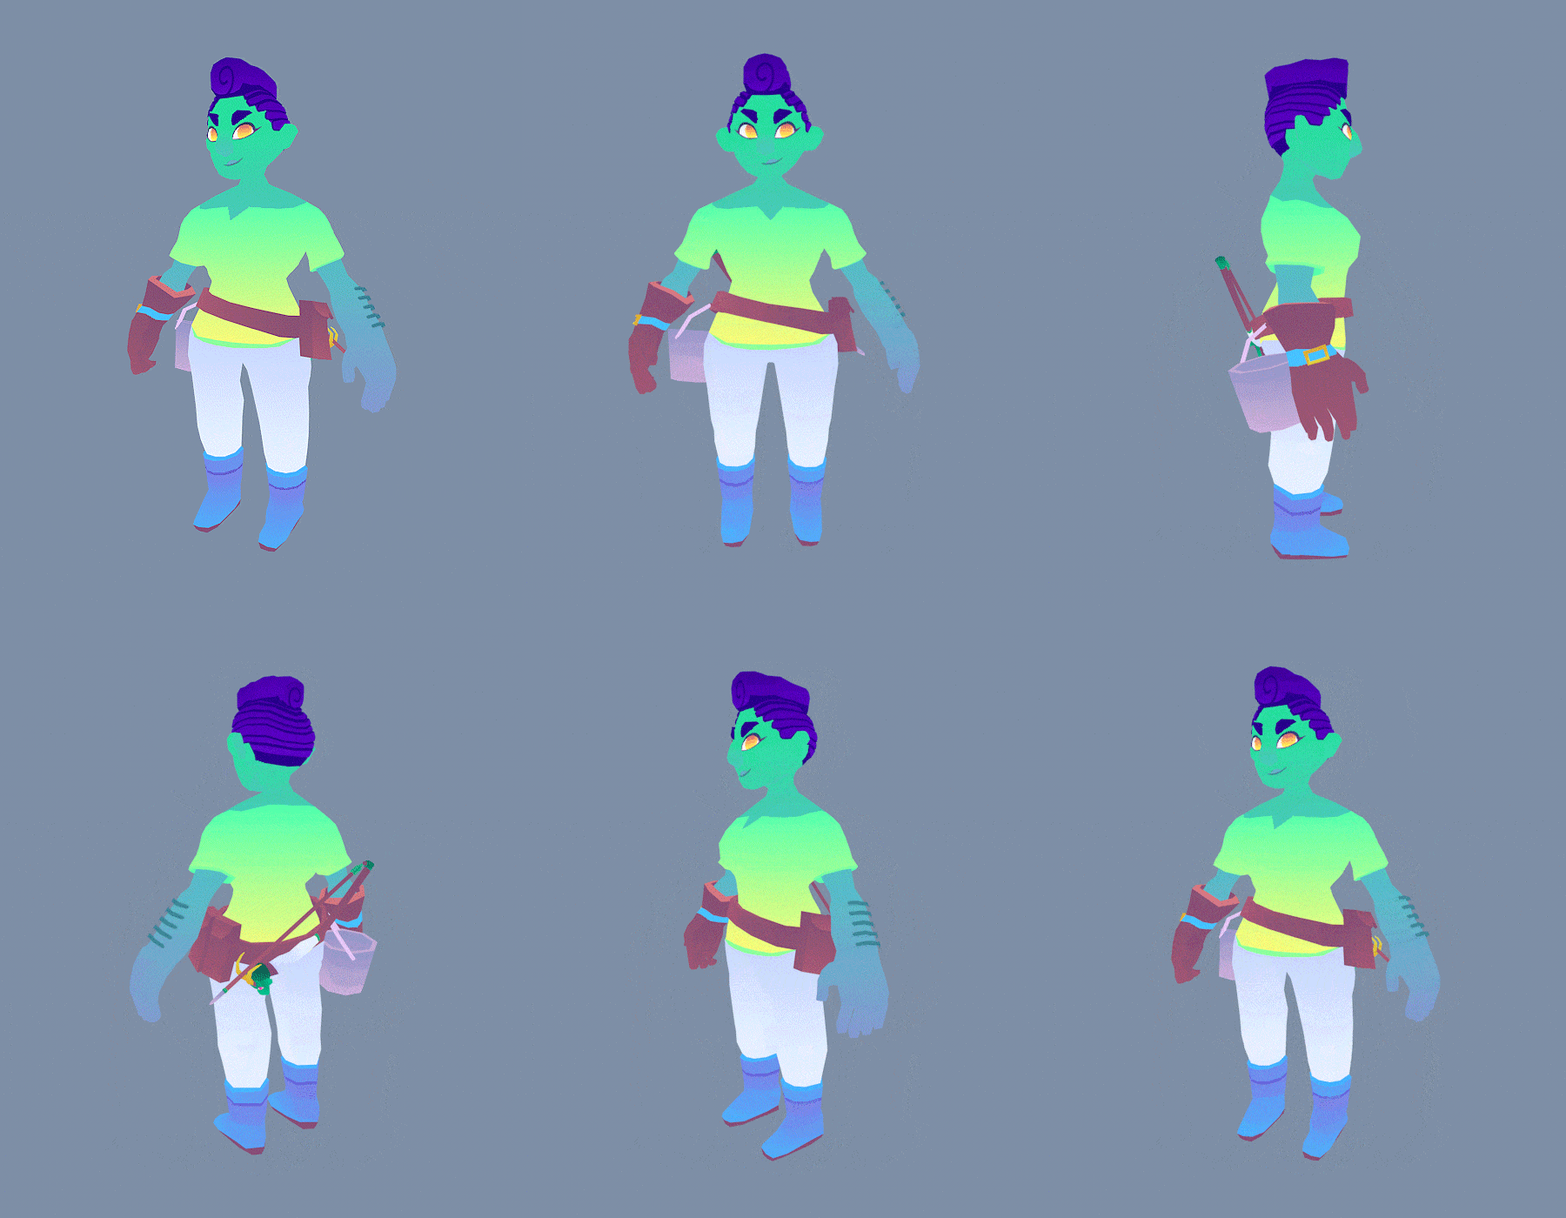
Characters by Michael Shillingburg
This feel (pastel low poly)
Low poly swamp and wetland:
https://assetstore.unity.com/packages/3d/environments/low-poly-modular-terrain-pack-91558
Table Eleven Paddle:
https://www.thingiverse.com/thing:4623428
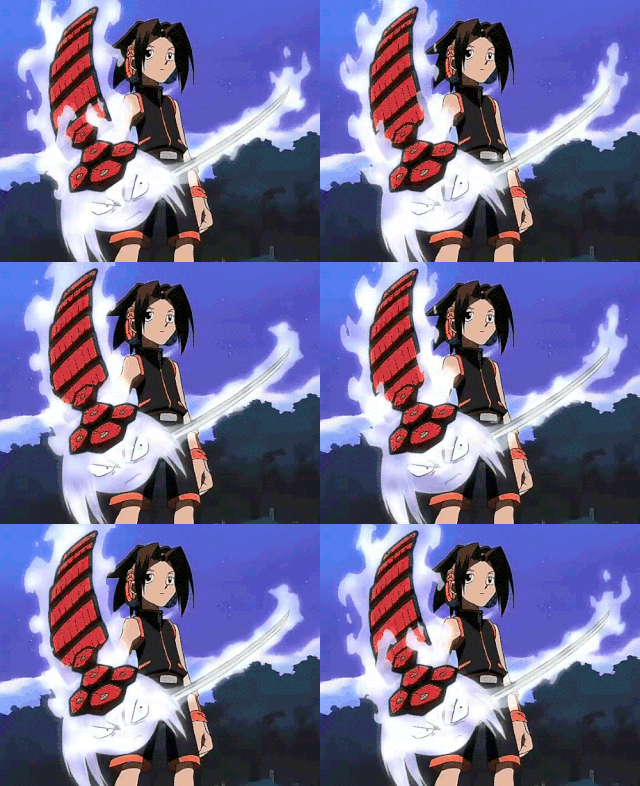
Shaman King

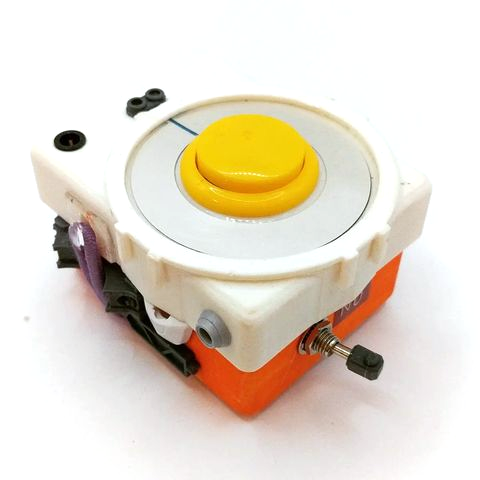


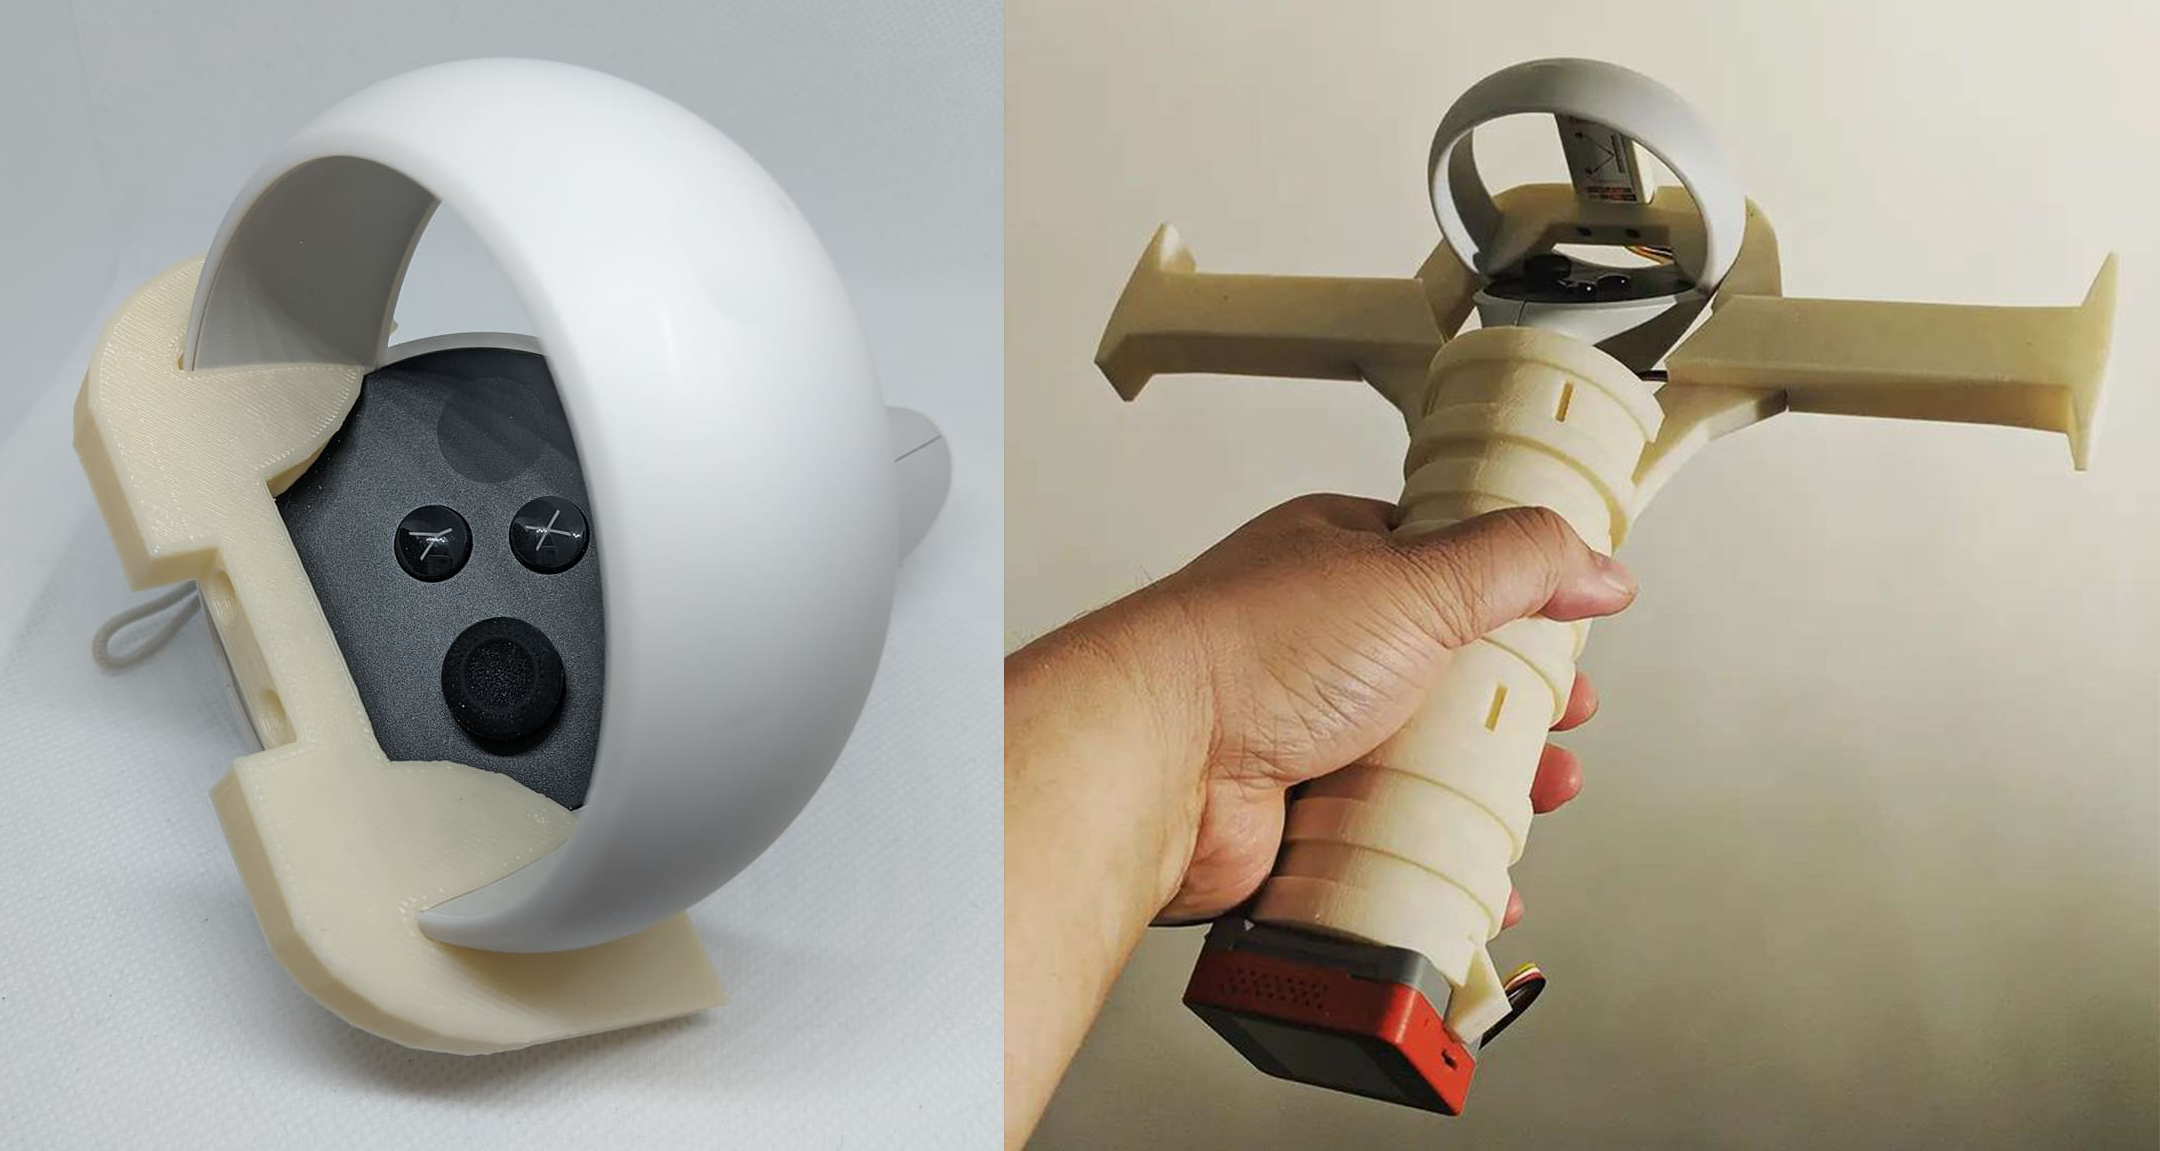
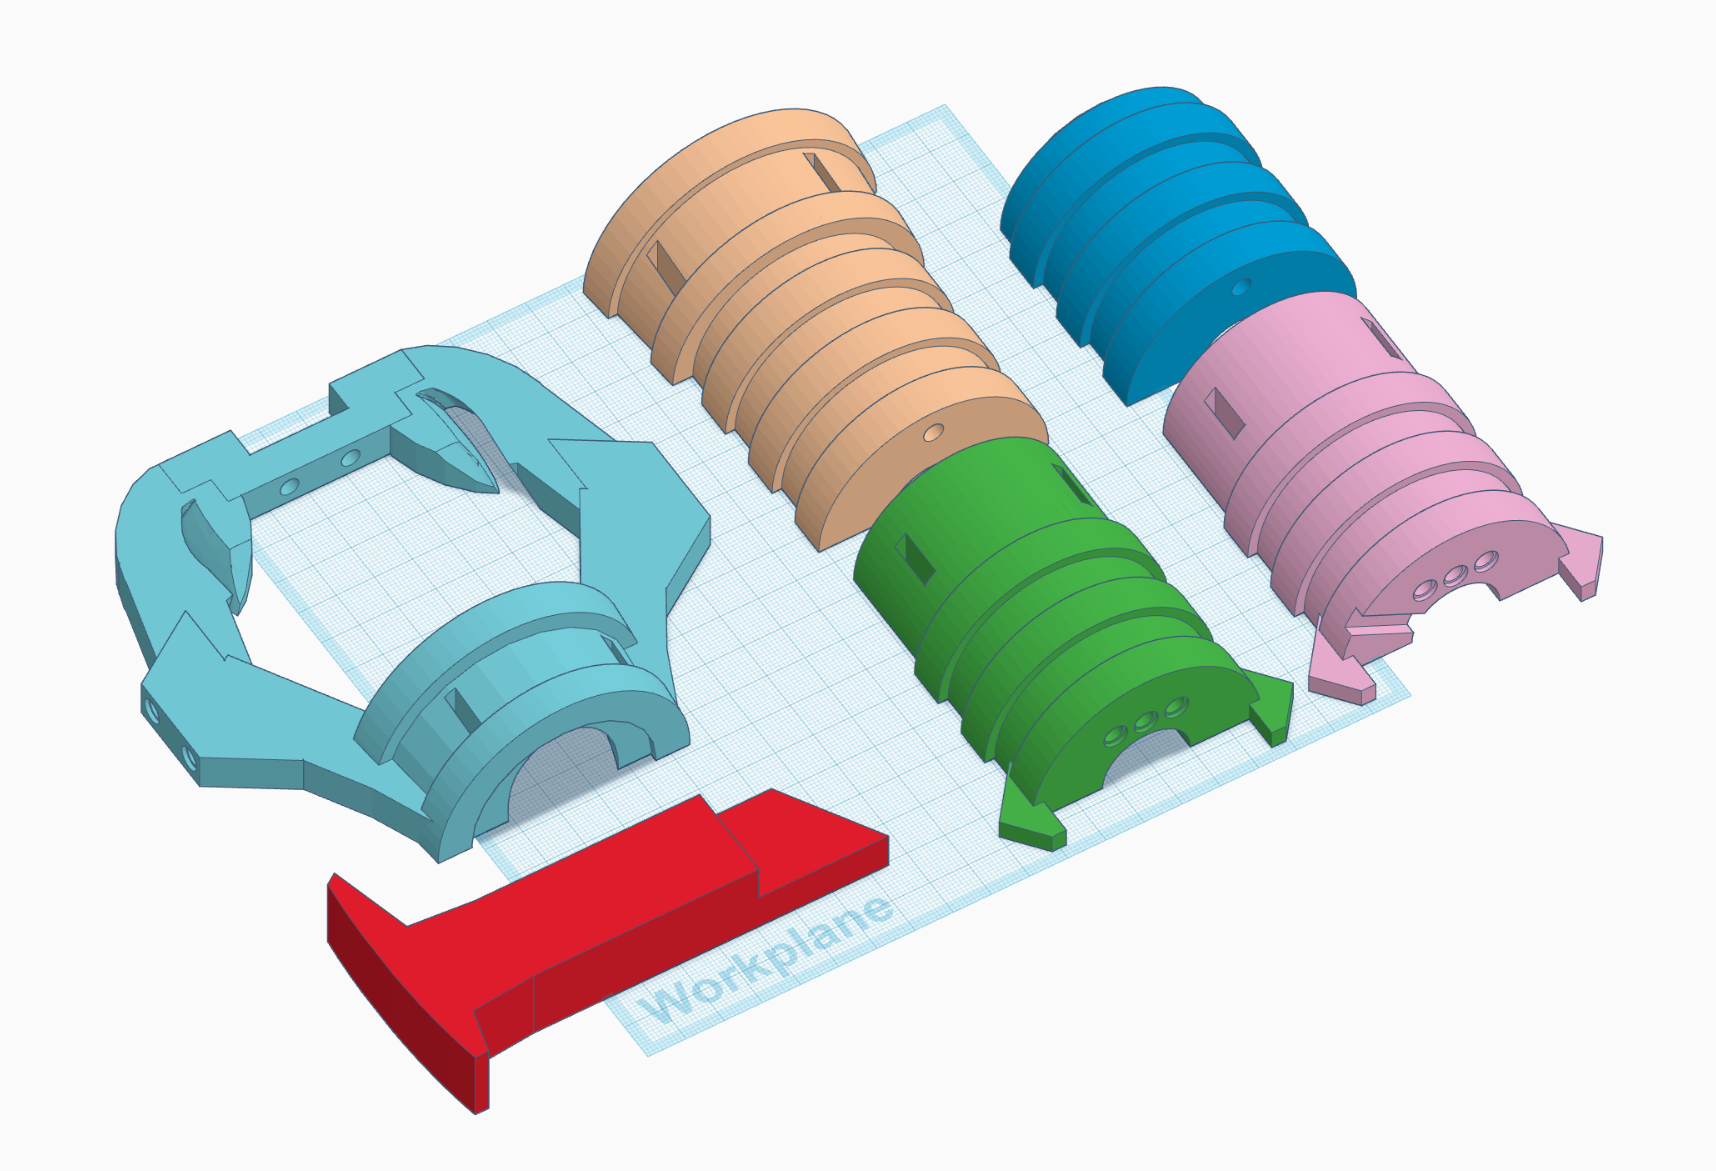
The artifact is the halt of the sword. When it is activated in VR, the galaxy blade will emerged on the virtual halt. The player can power up the blade with cosmic flares (or soul fire) for bigger attacks. I need to build a (bulky) halt that hosts both the touch controller, M5Stack, and the distance sensor unit. I gathered some 3D models from Thingverse including the Table Eleven paddle and a 3D scan of the left touch controller. I had to demesh the paddle before importing it to Tinkercad. I studied the paddle and decided to make my own. After some trial and error, I made a head piece that slide into the ring of the touch controller smoothly. I then built the whole halt from there.
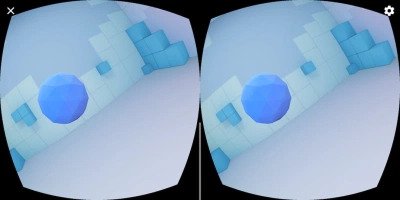
I had a very vague image in my head of what the sword would look like. The alt controller is the artifact, a physical medium, that brings the virtual sword to the player. It has to be oversize, galaxy like, and burning with some sort of cosmic flares (or soul fire). After some tinkering in Unity, this is what I came up with:
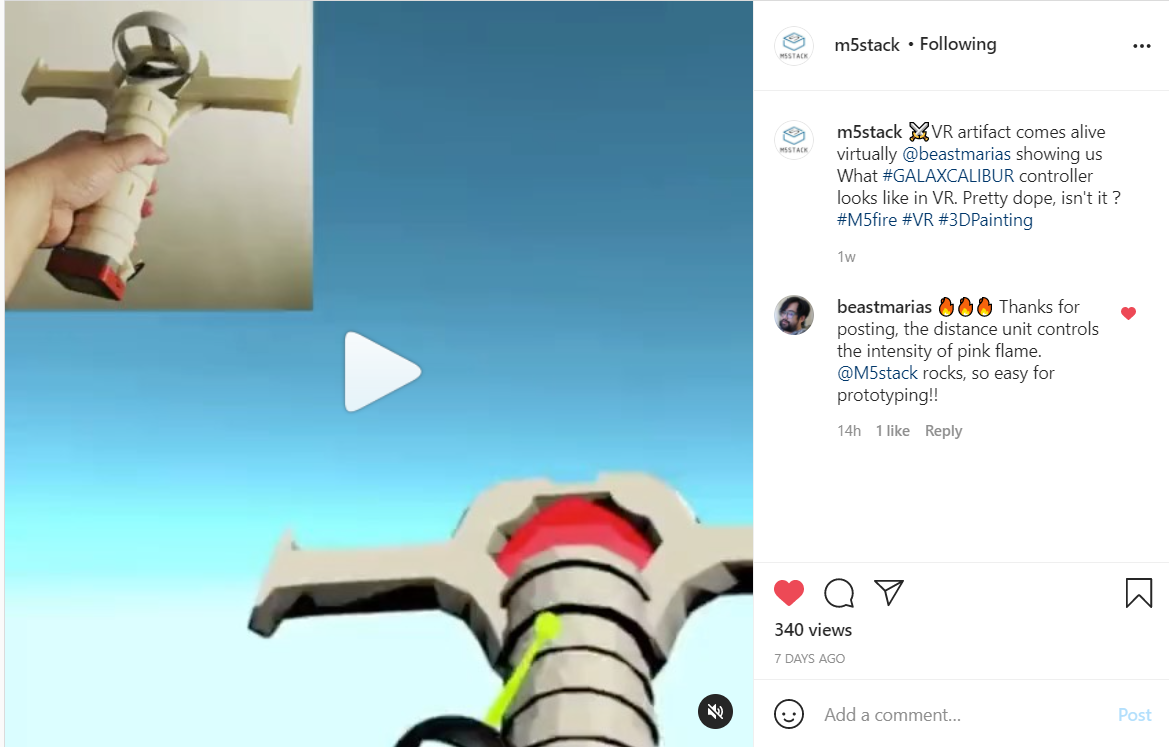
The player can ignite the soul fire by putting one’s hand right in front of the distance sensor unit after certain time and increase the fire coverage on the blade by moving one’s hand away from the sensor. The player will be given a quick hands-on tutorial when the soul fire is awaken in the play experience. Testing video on Instagram was pick up by M5Stack, what a lovely surprise!
When I was living near the school around 2008, there was a cute German couple living in the same building. They look like they are in their 70s. I often ran into them when they are doing their grocery shopping in the late afternoon. They talk very loud as if they were arguing but when they split to do different things they always give each other a kiss on the cheek. From our elevator conversations, I found out the husband was teaching photography at Parsons for many years, and they escaped to the US in 1950s as a result of wars in Europe. I have heard The New School helped many artists and designers escape and offered them shelters and jobs. I was very honor to meet two of them!
I sometime walked a few blocks with them just to hear more stories. One day, when the wife found out that I am making games, she let me know that she won her battle against cancer earlier because of video games. When she was sick, she had to go to hospital to have chemotherapies. It always felt awful both physically and mentally after the treatment. Luckily, she found out a store across her hospital had a few arcade cabinets. It has become a routine of hers to go right into the store and play arcade games after every hospital visit. She said those games make her happy and stop the awful feelings from spreading. When her cancer was cured, she had thought that the video games are the unsound heroes of her victory.
Antibody
Imagine a future where medical treatments can be executed remotely in the form of immersive video games.
This idea was inspired by my friend, Grace, a German grandma who lives in my apartment building. She is a proud cancer survivor and she has convinced me that playing Space Invader for 15 minutes after every hospital visit was the key to curing her cancer. I have read several similar stories like this one in which patients dreamed about fighting against monstrous enemies in a video game and woke up fully recovered from their illness. I am intrigued by the prospect of immersive technology transforming these miracles into a universally practical cure.
Antibody is my speculative scenario situated in a near future with advancement in neuroscience and nanotechnology. The medical facilities are capable of sending skilled gamers into infection zones as antibodies and helping white cells build up immunity. These gamers are equipped with various experimental nano-weapons that enable them to behave differently in the field. In this quick mission for beginners, a broadsword nano-weapon is available for action.
To enhance the level of immersion, a specialized controller is available for gamers to replace the standard controllers that come with their VR headset. These specialized controllers, a.k.a data relics, usually resemble the look and feel of the nano-weapons in the virtual world. They are capable of harvesting kinetic energy and associated data in the real world to aid the medical facilities in improving the technology and training better antibody agents. Experienced gamers customize their personal data relic to access advanced game mechanics. In this submission, the simulation is designed for a standard VR controller, no data relic is required.
As a playful experience designer, I believe video games may contribute more to the world without compromising the fun. This is my attempt at envisioning a post-pandemic future with virtual gaming for social good and I hope you enjoy it.
PCVR and Standalone VR ONLY
Kyle Li is a playful experience designer working and living in New York City. Experimental by nature, his body of work wraps around playful experiences manifested by interconnected physical and digital components. He has done a wide range of works from concert stage visual to airline cockpit data visualization to the award-winning game-and-learning installations at middle-schools in both NYC and Chicago.

Stage 1: Spores
Spores detects the player based on proximity.
Stage 2: Virus infected lukes
Virus infected lukes behaves like zombie but they are curable. They will walk towards to the player and attack. The player has the ability to see the infected points on a luke’s body, breaks all the points on a luke with Galaxcalibur will cure it. Cured lukes will join the the group of lukes that is following the player.
Stage 2.5: Free imprisoned lukes
The player points the Galaxcalibur at the lock to activate the unlock sequence. Follow the rotating sequence by rotating the sword.
Stage 3: Boss Fight
No idea, it has to be huge, and lukes are going to help.
Alt Controller: Galaxcalibur
M5Stack will collect “Energy” based on Galaxcalibur’s movement, which effects the pulse of the vibration. When energy reaches a threshold. The player can use a devastated attack and this activated by putting player’s hand in front of the ToF sensor.
Zok Zok Heroes
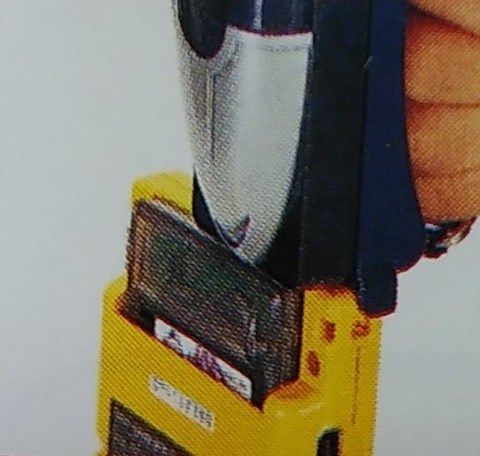

Zok Zok Heros was on KOROKORO Monthly Comic (月刊コロコロコミック) from June 2000 to December 2000. The 2000 August issue came with a poster of Zok Zok Heroes and their Universe Symbols (ぞくぞくヒーローズ超図鑑).
Make (X) Works for You!
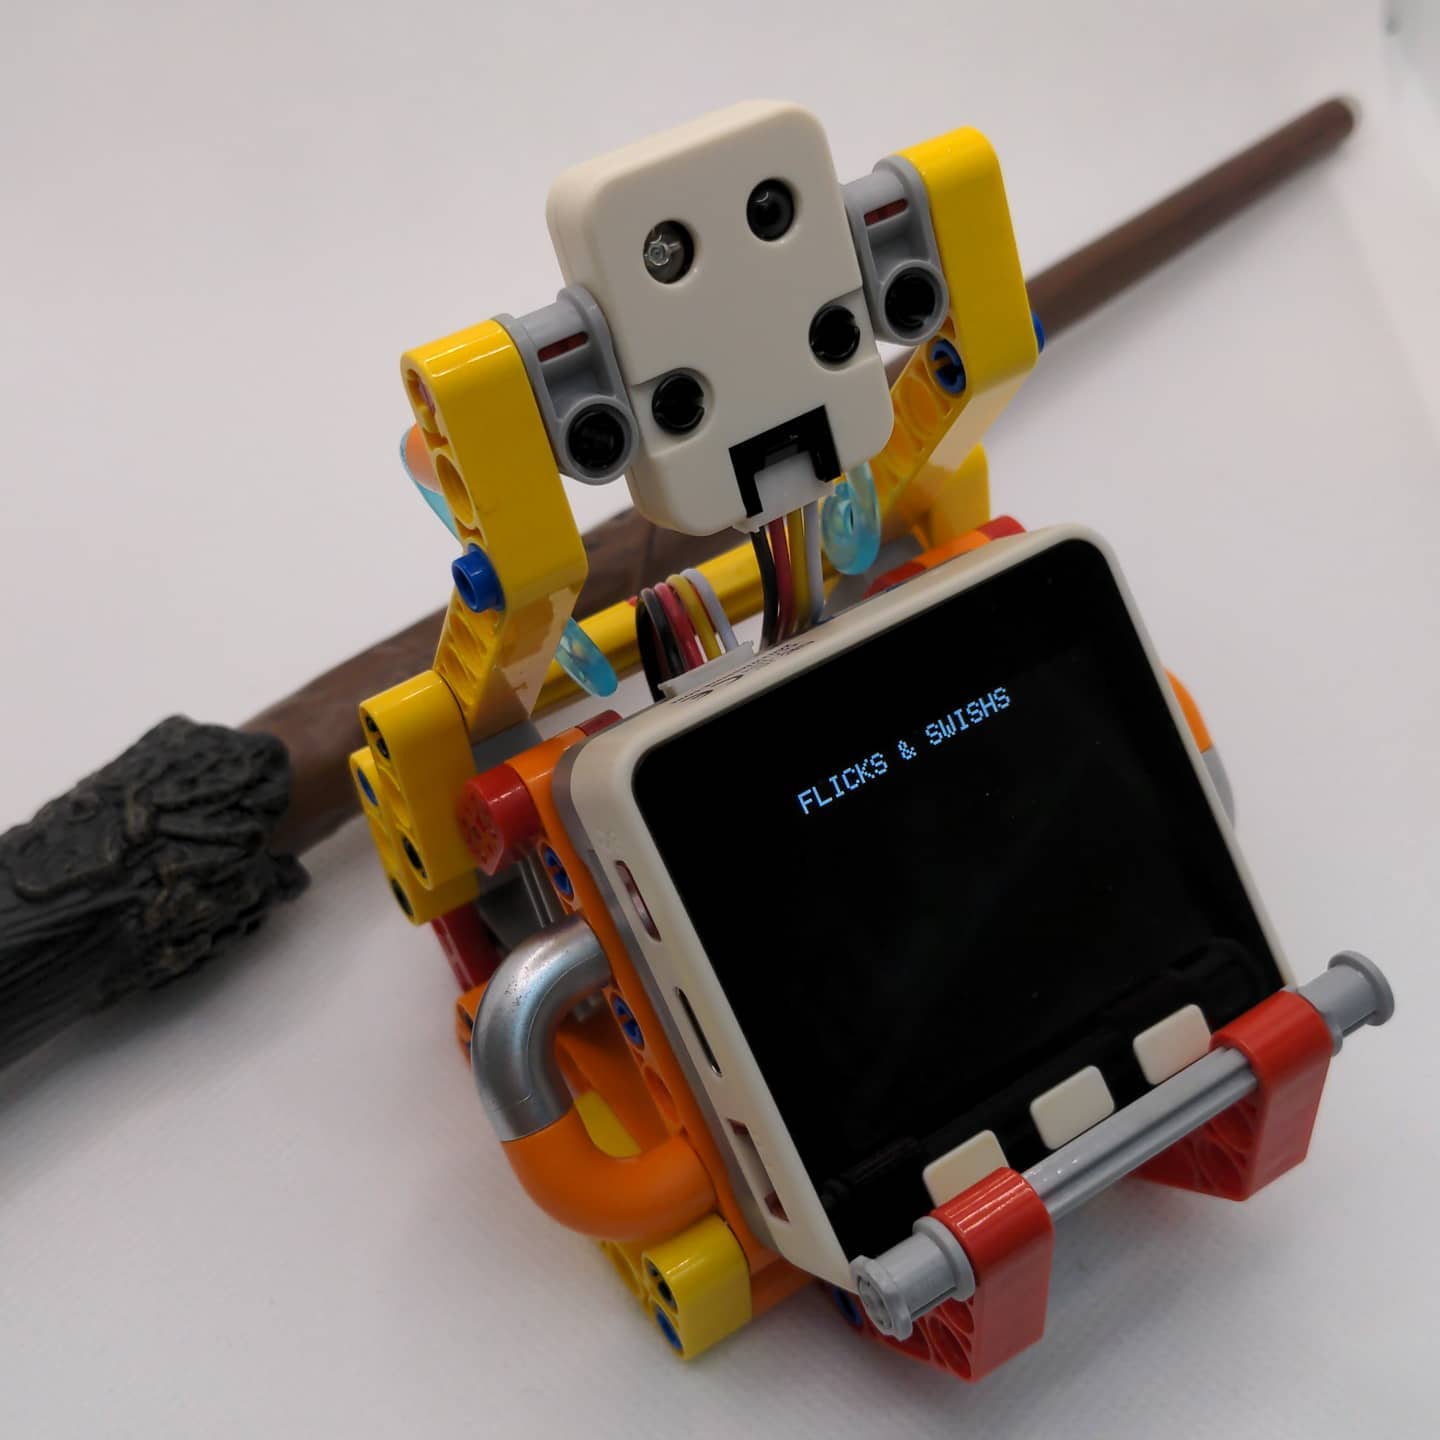
I had done a few projects in the past using IR remote as a way of wireless communication. I used FLIRC USB (https://flirc.tv/more/flirc-usb). It is essentially a USB IR receiver that plugs into your computer and turns IR signals into specific keystrokes. The great thing about FLIRC is that once you configured it on a computer with its application, you can use it anywhere with a USB port. The only downside is that the FLIRC USB only offers six customizable inputs (up, down, left, right, enter, and back) because it is meant to be used for media playback. I just figured out a way to do it with M5Stack and the IR Unit now.
IRremoteESP8266 Library also works for ESP32 (M5Stack)
https://github.com/crankyoldgit/IRremoteESP8266
I am using the M5Stack Core + IR Unit (Port B), so have to change the pin to 36.
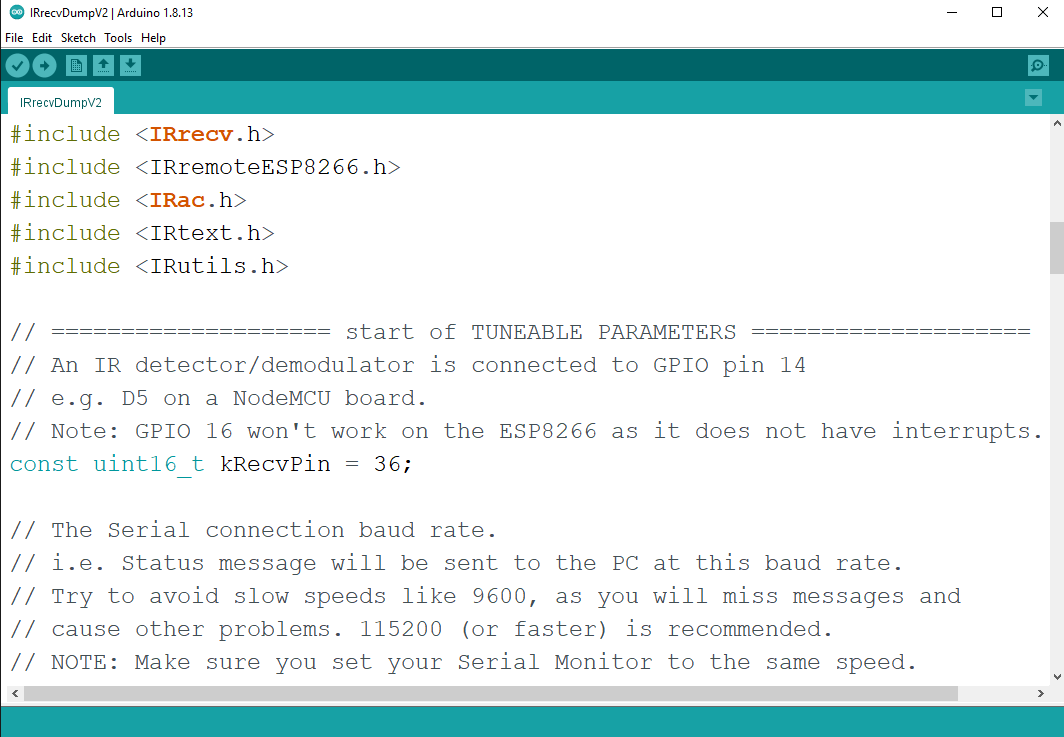
Upload it to M5Stack, get the readout (Code) from the serial monitor. Since I don’t need to recreate the IR signal, the Code here will work just fine.
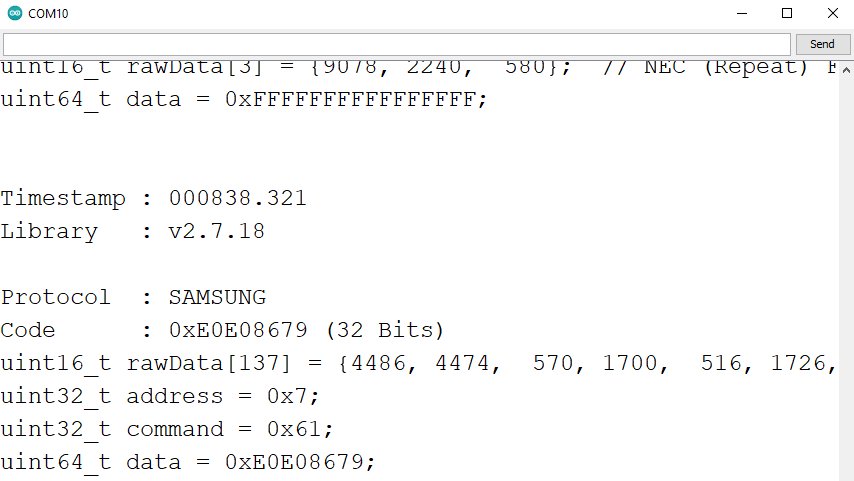
Now, M5Stack can read the remote and react!
In order to work with result.value, I need a uint64_t to String helper method to make the comparison easier for me.
String u64ToS(uint64_t input) {
  String result = "";
  uint8_t base = 10;
  do {
    char c = input % base;
    input /= base;
    if (c < 10)
      c +='0';
    else
      c += 'A' - 10;
    result = c + result;
  } while (input);
  return result;
}
or
String print64(uint64_t n) {
   char buf[21];
   char *str = &buf[sizeof(buf) - 1];
   String sdata = "";
   *str = '\0';
   do {
     uint64_t m = n;
     n /= 10;
     *--str = m - 10 * n + '0';
   } while (n);
   sdata += str;
   return sdata;
 }
Kano Wand
Useful links:
Kano Wand Hack:
https://hackaday.io/project/161832-kano-wand-hack
Bluepy Based Solution:
https://www.instructables.com/SmartWand/
Arduino Wifi Rev2 and ESP32:
https://github.com/sabas1080/KanoWandHack
Unofficial library:
https://github.com/anzellai/wandkit
Bidirectional communication between Kano Coding Wand and Client connection.
https://github.com/anzellai/bluewand
SOAI (Tiny Open Source API) to speak with the KANO Wand
https://github.com/wizofe/bluewand-python
Demos using the Kano Wand python module
https://github.com/GammaGames/kano-wand-demos
Put that Gucci on, VRChat style!
- Purchase the virtual product in the Gucci app for $12.99
- Before sending the download to yourself or anyone you would want to share the content with, there is a long instruction, long but still unclear.
- I first create an avatar with https://vrchat.readyplayer.me/avatar and download the FBX file.
- Two weeks later – I finally got my New User status.
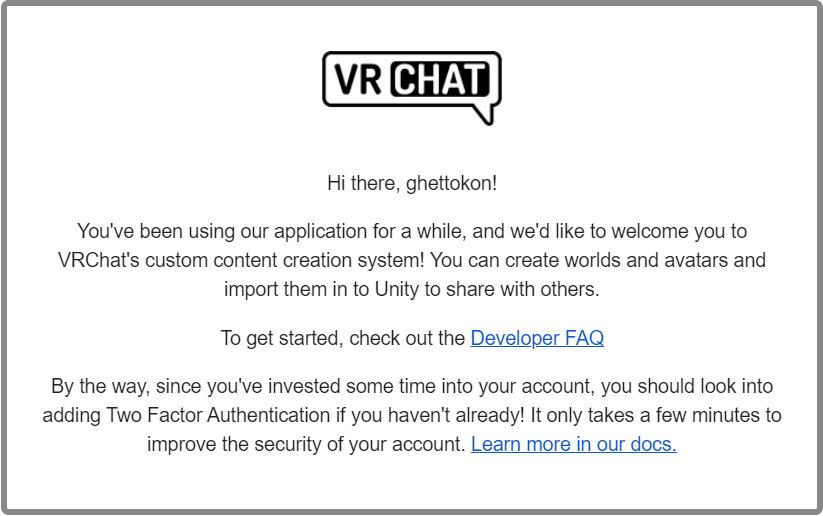
It was a little frustrating at the beginning. Based on the internet, I need 10 hours of gameplay to get to the New User status which allows me to upload Avatars and Worlds to the lab community. I did that but nothing happened. A kind player in VRChat told me that I need to make friends too. Oh, why I didn’t think of that. After I made one friend, the next time I logged in, I was promoted to New User. And I got this in the e-mail.
- I brought the Gucci model into Maya and separate the shoes from the model they came with and put them on my VRChat avatar.
- Install Unity 2018.4.20f1 that is recommended by VRChat.
- Upload my Avatar by following this tutorial – in 5 minutes.
https://vrchat.fandom.com/wiki/Quick_Start_-_Mixamo_Avatar_Creation
I believe this was written for SDK2 but works for SDK3, especially when selecting the Animator Controller. I use the T-pose one from SDK3 and it works fine. I was able to upload, however, my sitting and ducking animations were messed up… - To make it work for both Quest and PC, I have to upload the avatar twice. Once in Windows mode and the other in Android mode. The official tutorial online recommends duplicating the project.
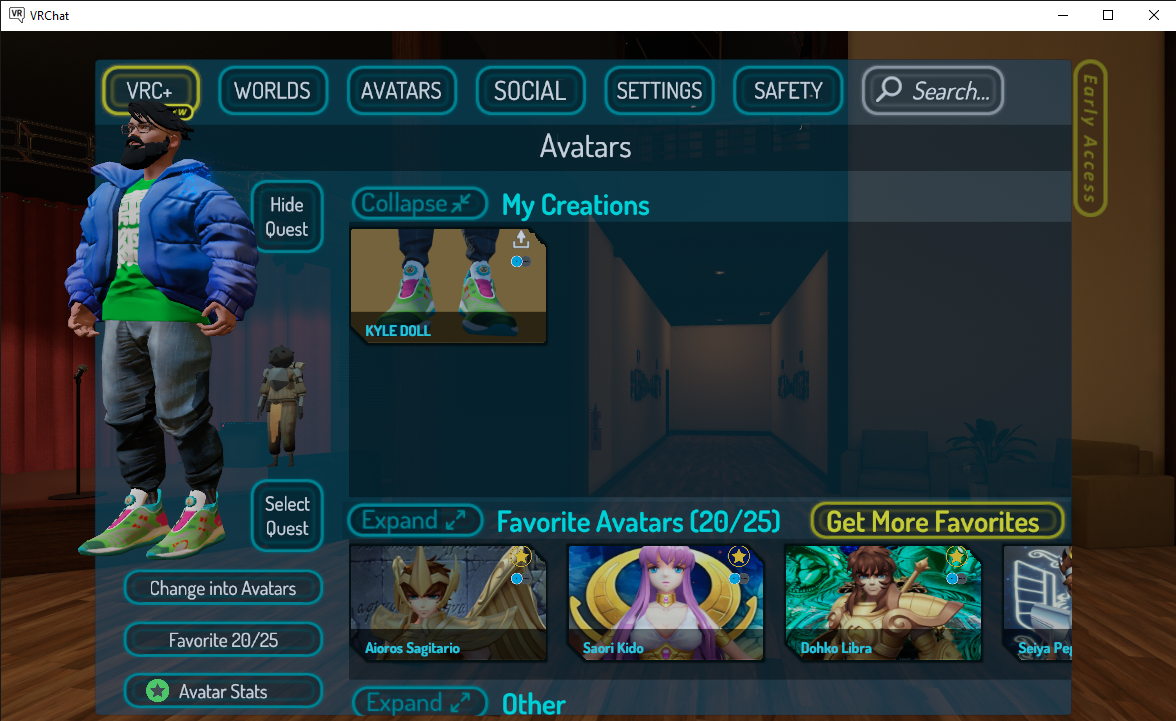
Now upload D1208:
- I am following this tutorial:
https://docs.vrchat.com/docs/vrchat-home-kit - I realized SDK3 World and SDK3 Avatar can’t be in the same project.
ZOOM Meeting Exit Act III – End of Semester Celebration
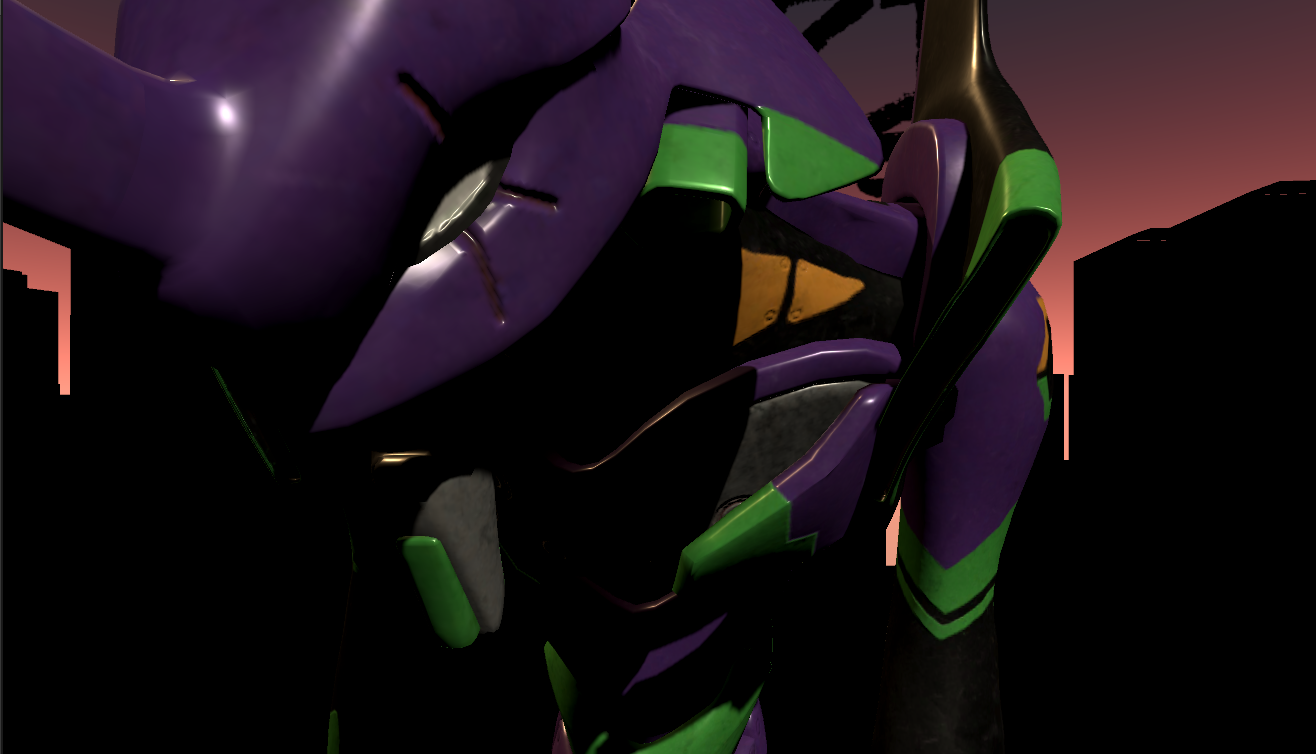
Just in a few hours, I am going to participate in the graduation ceremony for our Class 2021 cohort. I worked with a good portion of them extensively in their first year of school in virtual reality and playful experience design. I wanted to make something to remember them by. It is purely impulsive and based on no research or data. It is very last minute, but I decided to celebrate this moment with a new exit act.
After we moved the learning online after the pandemic last year, I have been experiment with different online identities. From animated characters with face tracking to cosmetic filters, it was an unexpected adventure into a world of digital tools that I didn’t care much for. During those experiments, I created a thing called exit acts – exit zoom meetings with style. I created one for taking off in a Gundam RX-78 and another one for flying away with Spike’s Swordfish II from Cowboy Bebop. Jamming it out with an EVA – 3 from Neo Genesis Evangelion seems like a reasonable next project.
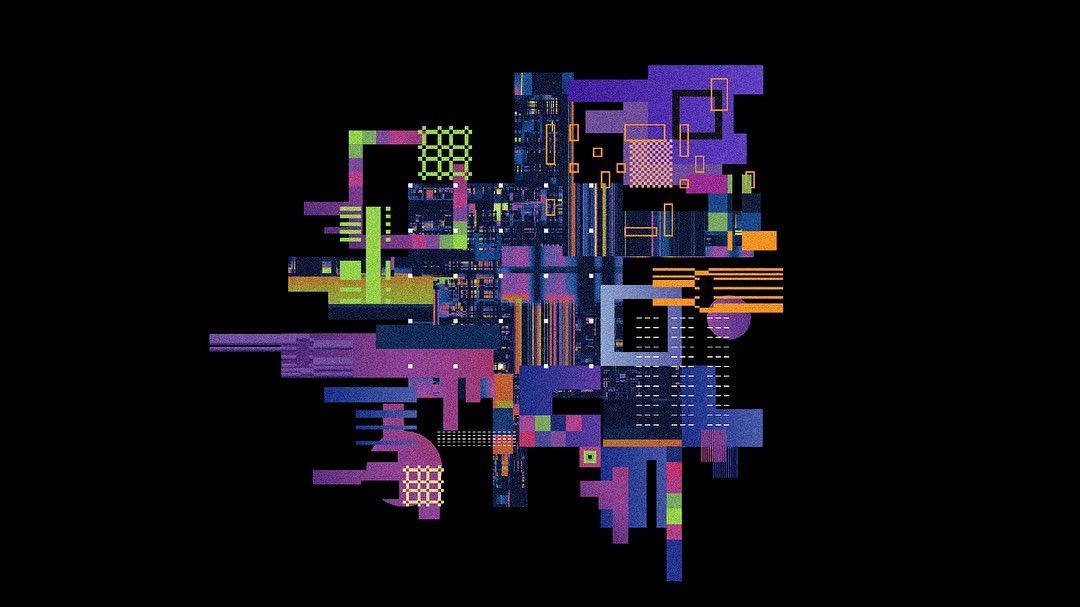
My teaching assistant, Sharon, told me that the overall visual scheme of their thesis website was inspired by the color scheme of the animation -Evangelion. Time to collect some assets and put together a theme. I want to use a cityscape silhouette to create a high contrast between foreground and background similar to the technique used in some of the Fortnite banners.
Evangelion Unit 1:
https://sketchfab.com/3d-models/evangelion-unit-01-49c7a77272c84154a711d7cfd5cb47f4
Evangelion – Entry Plug(with sound):
https://sketchfab.com/3d-models/evangelion-entry-plugwith-sound-3e4245a5f40b45eca02dab55e6b47a93
Here is the end result: