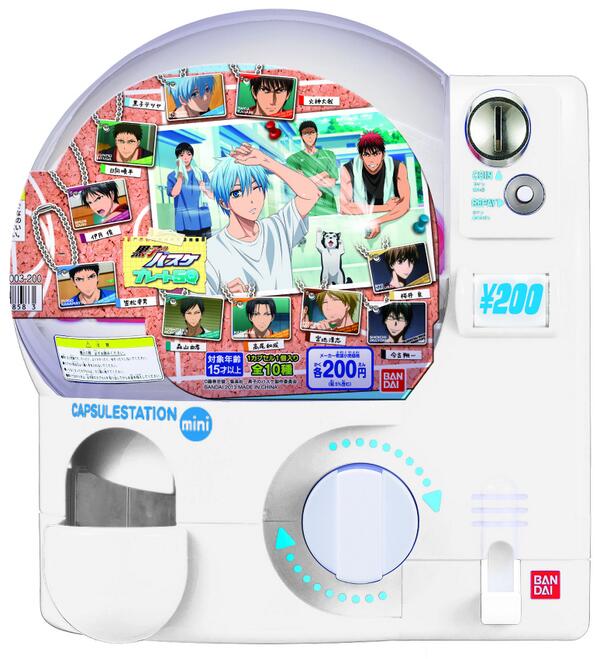
Finally made some progress in the DIY vending machine, going to reactivate the Acorn Riders project. After building the coin dispenser, I have been looking for a capsule vending machine. My ideal vending machine was Bandai’s Capsule Station Mini (カプセルステーション ミニ). It looks very different than the regular size one and goes well with my coin dispenser setup (in my imagination). However, I’ve not able to find one in any of the market places all these years.
Capsule Station Mini
Over the years, I have encountered a couple of DIY vending machines. First one was VEND on Thingiverse (https://www.thingiverse.com/thing:45347). My final version is eventually based on this build, I learned so much from taking its design apart. The second one was the Recycle Capsule Machine (循環ガチャ)(https://circular.yokohama/projects/circular-capsule-macine/). I first bumped into one when I visited the Fabcafe in Shibuya. It was made with laser cut and 3D print parts, very eye-catching. It made an impression of me when I found out it takes bottle caps as coins. Last year, when I was judging the Creative Discovery Challenge 2023 (https://awrd.com/award/cdc2023/result), I saw the same vending machine again. They now have multiple versions of the machines which is very encouraging.
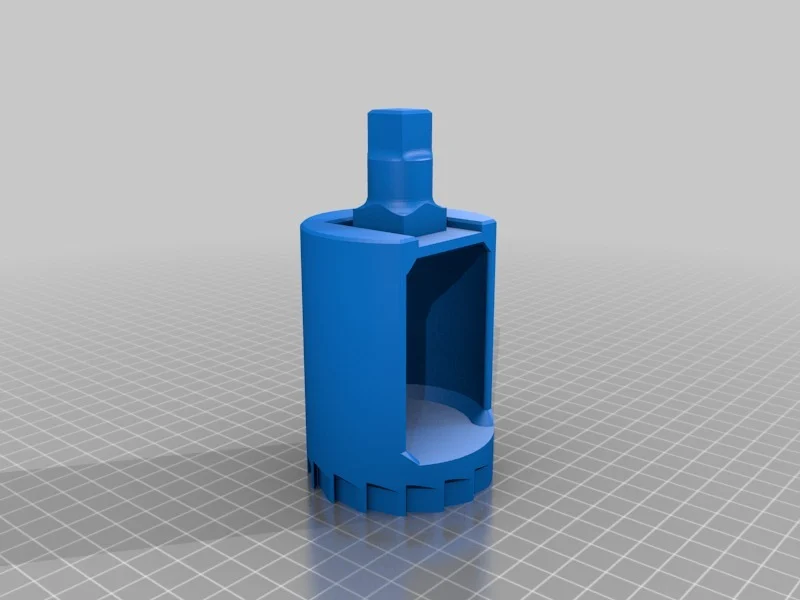
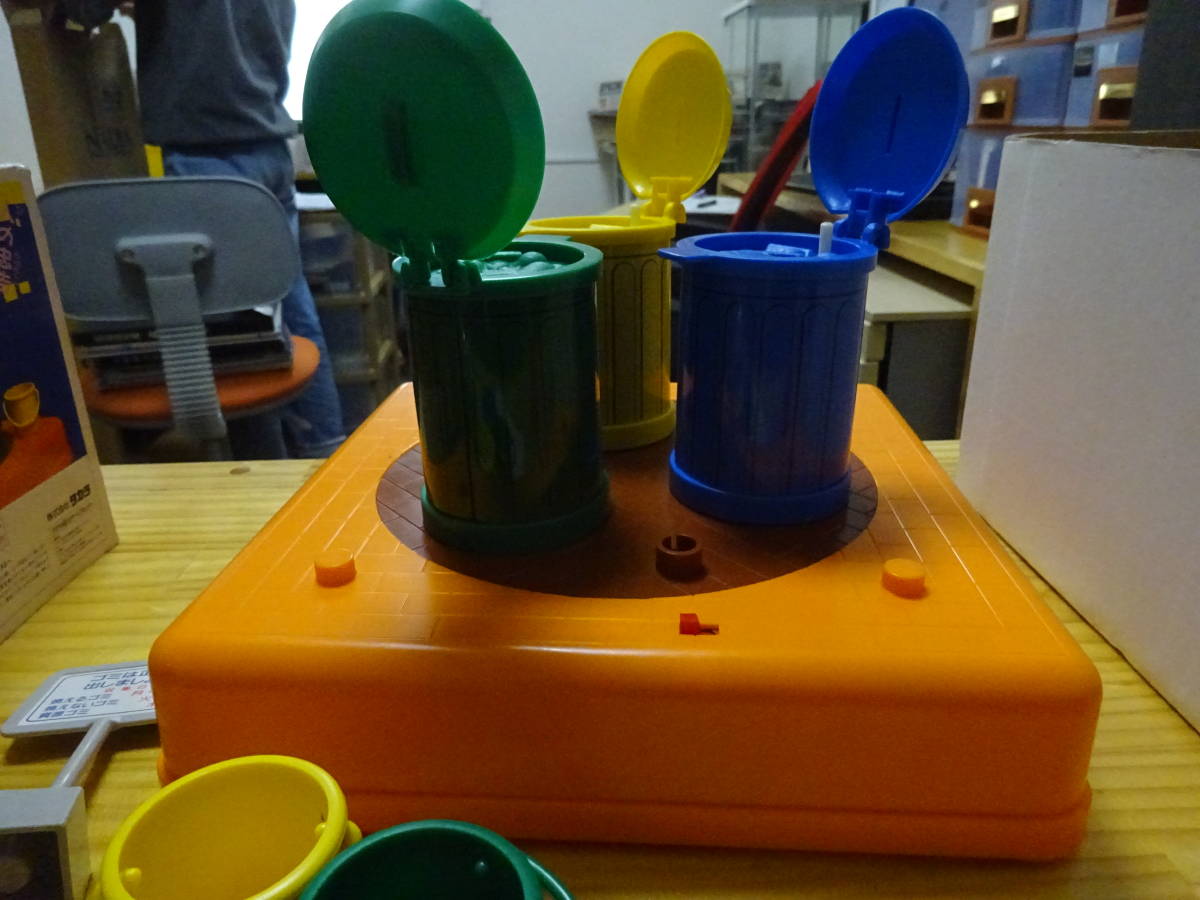
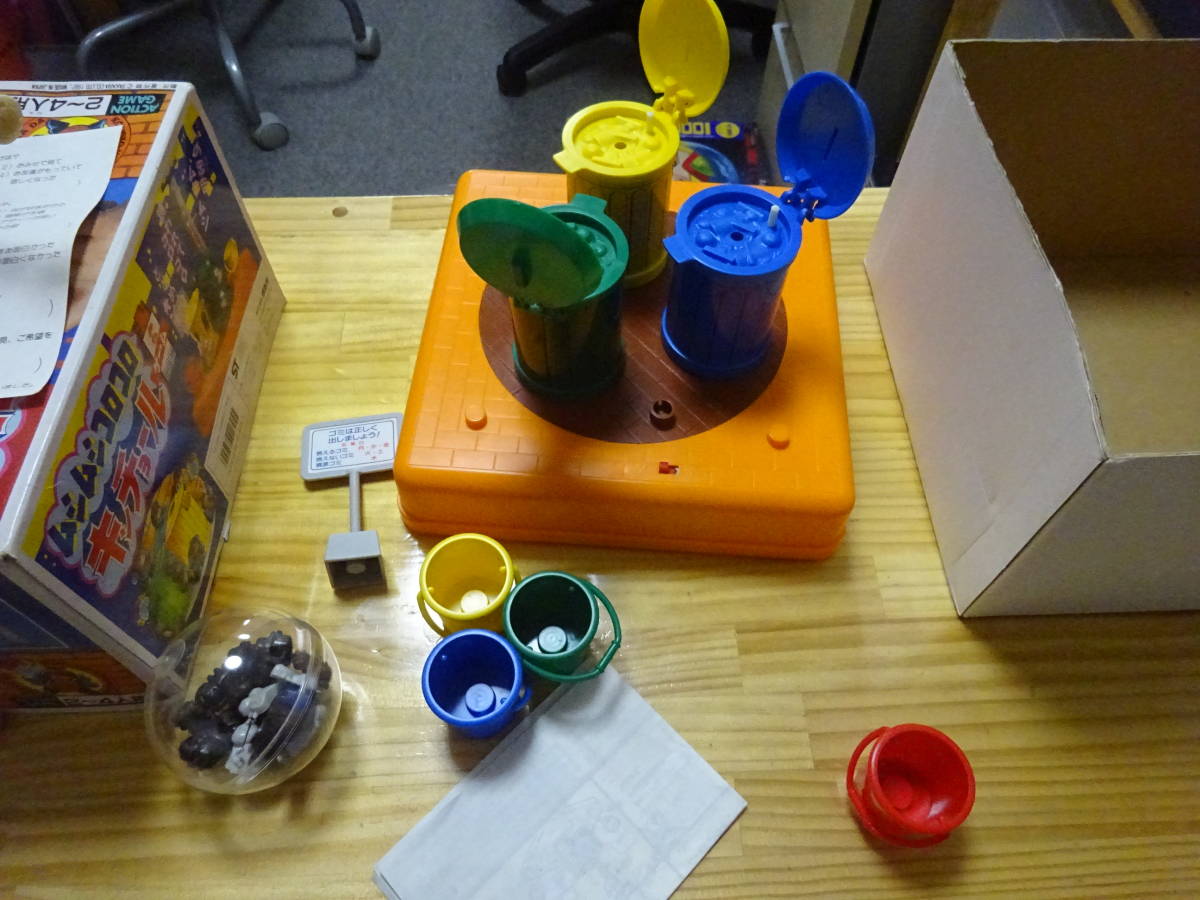
I started to take notice of the mechanics of simple vending machine in this issue of TV magazine (テレビマガジン) in January 2016. It is basically using the same mechanic as the VEND where the handle connects directly to a drum that vends a capsule when rotates. On the other hand, the commercial ones like Bandai’s Capsule Stations has a more complex setup with multiple drums, which increases the chance of capsules falling into place correctly so that a capsule is always ready for vending.
テレビマガジン January 2016a drum
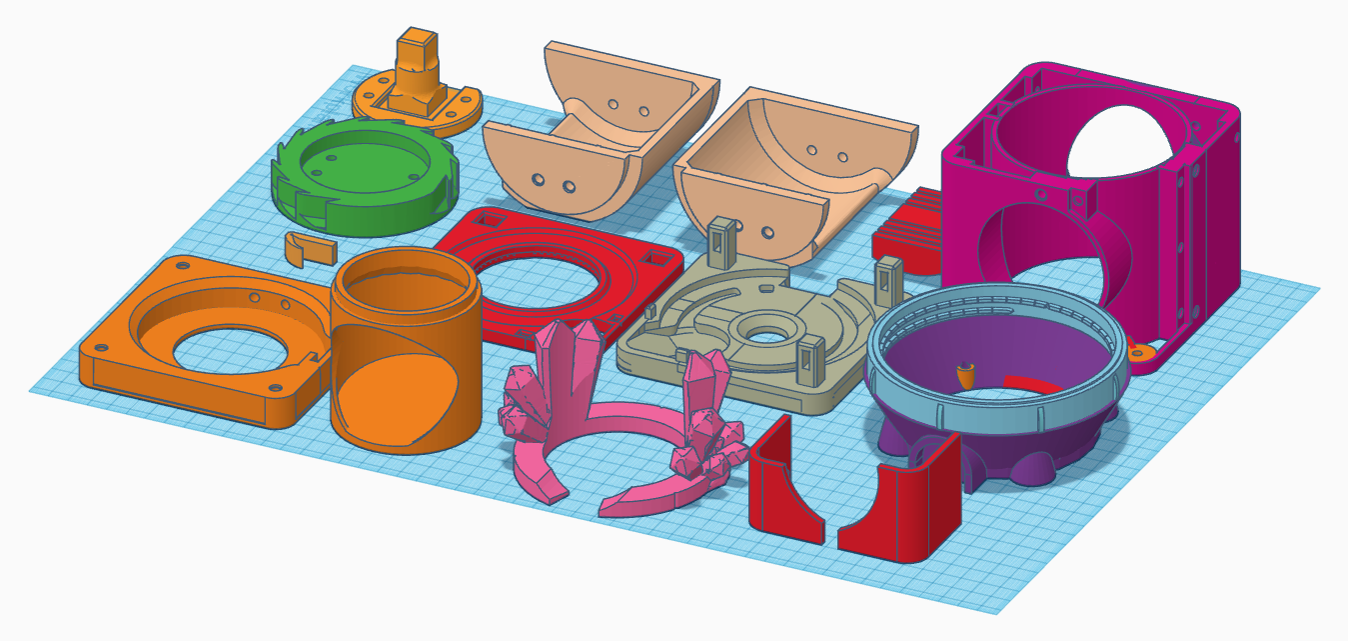
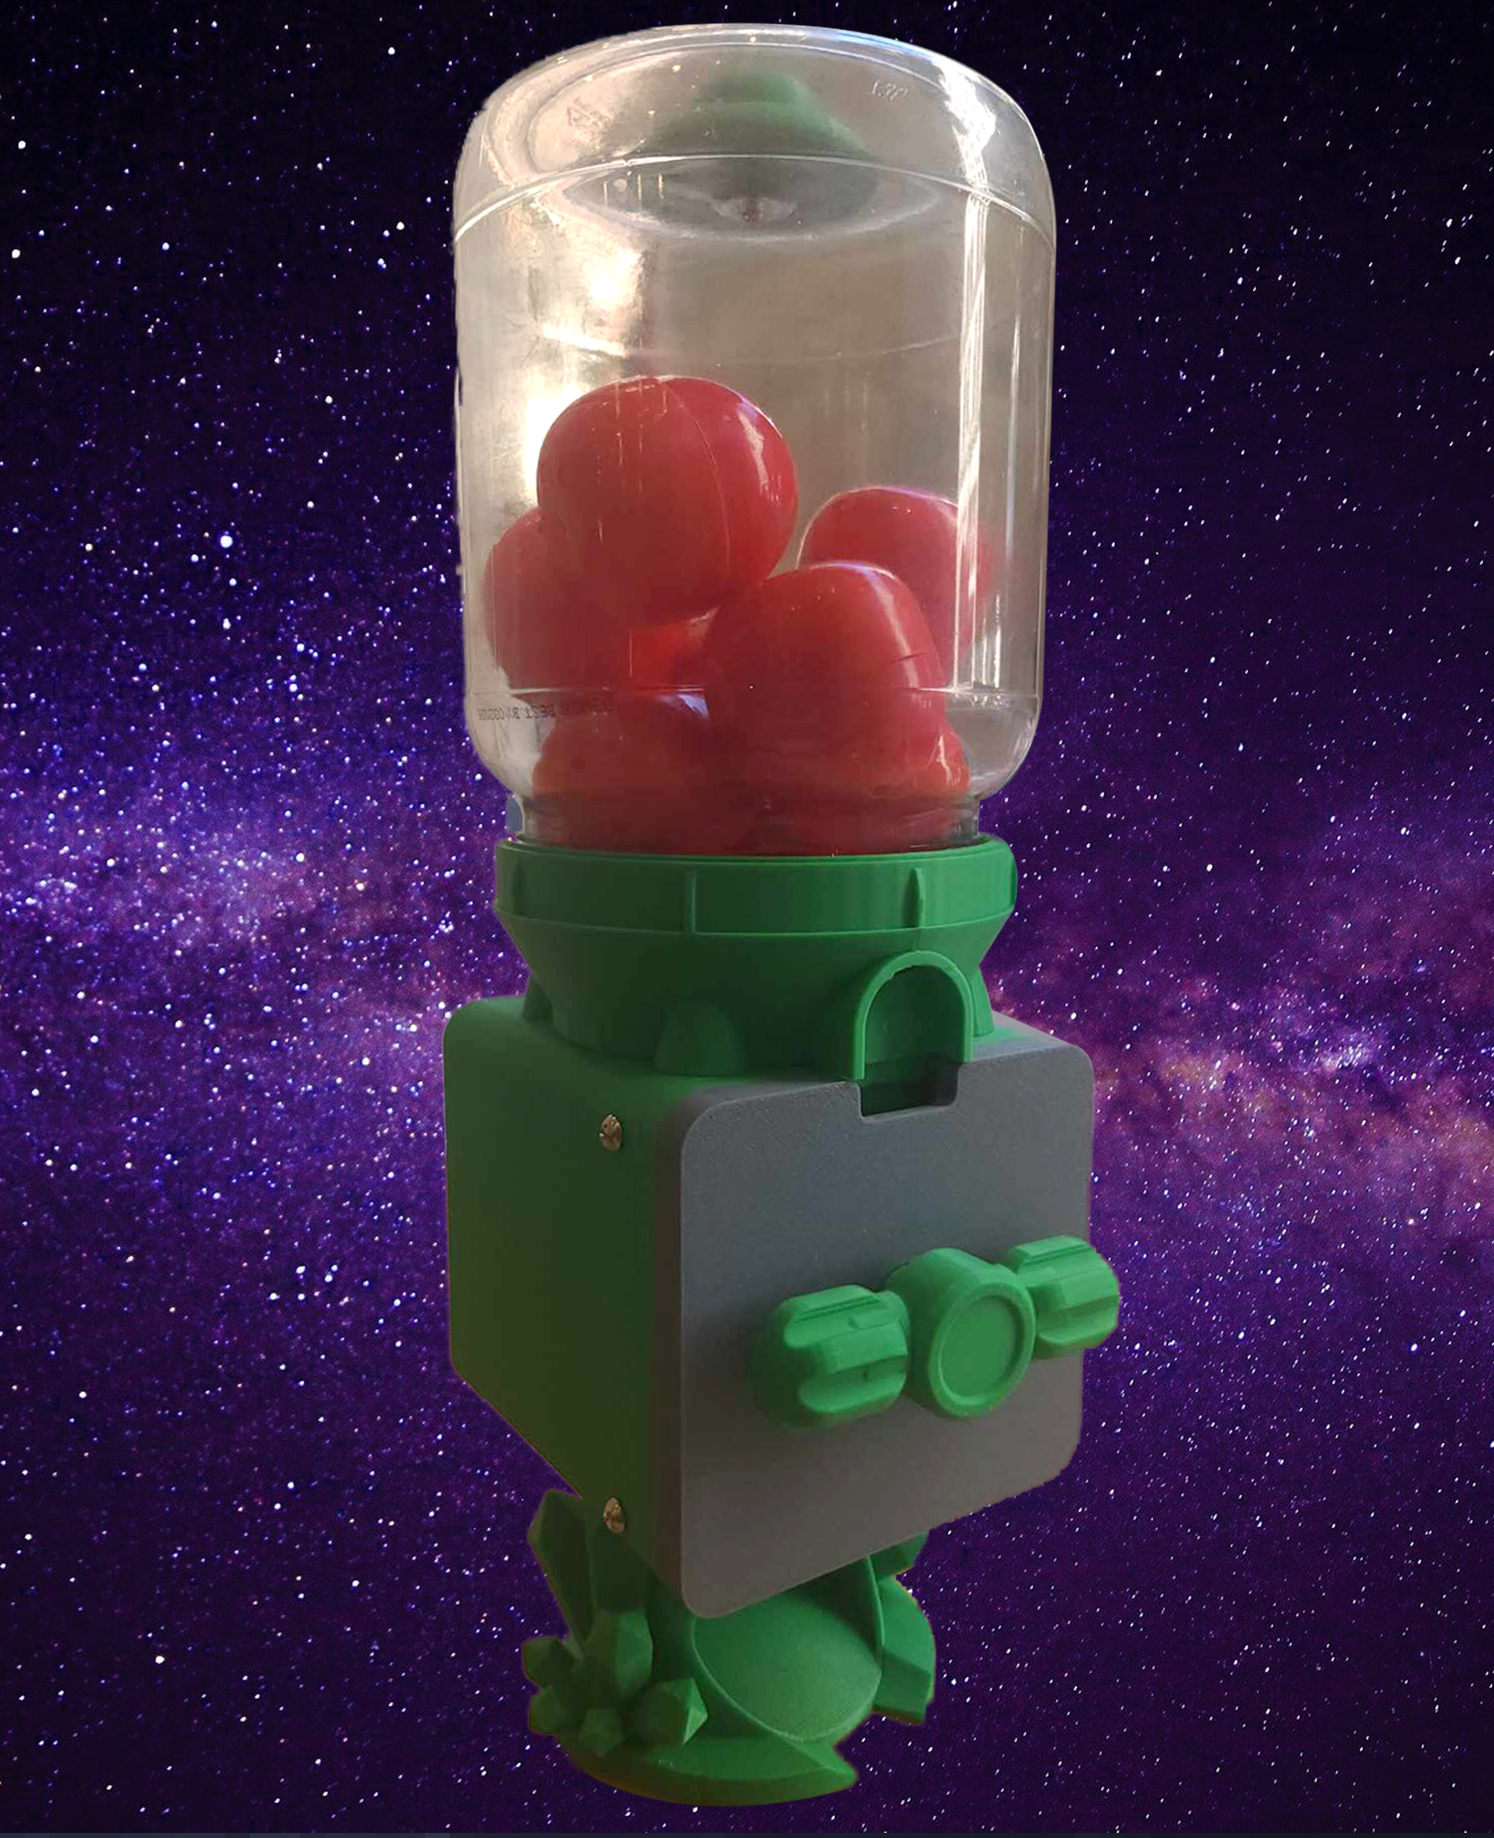
After study VENT, I started to modify the design to suit my needs. I first modified the faceplate (VEND-CoinFace.stl) by removing the extended coin track. I tried to create a simpler look and feel so I can add my own narrative elements to the surface later on. I also modified the drum so it can handle bigger capsules while keeping the same form factor if not a little bit smaller. I then broke parts into smaller ones for easy printing and assembling. After all the specialty parts are modified, I designed a new casing for them with a detachable coin compartment. There are a few places needed to be improved, but I am pretty happy with the outcome.
For the capsule container, it has to be from the legendry pork sung jar. I redesigned the top so I can screw the jar in securely. It’s perfect in every way.
Hell sure has become the popular destination in afterlife recently. In order to improve the overcrowded working condition, the bureau of labor in the underworld has open up to the idea of remote working. This is a pilot program for monster walkers in hell which is similar to dog walkers here. If you have received one of these kits at your doorstep, congratulations, you are going to hell soon, and you better set it up and start working, those hell hounds won’t walk themselves!
This is a single player experience made possible with a custom alternative controller which allows the player to walk a hellhound on a leash. People who work remotely as a hell hound walker will receive a remote working kit. Inside the kit, there is some kind of a monitor, a specialty controller (the Leash), manual, power adaptors, and some AV cables.
The Leash controller is made of a repurposed Gametrak 2 joystick module. I have been wanted to upcycle Gametrak 2 controllers for something fun since it came out. It is essentially a physical motion tracker. It is a brilliant idea from other side of the pond. It is a wonderful controller, especially the 2nd version with modular joysticks which I incorporated in my controller. I also loaned it to my students from time to time just to see what came up. Here are two fun examples:
Echo Rift by Yi-Ning Huang, Clover Paradise, Pierce Wolcott, and Hang Ye, 2014. This experience puts players into the shoes of a bat navigating a virtual cave. By tilting and turning the oculus, users could control their trajectory as they glide past stalactites and stalagmites. Using a Gametrak controller modified to be wearable, players could also influence their altitude by flapping their arms. This resulted in surprisingly immersive experience, that was also lots of fun to watch. https://piercewolcott.com/portfolio/echo-rift/
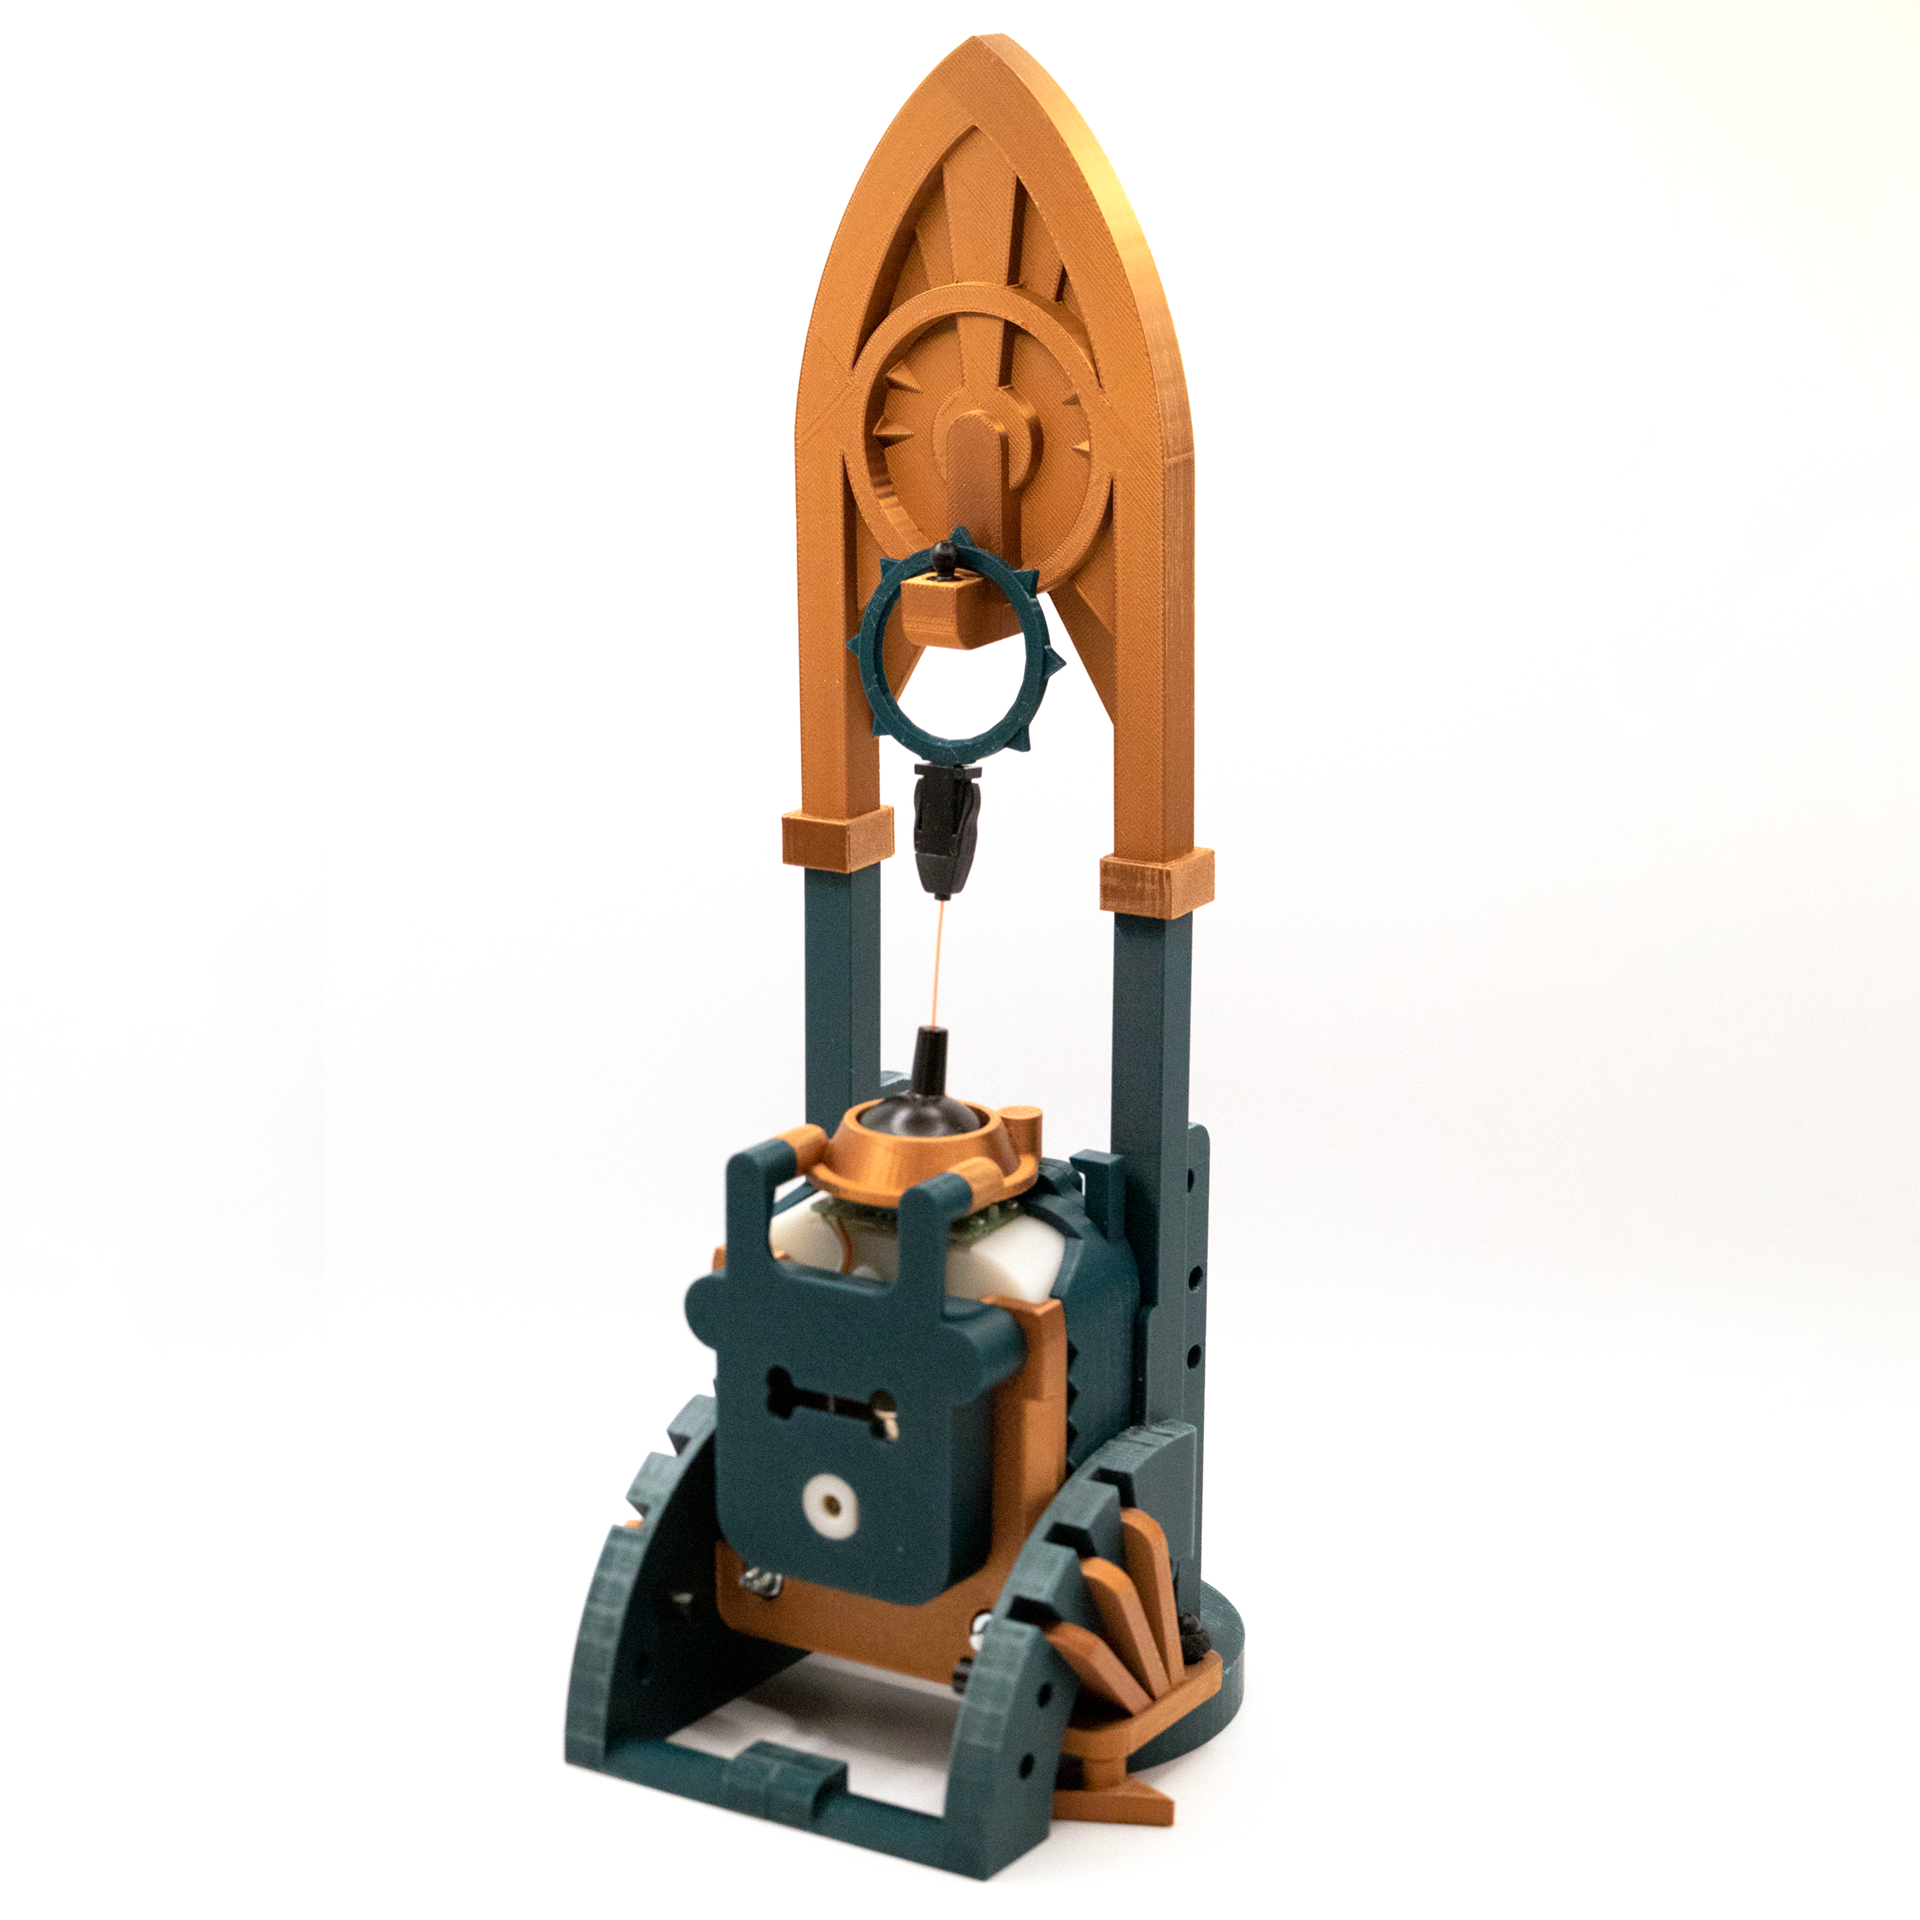
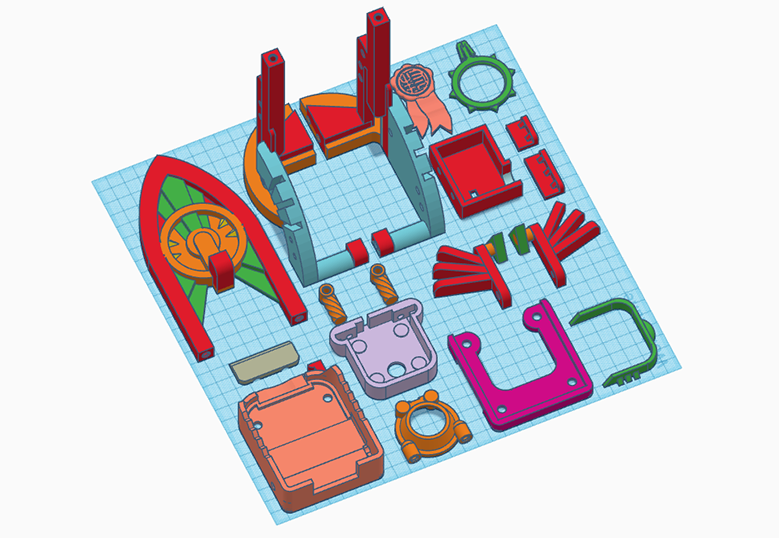
Since this is supposed to be an tool sent from hell, I am trying to make the alternative controller looks like an ancient religious artifact from a sci-fi movie or Warhammer 40K — that dark, gothic, and futuristic look and feel. Most of parts are connected or glued together with Lego Technic friction pins (#2780). The base are hold together securely with a hair loop which is a technique I used frequently with my builds.
The enclosure for the Gametrak 2 module has gone through many iterations. The original design was meant to work with M5Stack Fire and its sensor units, so I designed thicker wall to accommodate the Lego Technic pins. I moved on to a simpler Arduino setup because the analog data are more reliable for what I am doing. I am able to reduce about 5mm (back plate) + 3mm (front plate) of the thickness which helps the controller and the leash align with the hook on top better.
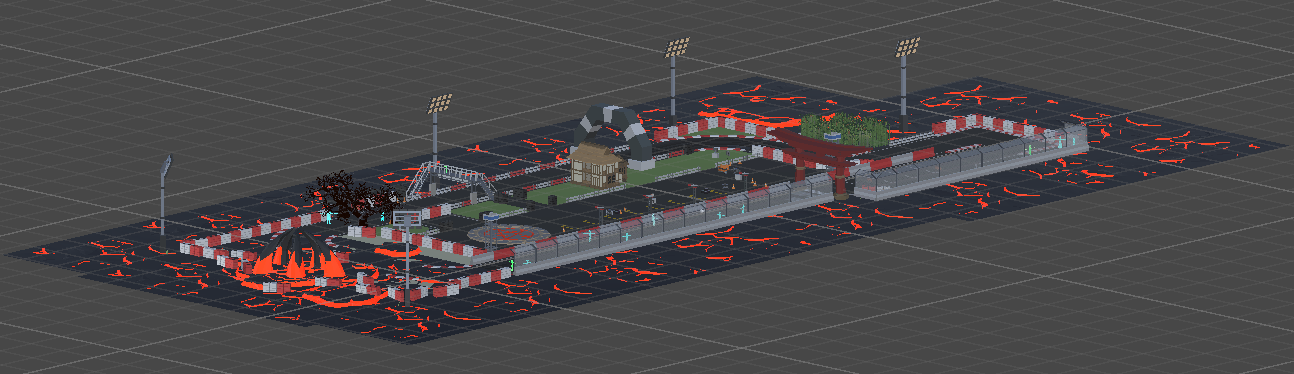
For the aesthetics, I am imagining each level is a park in hell. There will be lost souls, ghosts, monsters, magma everywhere, typical hell stuff. The first park is an abundant race track that I modified from a Synty game asset that I own and remixed it with all the hell elements above.
In Traveling Witch, the player brews potions to bring happiness to people around the world. The game provides a portable cabinet full of wicked ingredients and a half-sized cauldron that hasn’t been cleaned for generations. Players have to figure out what potion to brew based on their conversations with visitors.
The physical controller playset was designed to simulate the act of brewing potions. Based on conversations with visitors, players refer to their notes (the clue book), select the correct ingredients, and stir the cauldron in a particular way to complete the potion. These physical interfaces provide an intuitive, tactile experience that elevates the gameplay’s sense of playfulness and immersion.
I made a cauldron controller in 2020 (here). Originally, the controller was meant to do two things — read multiple ingredients (RFID tags) and use stirring motion (KY-040) as an input. The multi-RFID reader board wasn’t that reliable at the time. Depends on how the RFID tags was stacked, not all tags were read properly. However, stirring both clock and counter-clock wise was working and felt very satisfying. I have wanted to build an example of a simple ID system, I decided to come back to the cauldron and try a different approach to id the ingredients.
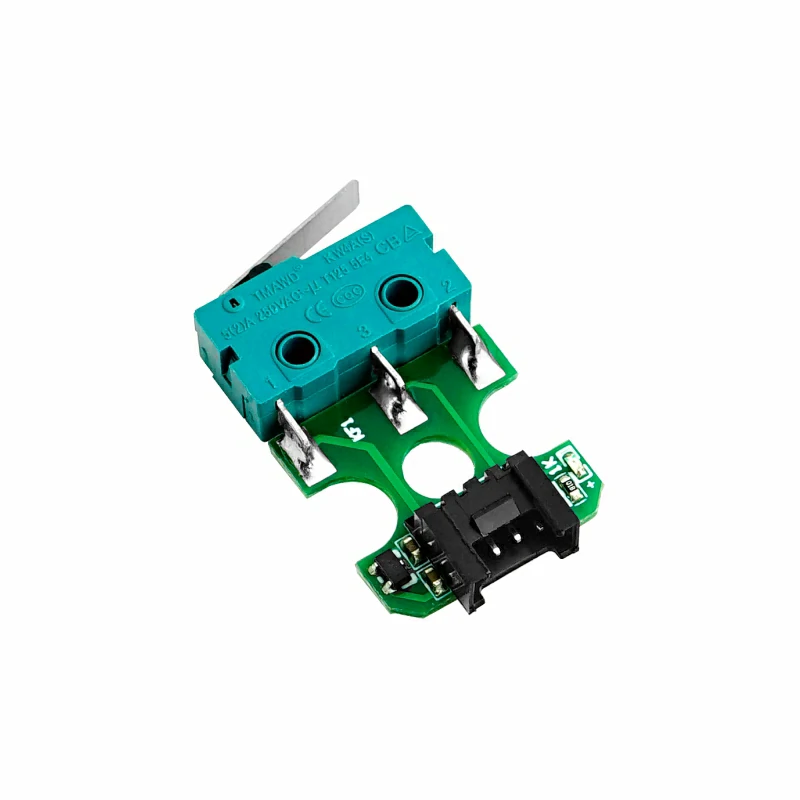
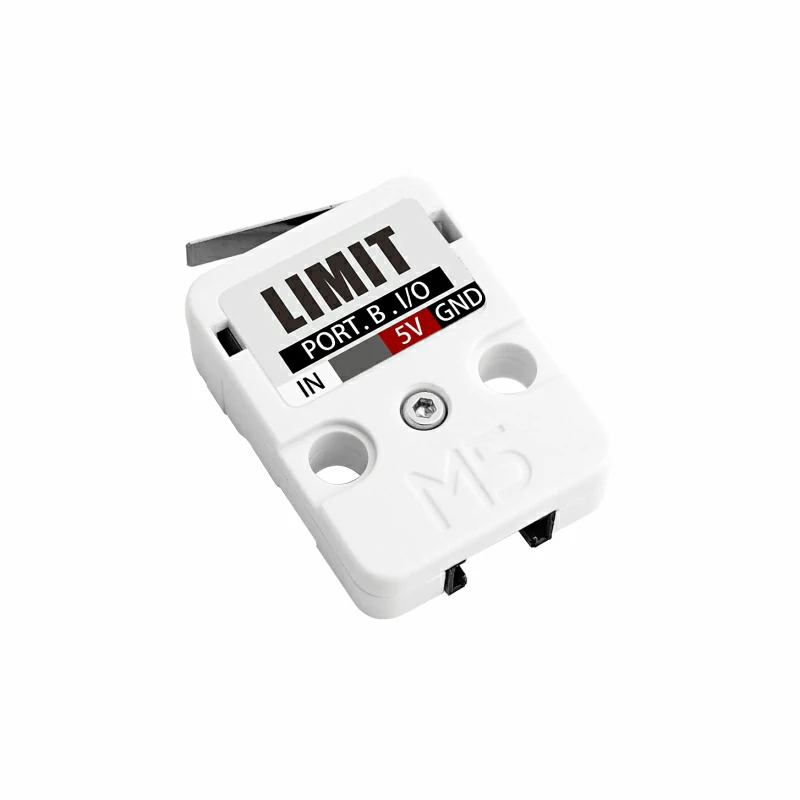
The old cauldron was made of KY-040 and Adafruit Feather. I decided to build the ID input module and cauldron with M5Stack this time because a stack of Limit Switch units (SKU: U145) is perfect for creating a simple ID system. I made the ID input module in the form of an alchemy cabinet. The player can insert the ingredient data card from the top of the cabinet and press down to send in ID. Switch-based ID system is a simple but effective method used in many interactive toys. Every switch has an on and off state. I used 5 switches to create 2 to the power of five -1 IDs for this play experience. -1 is because 00000 won’t work in my setup. I am only using 5 ingredient data cards at the moment.
Working with the M5Stack unit – Limit Switches: I wanted to create an ID system using 5 limit switch units. However, I found out only 4 of the 6 ports on pHub unit can be used as digital inputs. The rest two are analog only. This is not a road blocker, it only makes reading switches a little more complicated. https://shop.m5stack.com/products/limit-switch-unit
Working with KY-040: I started out with the basic example code that can be easily found on the internet. There were little unwanted jumps on directions here and there, but it was acceptable. However, when I started to add more code to the sketch, the amount of jumps increased drastically. At first, I had suspected it might have something to do with debouncing. The amount of jumps remains the same after trying both software and hardware debouncing. I then found out the code I added to the sketch, especially in the loop(), slows down each loop cycle by about 6 ms compared to close to 0 ms with just the KY-040 example code. I eventually found a workaround using interrupts which in a nutshell is like threading for Arduino. It works perfectly without any jumps on directions when stirring the cauldron. https://github.com/ownprox/Rotary_Encoder_KY-040_Fixed/
3D models – Medicine Cabinet
3D Model – Cauldron
What goes into a witch’s cauldron?
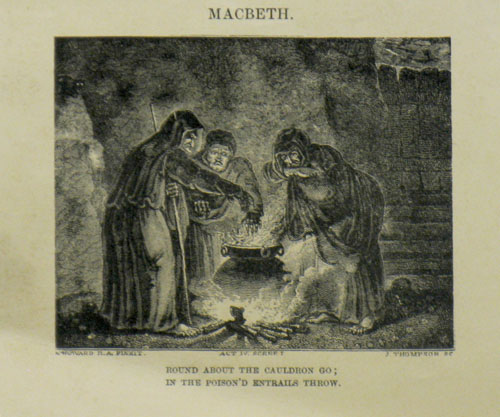
Macbeth, Act IV, Scene I (William Shakespeare 1564 – 1616)
The three witches, casting a spell [First Witch] Round about the cauldron go; In the poison’d entrails throw. Toad, that under cold stone Days and nights hast thirty one Swelter’d venom sleeping got, Boil thou first i’ the charmed pot. [All] Double, double toil and trouble; Fire burn and cauldron bubble. [Second Witch] Fillet of a fenny snake, In the cauldron boil and bake; Eye of newt, and toe of frog, Wool of bat, and tongue of dog, Adder’s fork, and blind-worm’s sting, Lizard’s leg, and howlet’s wing, For a charm of powerful trouble, Like a hell-broth boil and bubble. [All] Double, double toil and trouble; Fire burn and cauldron bubble. [Third Witch] Scale of dragon, tooth of wolf, Witches’ mummy, maw and gulf Of the ravin’d salt-sea shark, Root of hemlock digg’d i’ the dark, Liver of blaspheming Jew, Gall of goat, and slips of yew Sliver’d in the moon’s eclipse, Nose of Turk, and Tartar’s lips, Finger of birth-strangled babe Ditch-deliver’d by a drab, Make the gruel thick and slab: Add thereto a tiger’s chaudron, For the ingredients of our cauldron. [All] Double, double toil and trouble; Fire burn and cauldron bubble. [Second Witch] Cool it with a baboon’s blood. Then the charm is firm and good.
These gruesome-sounding names are most likely used for dramatic effect rather than literal ingredients. For example, “Tiger’s chaudron” refers to tiger guts or entrails. However, when the ingredient is listed in modern analyses, it is interpreted to mean lady’s mantle, a common herb.
eye of newt: a mustard seed.
fillet of a fenny snake: leech or root of a plant
toe of frog: bulbous buttercup
wool of bat: moss and holly
Owlets wing: garlic
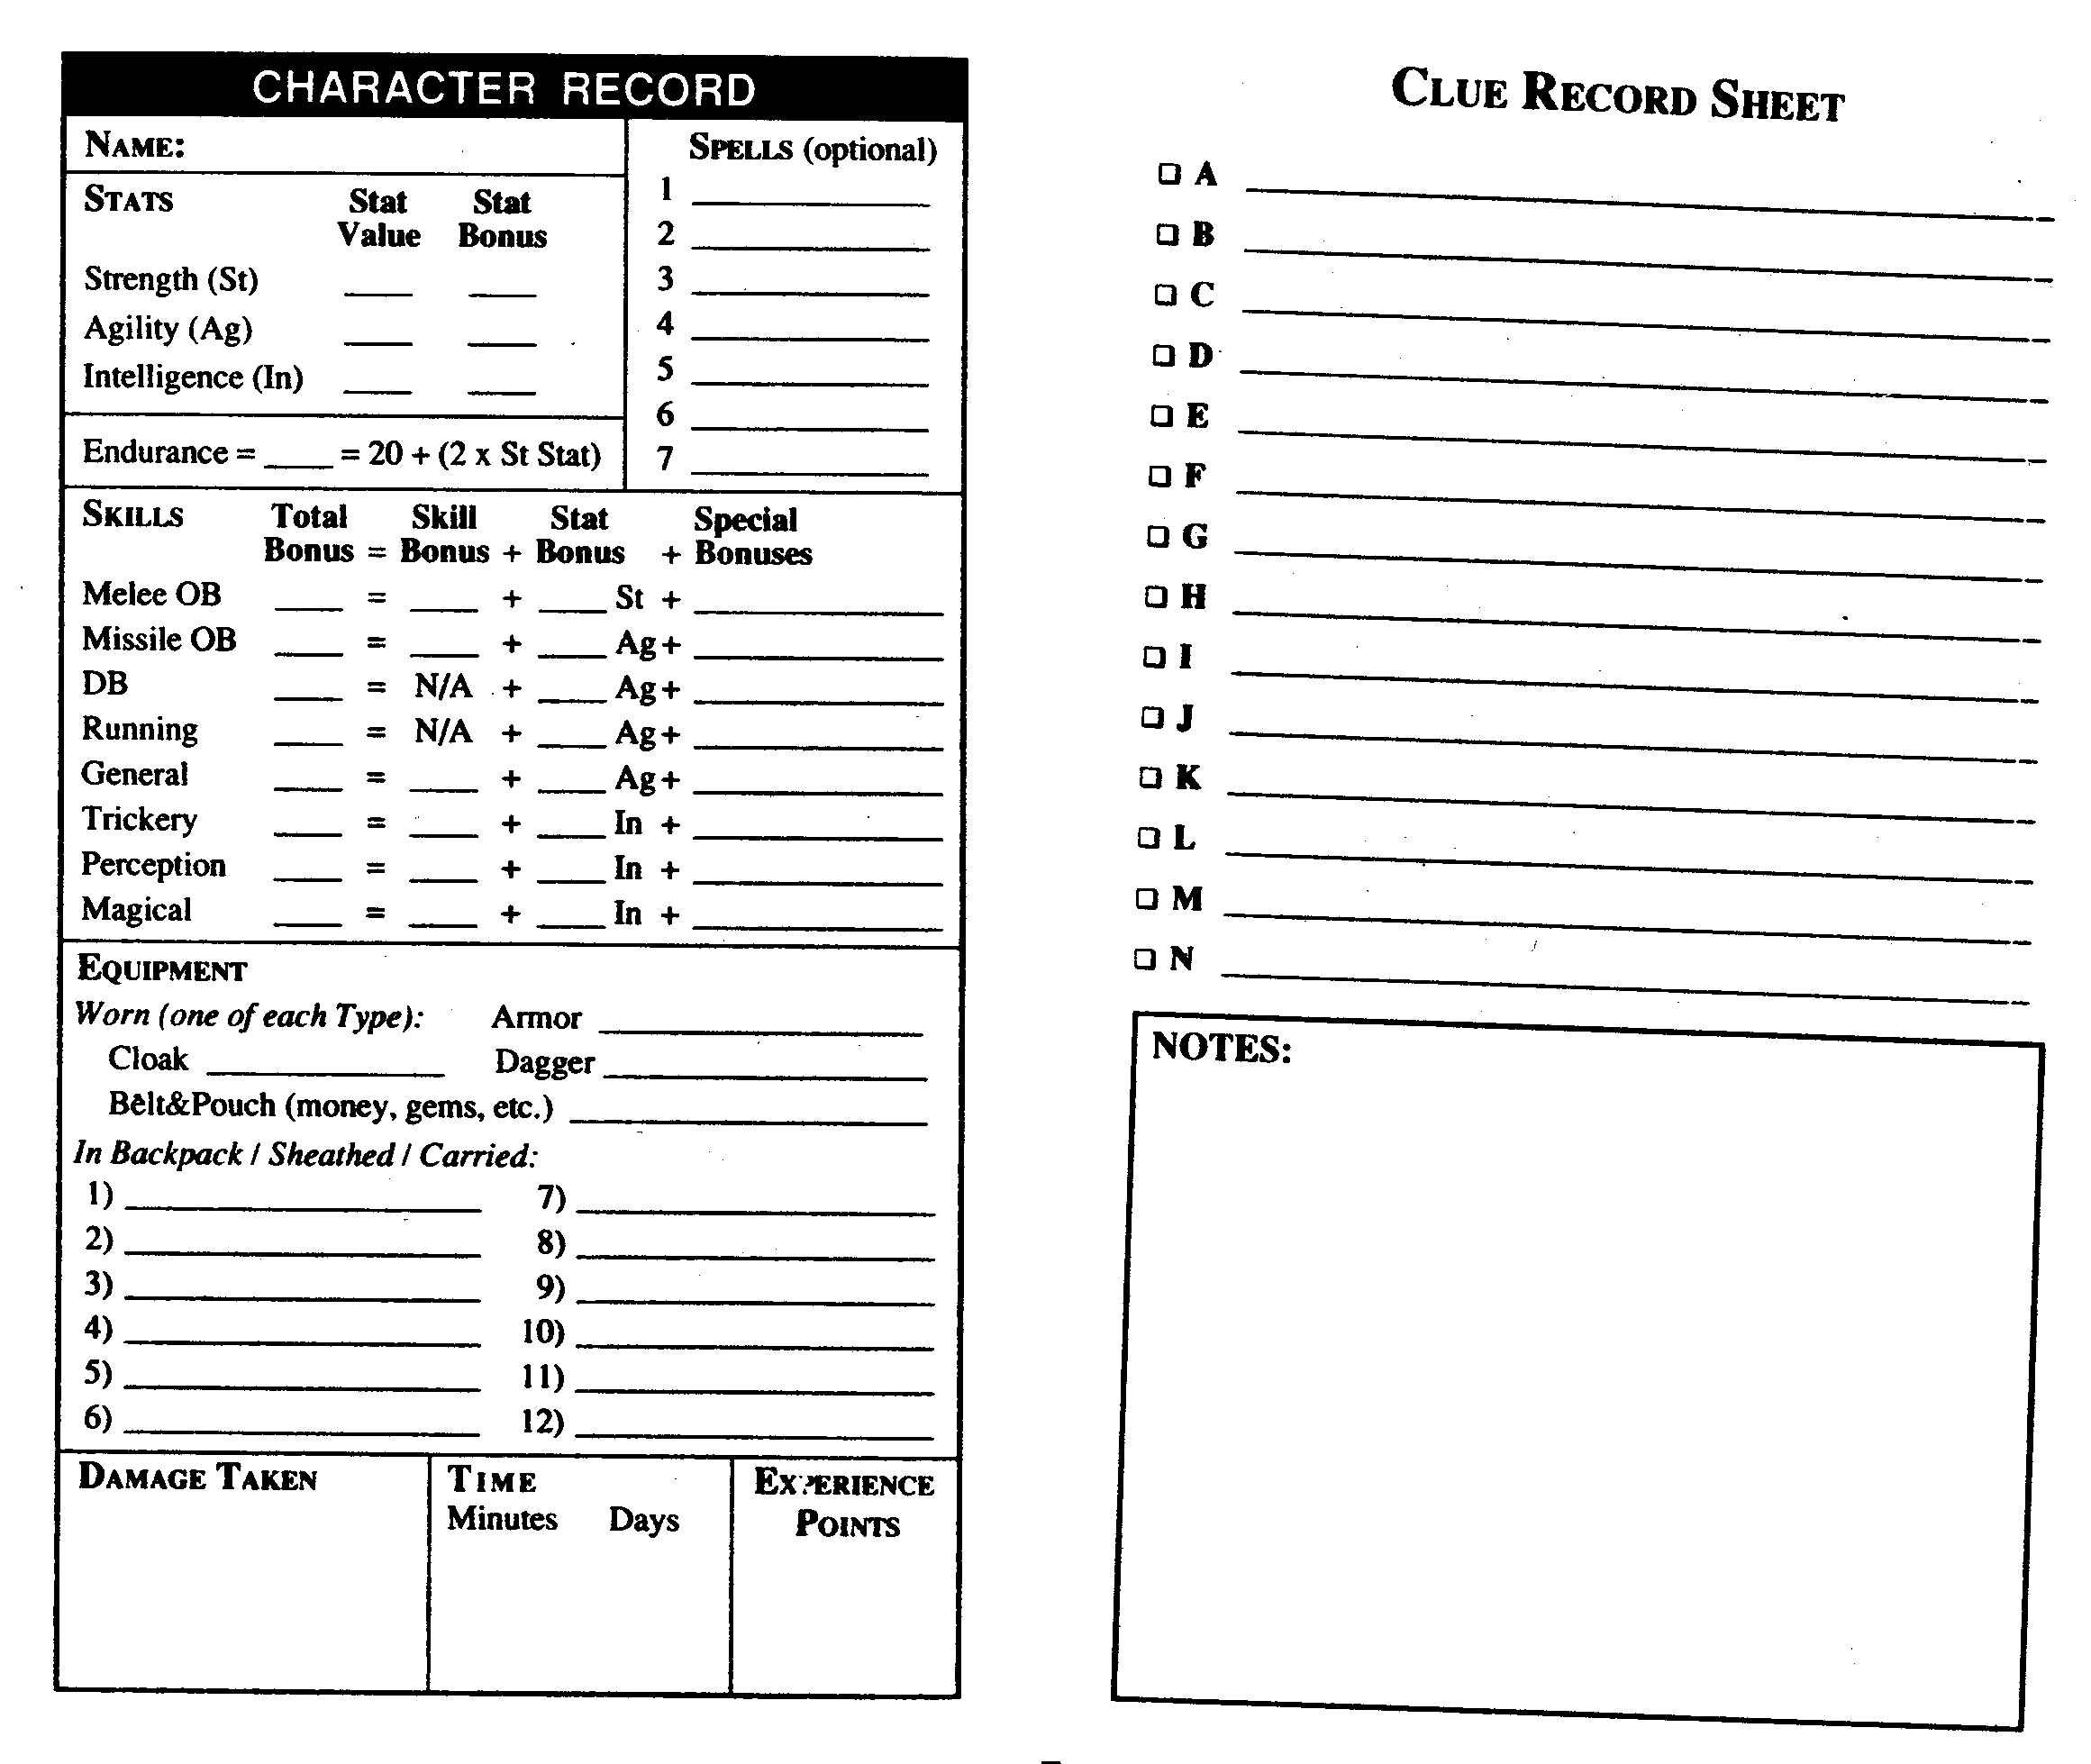
I thought I started with these 5: Hemlock root, toad, fillet of a fenny snake, eye of newt, and wool of bat.
Interestingly, upon examining how D&D books might simplify potion recipes, I was struck by the remarkable similarity between potion-making and the practice of traditional Chinese herbal medicine.
Chinese herbal medicine utilizes ingredients derived from plants, minerals, and animals to restore balance and harmony to the body’s vital energy, or Qi. These components are typically combined into formulas tailored to an individual’s specific condition. Much like the exotic ingredients one might find in a fantasy cauldron, the herbs themselves often bear wonderfully imaginative names.
Earth Dragon: Earthworm
Ground Turtle: A bone-connecting-insect that lives in soil
Dragon Coat: Snake skin
Chicken Inner Gold: The inner lining of a chicken’s gizzard
Blood Residue: A carbonized substance obtained from charred human hair.
Yellow Dragon Extract: Essentially liquid from aged human feces.
In order to prepare a Chinese herbal decoction, first soak the herbs in water for about 30 minutes. Then, boil and simmer the mixture for 45-60 minutes before straining the liquid. The process is repeated with the same herbs, using less water to extract a second, more concentrated decoction. The two liquids are combined to create the final drink. The brewing process and the end product is very similar to potion-making in my mind. The only notable difference from Chinese herbal decoction-making is the specific advice against using a cast iron pot which is what most cauldrons made of.
When I was reading Dragon Quest: The Adventure of Dai (DRAGON QUEST –ダイの大冒険–) as a kid, I had always fascinated by all the magic artifacts in the story. The magic bullet gun (魔弾銃) was my all-time favorite.
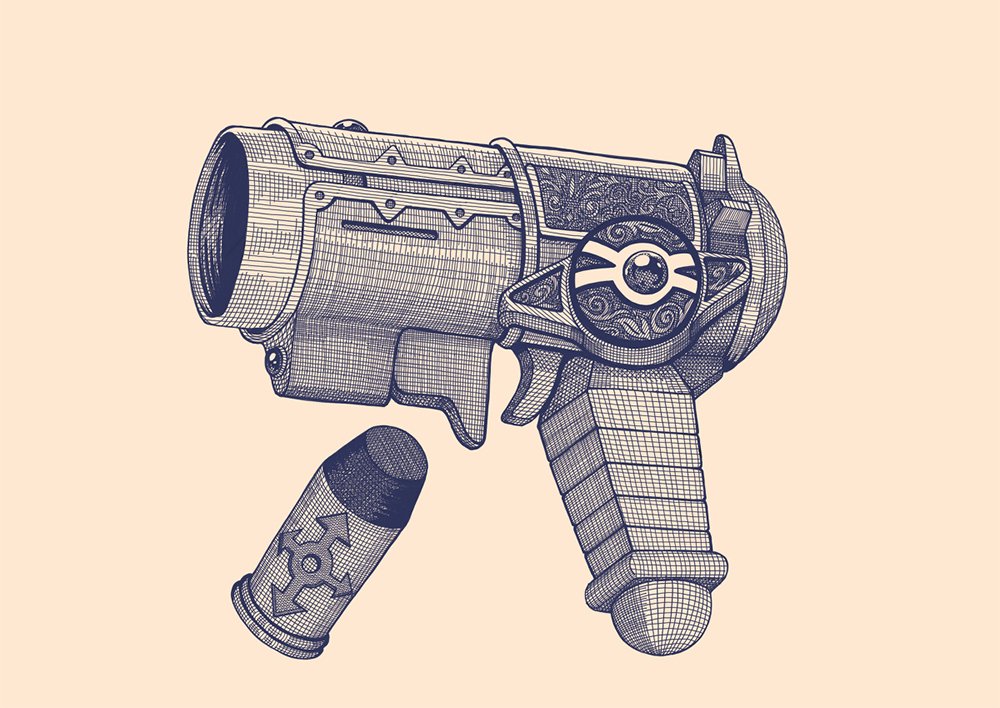
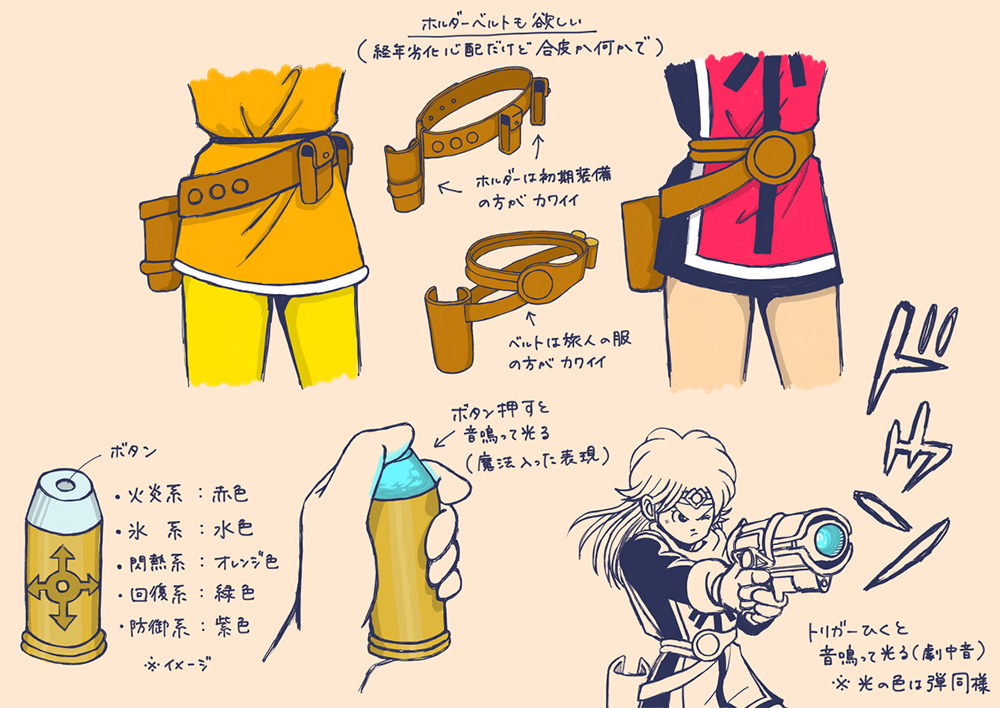
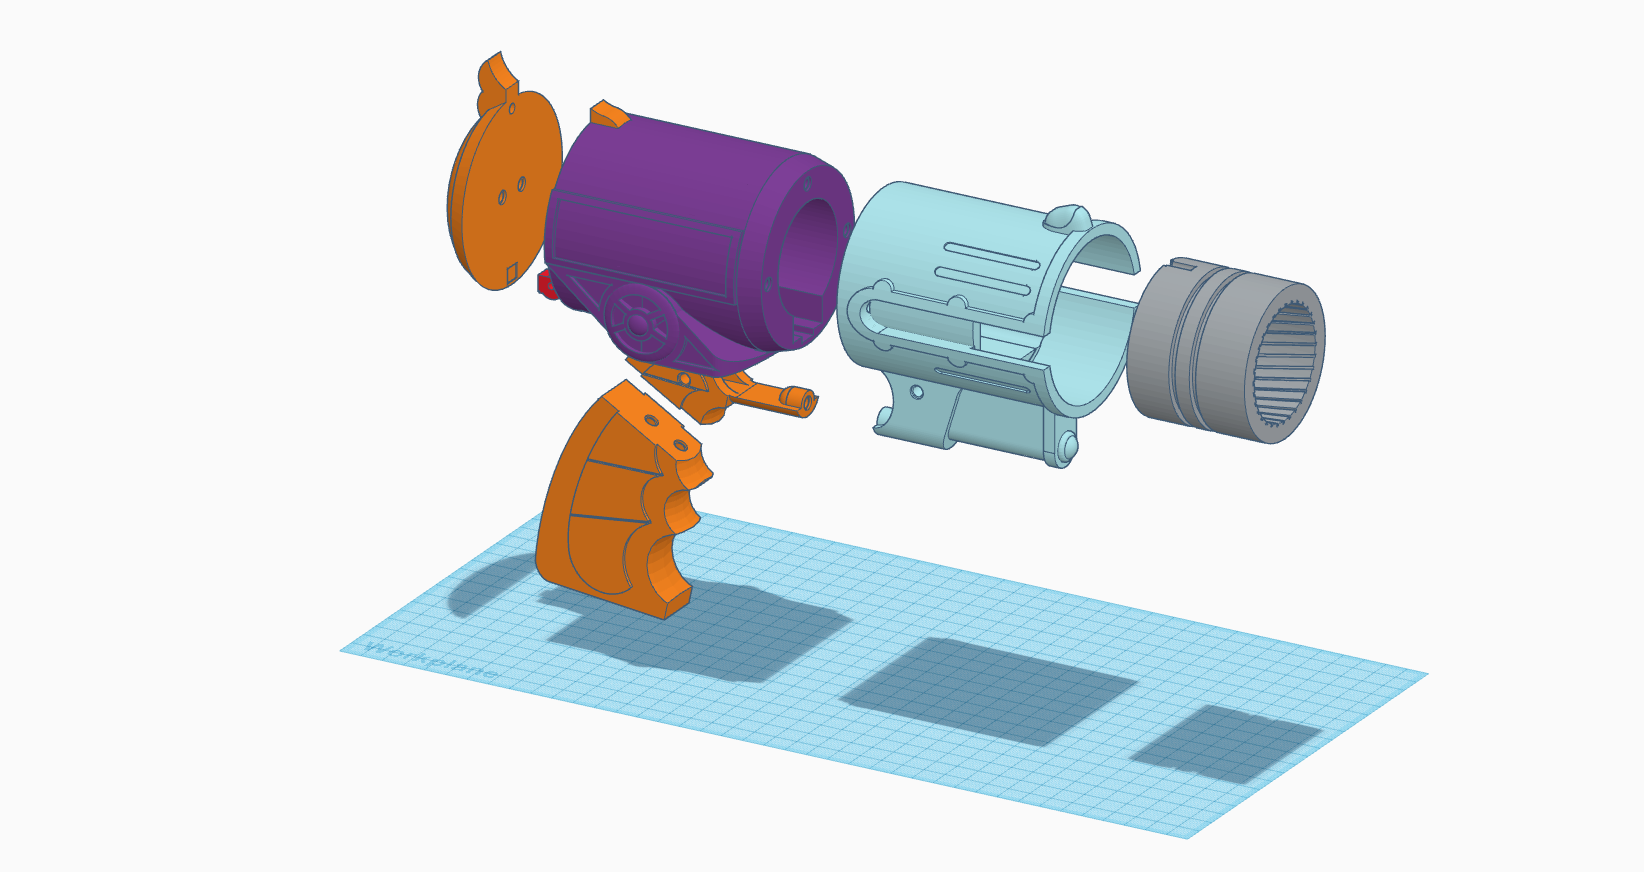
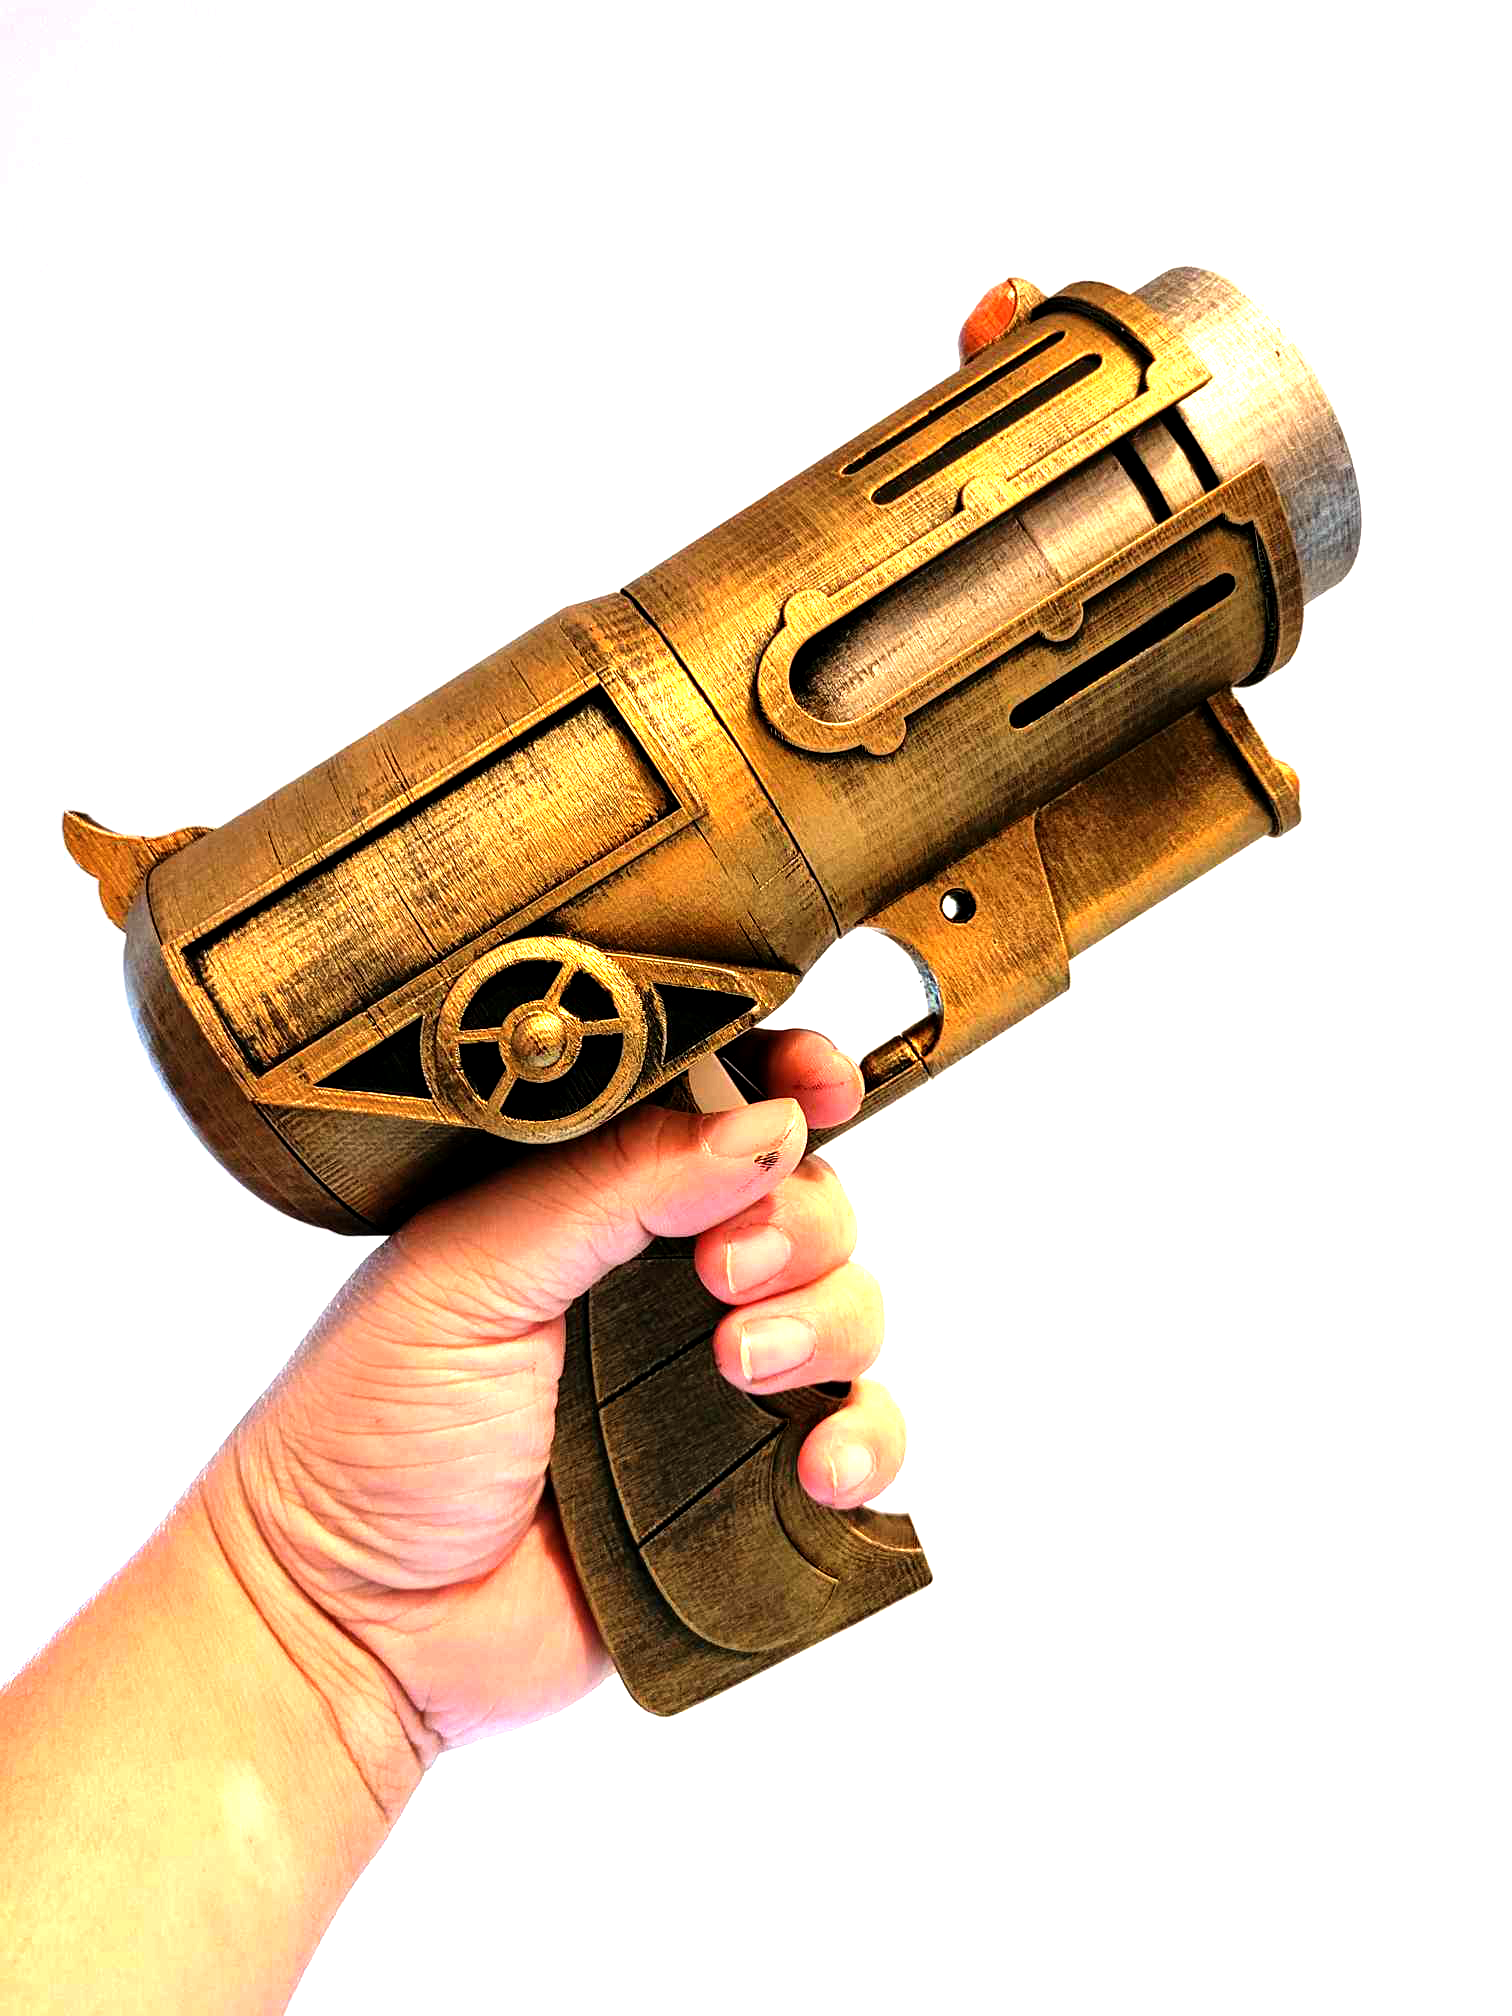
The gun belongs to Maam (マァム), one of the main protagonists in the story. It takes form of a gold-colored large-caliber single-shot pistol. There are a total of 8-10 bullets depends which version it is. For each bullet, a sacred stone that accumulates magical power is embedded at the tip, and by touching it and chanting a spell, it becomes charged with magic. The charged bullet can be loaded into the pistol from the the back by opening the tail cover, one bullet at a time.
After the defeat of Flazzard (フレイザード) on the island of Bulge, large firepower was needed to save Princess Leona (レオナ姫) who was frozen in ice by a forbidden spell. Because of this, Dai (ダイ) charged the bullet through his dragon emblem (竜の紋章), and although he was able to shoot it and melt the ice, due to the recoil from using a bullet with more power than the allowable amount. The gun barrel breaks in half. Badak (バダック), the self-proclaimed “King of Inventions,” tried to repair it, but it was broken beyond repair. Badak said, “Avan (アバン), who created this gun, was a genius.”. The Magic Bullet Gun was no more which is a pity.
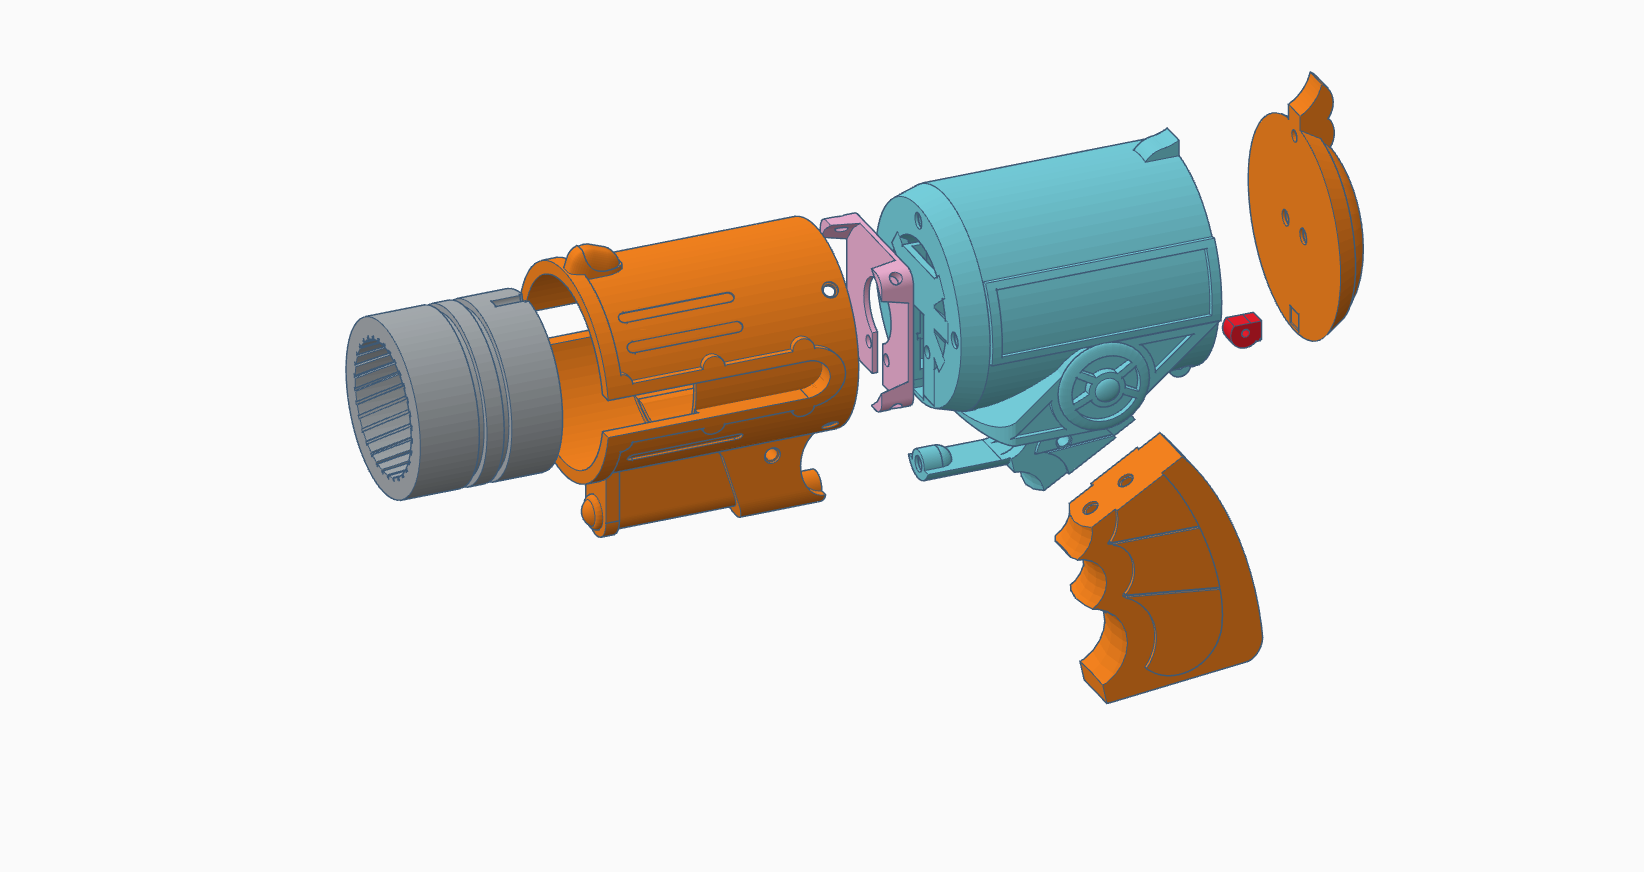
There are 2 major gun visuals. The biggest difference is the design of the trigger area and handle. Little torn here, because I like both designs. I am going to focus on Gun Visual No. 2 for this round because I had boxed out a prototype a while ago.
V3V3
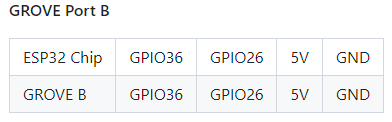
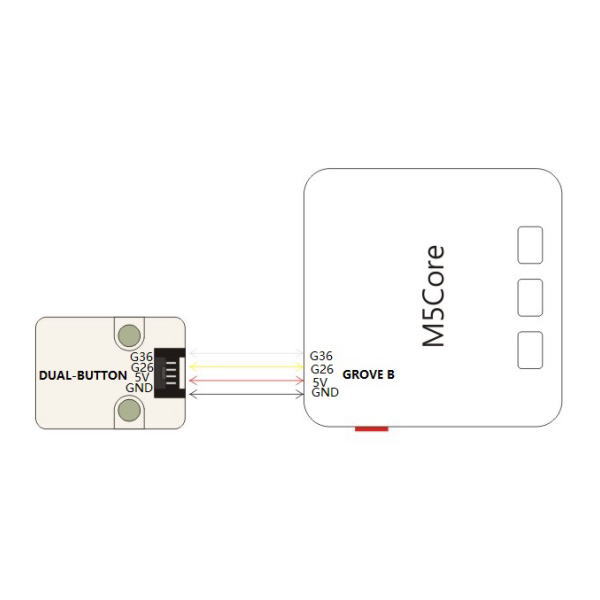
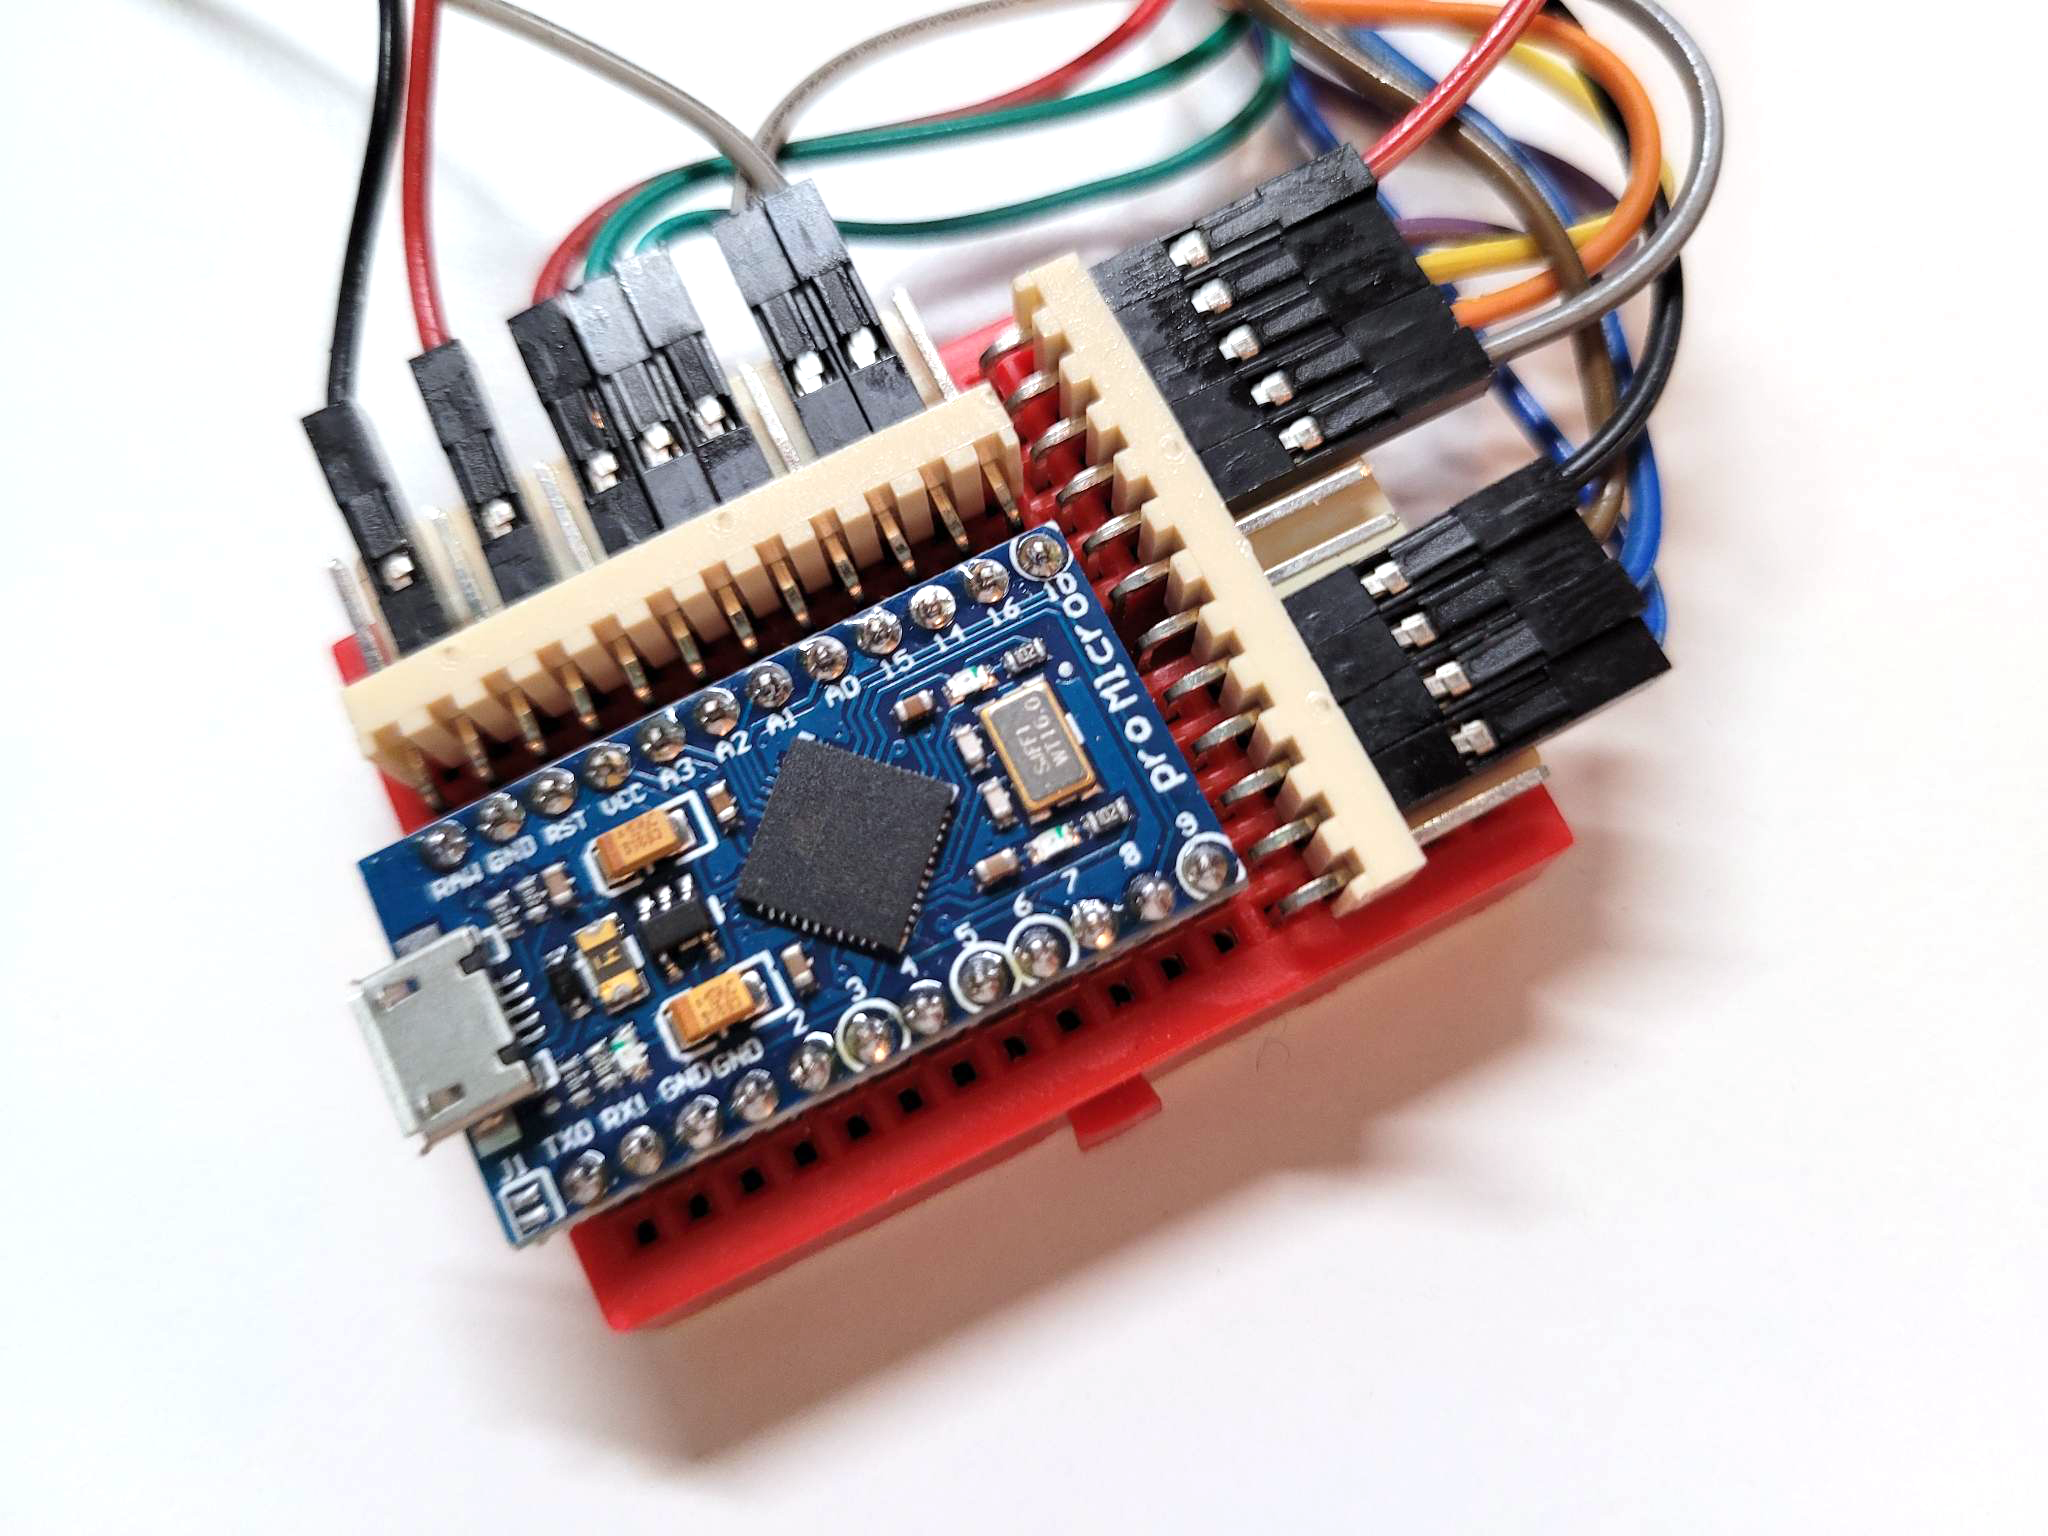
This is designed specifically to with M5Stack system. I did hack it a little so I can use the B port for both a limit switch unit (SKU: U145) and a Neopixel ring. I used a RFID 2 unit to detect the bullet. In my first iteration, I had put the unit flat on the button of the bullet chamber. It doesn’t detect the RFID tag at all. Now I have it stand vertically and it works beautifully.
I don’t have solution for sound effects to be built into the gun, but I am going to try the thing I learned from the Chiba Hogwarts — send sound to a Bluetooth speaker. Take advantage of M5Stack’s built-in Bluetooth and connect it to a Unity app that plays the sound effect.
Assembly
[Sound Testing Video]
千葉ホグワーツのハリーティッカー
The next thing I want to improve is the battery life. M5stack Fire comes with a 500 mAh battery bottom and it doesn’t last long. I am planning to create a type C port at the handle and attach one of those mini 5000 mAh power bank. That will provide about 10 times more battery life that what I have now.
Not all pins on the Leonardo and Micro support change interrupts, so only the following can be used for RX: 8, 9, 10, 11, 14 (MISO), 15 (SCK), 16 (MOSI).
“… addForce apply the force at the center of mass.” “simply cheat and do both a AddForce and Addtorque, then you have simple control over your inputs without having the headache of doing proper physics computation for achieving your controls.” “the other option is to use “atPosition” property, this will in effect apply a self force but not from the center of mass and thus imply a torque” http://docs.unity3d.com/ScriptReference/Rigidbody.AddForceAtPosition.html